Fix Verizon iPhone 7/7 Plus LTE Connectivity Issues
by Jenefey Aaron Updated on 2020-03-29 / Update for iPhone7 Tips
It’s been some time since Apple announced their latest red iPhone 7 and iPhone 7 Plus in the markets and some people have started to complain about the issues they are facing with their phones.
One of the issues that users are facing with their Verizon iPhone 7 and iPhone 7 Plus is that their LTE signals drops off every now and then and they are forced to use 3G. This is apparently only bothering the Verizon users while the device works just fine with LTE on other carriers.
In order to fix this LTE connectivity issue on the Verizon’s iPhone 7 or iPhone 7 Plus, Apple has rolled out an iOS update that you can update your device to and get the issue resolved. There are also other ways to resolve the problem and here we show you some of those for you to get rid of the issue and enjoy LTE network on your device.
Tip 1: Toggle the Airplane Mode ON and OFF
One of the things you can do to fix the issue is to turn the Airplane mode ON and then turn it back off immediately. This will force the device to look for network options and it will select LTE to use on it.
1.Tap on Settings on the homescreen of your iPhone to launch the settings panel.
2. When the settings panel launches, you will see the Airplane Mode option on the top. Turn the toggle for that option to ON position and the Airplane mode will be activated on your device.
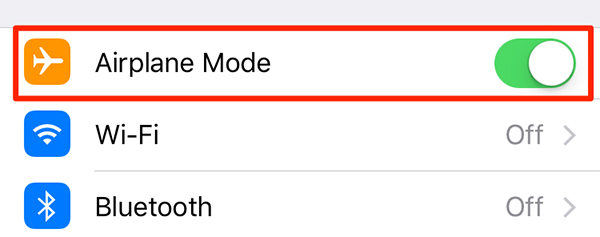
3. When the Airplane mode is fully activated, turn it off by toggling the option to OFF position.
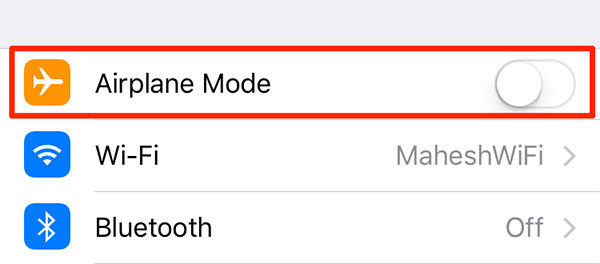
4. The device will search for the network coverage and it will choose LTE for you this time. So that should do the job for you.
Tip 2: Turn Off and Turn On the iPhone
Another thing you can do to fix the LTE issue is that you can turn off your iPhone and then turn it back on again. Again, this will force the device to search and select LTE as its network coverage.
1.Press and hold the Power button on your iPhone for a few seconds.
2. You will see the following on your iPhone’s screen. Slide it to slide to power off and your iPhone will be turned off.
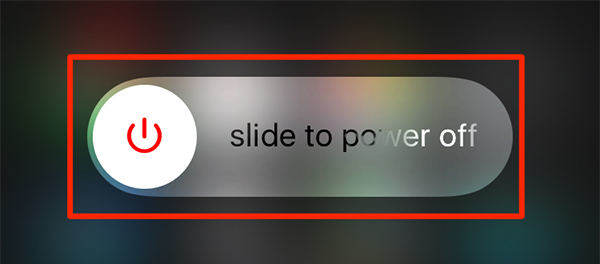
3. Press and hold the Power button on your iPhone for a few seconds and your phone will turn on. You should now be able to enjoy LTE on your device.
Tip 3: Enable LTE Only for Data While Talking
The cause of the issue may also be that Verizon uses LTE for voice calls. So what you can do is disable LTE for calls but keep it enabled for the data.
1.Tap on Settings on the homescreen of your iPhone to go to the settings menu.
2. Tap on Mobile Data on the following screen to open mobile data settings menu.
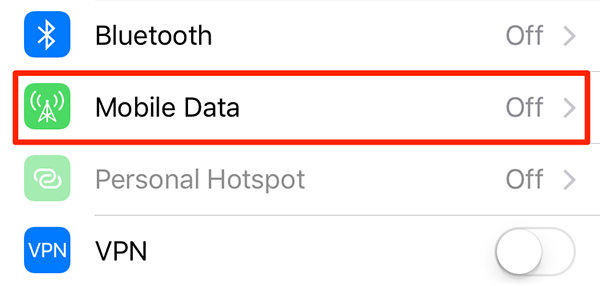
3. On the following screen, tap on the option that says Mobile Data Options. It will let you adjust the data settings on your device.

4. Tap on Voice on the screen that follows to select which mode to use for voice calls.

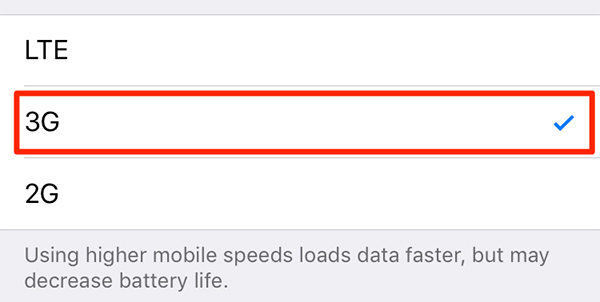
5. Select 3G from the list to set 3G for your voice calls. That should have fixed Verizon iPhone 7/7 Plus LTE Connectivity issues on your iPhone for you.
Tip 4: Updating the iPhone to the Latest Version of iOS
If nothing works for you, you can update your device to the latest version of iOS and that should resolve the issue on your device.
1.Tap on Settings on your homescreen.
2. Tap on General to open the general settings menu.
3. Tap on Software Update to open the software update menu.
4. On the following screen, if an update is available, you can tap on Download and Install to update your iPhone. Mine is already up to date so I see the following message on my screen.

This should have definitely resolved the LTE issue on your Verizon iPhone 7 or iPhone 7 Plus.
Tip 5: Restore iPhone with Recovery Mode to Fix LTE Connectivity Issues
In many cases, it happens that the software of your device requires repairing. If that’s the case with you, you need to use an app like Reiboot to fix the issue.
1.Download and install the app from the app’s official website.
2. Plug in your iPhone to your computer using the cable provided by Apple. Launch Reiboot by double-clicking on its icon on your desktop, if you’re on Windows. If you happen to use a Mac, launch the Reiboot app from the Launchpad.
3. When the app opens, click on Enter Recovery Mode to put your iPhone into the recovery mode.
4. Once you entered recovery mode, select Exit Recovery Mode to get your iPhone out of the recovery mode. After that, your iOS device is back to normal state.
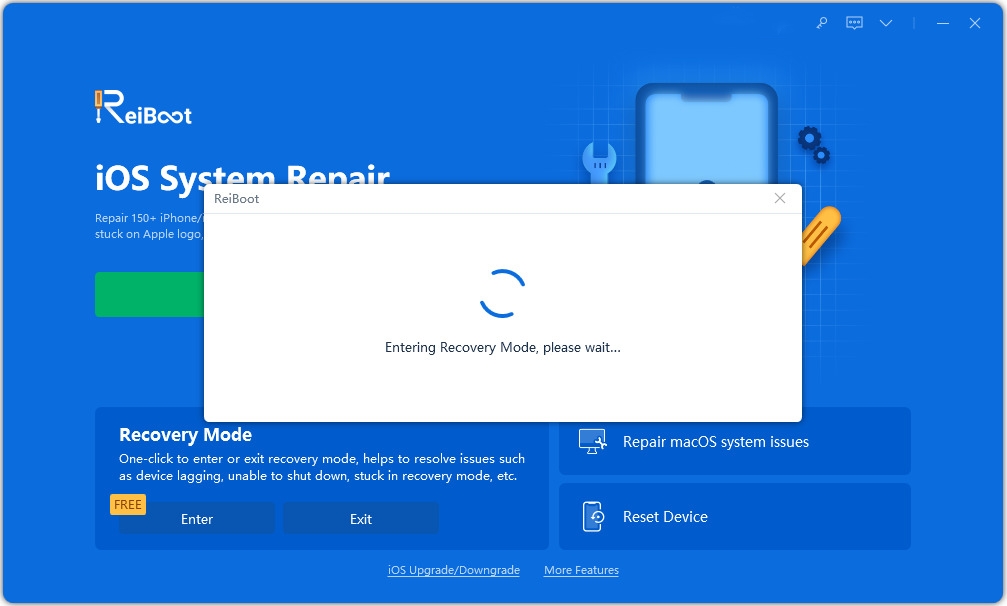
Your iPhone should now be fixed and it no longer has any LTE issues. If restore iPhone with recovery mode didn’t work, you can further repair your iPhone operating system to fix the LET connectivity issues with “Fix All iOS Stuck” function on Tenorshare ReiBoot.

