How to Wipe Cache Partition on Samsung Galaxy
Knowing how to wipe cache partition is of great significance when you have any mobile phones, tablets or personal computer in hand. It is part of your standard toolbox for repairing bugs, improve system performance, or any other errors. Because of this, I will mainly talk about how to wipe cache partition on Samsung Galaxy smartphones effectively. Samsung Galaxy S8/S7/S6/S5, Galaxy J7/J5/J3/J2, Galaxy C7/C5, Galaxy A7/A5/A3, Galaxy Note 8 or Galaxy Mega are supported.
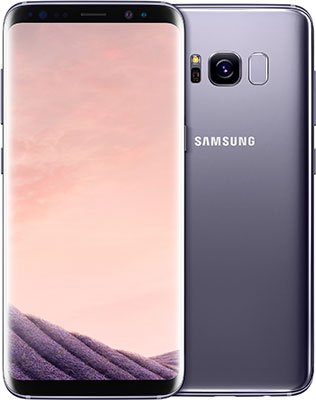
What Does Wipe Cache Partition Do on Samsung Galaxy Cellphones?
The cache partition includes most of the system, apps, or browser temporary files, logs and remembered bits from substantial applications on Samsung smartphone. Once you update Android version, they will be useless and left over your device. If that take place, your handset might be run slow or stuck.
It is likely to use web browser, if the caches reserve too much, it might cause operation accident or even other unexpected errors. Consequently, it is a better option to wipe cache partition every once in a while.
Does wipe cache partition delete pictures? To our delight, wiping cache partition will NOT delete any personal data, apps or configuration that stored in Samsung Galaxy mobile phones. This is different from wiping data/factory reset.
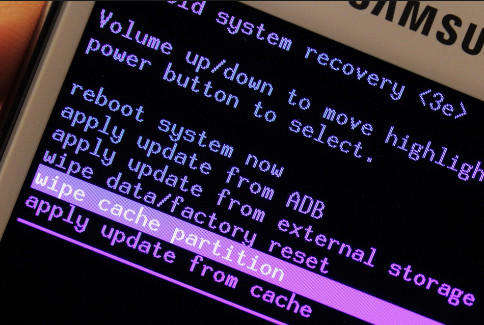
Alternative 1. Wipe Samsung Cache Partition with Hardware Keys
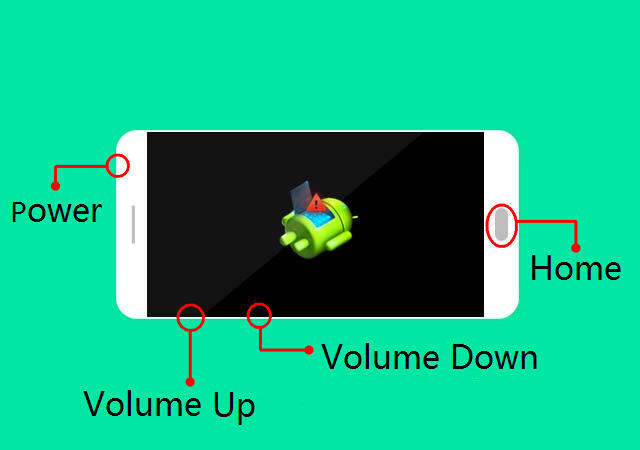
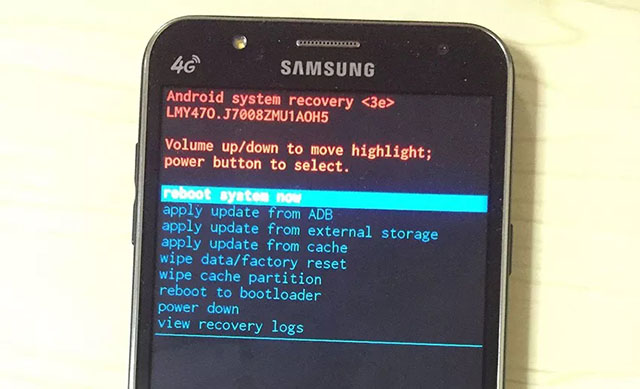
In order to wipe cache partition S8/S7/S6/S5/S4 manually, you have to take advantage of three buttons on Samsung Galaxy, which are Power key, Volume+/- key and Home key. The concrete steps are:
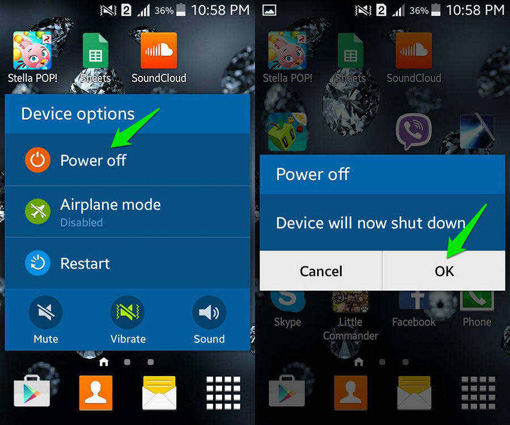
- 1. Shut down Samsung Galaxy mobile phone.
- 2. Press and hold Power, Volume+ and Home keys concurrently.
- 3. As long as Android logo appears, release Volume+ and Home buttons and wait for Android system recovery menu screen.
- 4. Press Volume- key and let the "wipe cache partition" option is highlighted.
- 5. Use Power button to select it.
- 6. Press Volume- button until "yes" is highlighted.
- 7. Use Power key to select it.
- 8. Once "wipe cache partition" is achieved, "Reboot system now" will be highlighted again.
- 9. Press Power button to restart Samsung Galaxy and finish wiping cache partition.
Alternative 2. Clear Samsung Cache Partition with ReiBoot for Android (Easier Way)
Most of the Samsung cell phone users complain that it is too difficult and complicated to clear cache partition S8 with hardware keys and some buttons are not working for old devices. Fortunately, we have got a third-party tool, Tenorshare ReiBoot for Android, to replace the intricate operation. Go ahead and see how to do that in the following contents.
Step 1. Download and install ReiBoot for Android to an accessible personal computer.

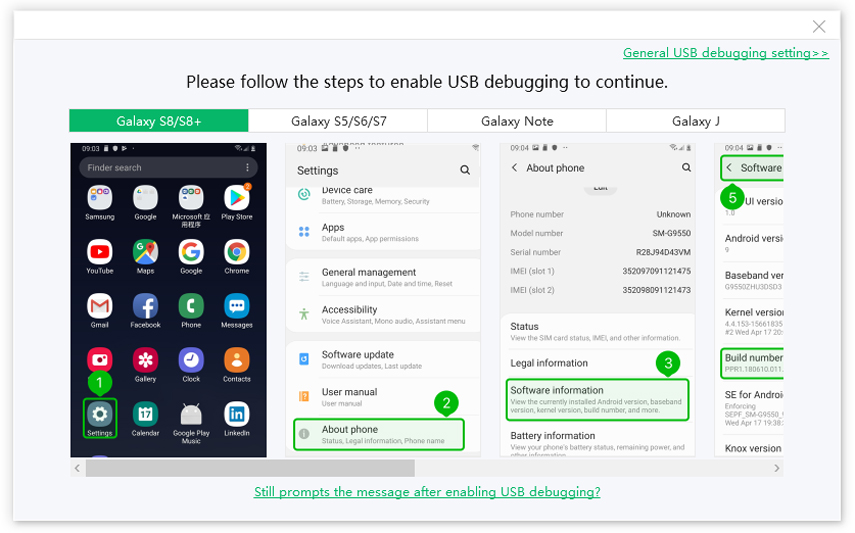
Step 2. Run the tool and connect Samsung Galaxy smartphone to the PC via USB cable. Enable USB debugging by following the pormpts in the software.
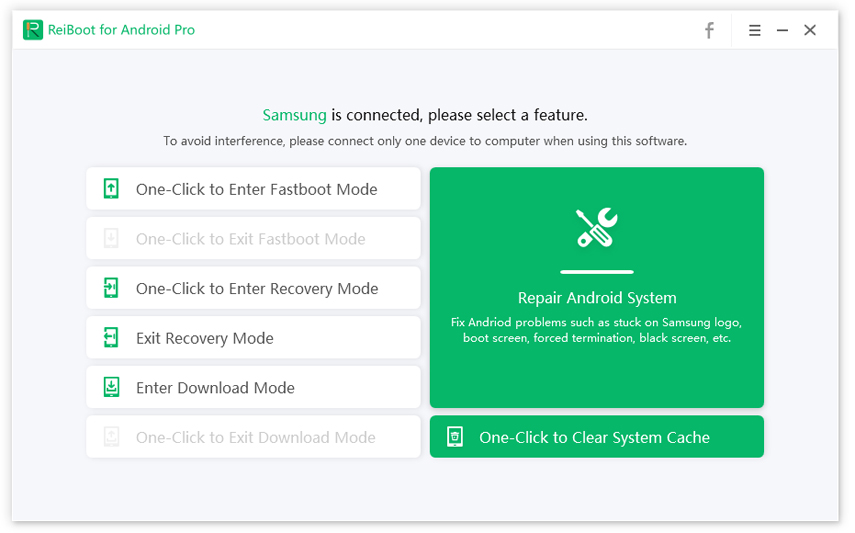
Step 3. Click on "One-Click to Clean System Cache" button to wipe cache partition S8.
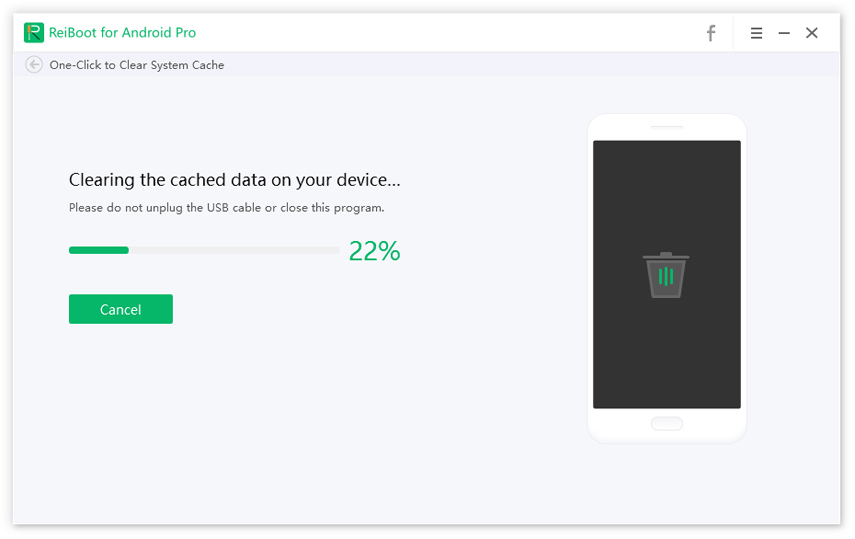
Step 4. Wait for a moment until the system cache partition has been removed. Remember that do not unplug the USB cable during using this program.
Note: If you want to fix your Samsung Galaxy system issue, Reiboot also can help you, please check the video below:

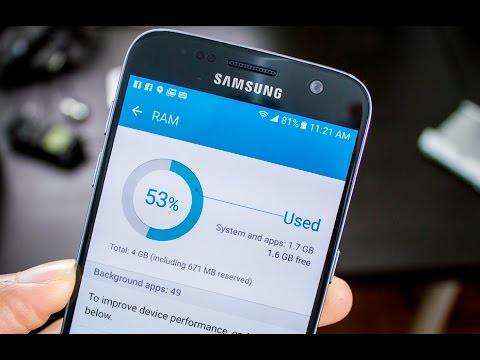
Bonus Tips: How to Check Memory on Samsung S8/S7/S6/S5
If your Samsung Galaxy mobile phone runs slow, crashes/resets, or app freeze during the running, one of the options is to free up storage space, check memory and clear RAM on it. Galaxy S8 clear RAM? You can just follow this simple steps:
- 1. Open Settings, under Device, choose Application and then select Application Manager.
- 2. Swipe from right to left, then you can see the Running Apps.
- 3. At the bottom it ought to show how much is used and how much is free.
- 4. If that doesn't work, go back to Settings and select Smart Manager, it will show Battery, Storage, RAM and Security Options.
That's all of the information about how to wipe cache partition on Samsung Galaxy series mobile devices. To mention that, the above wipe cache partition means are compatible with all Samsung Galaxy devices, such as Galaxy S8/S7/S6/S5, Galaxy J7/J5/J3/J2, Galaxy C7/C5, Galaxy A7/A5/A3, Galaxy Note 8 or Galaxy Mega. How often do you wipe cache partition? What other tips and tricks do you get for maintaining a phone? Please comment below if you are still having problems. We will give you further instructions.

Speak Your Mind
Leave a Comment
Create your review for Tenorshare articles
Tenorshare UltData for Android
Best Android Data Recovery Software
Highest Data Recovery Rate


