How to Setup Apple TV
Apple TV setup is a simple process that can be accomplished in just a few minutes, But we understand how the whole process can be intimidating since there are a lot of ports and cables to consider. But changes are, once you know how to install Apple TV, it is likely you'll never need to dismantle it unless you are moving and by then you'll be a pro. In this article, we take a look at how to setup your Apple TV from start to finish.
Connecting your HDTV and Home Network
The first step in setting up your Apple TV is to determine where every one of those cables you have goes. Behind the set-top box, you will see four ports. One port is for power, there are also a HDMI port an Ethernet port and a USB-C port.
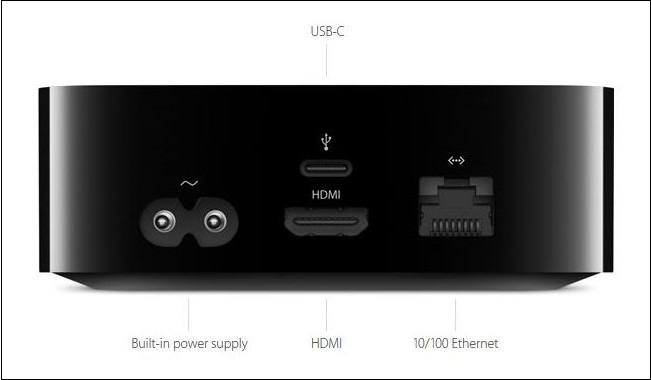
The power port as you may have already guessed is for the included power cable which should have come with the device. The HDMI cable is for the purpose of linking your Apple TV to your HDTV or other AV receiver. The USB-C port has long been of speculation for most users with many wondering why there is no corresponding USB-C cable to go with it. But Apple has confirmed that you will likely never need to use this USB-C port unless your Apple TV is somehow damaged and a diagnosis of the problem is required.
The Ethernet Port is for linking your Apple TV with your home network using a hardline. This port may also become unnecessary since the Apple TV device does come equipped with Wi-Fi. So, go ahead and plug in the necessary cords to the Apple TV and initial setup will be complete.
Pairing the Remote
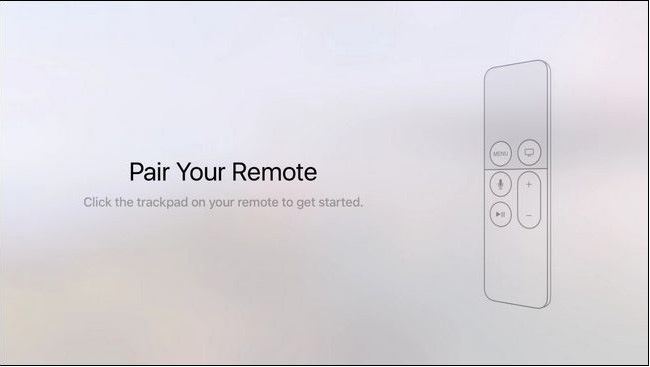
The next step in the Apple TV set up process is to pair the remote. To do that, you just need to peel the protective film off the remote. When done, the remote should automatically pair with the Apple TV. If you haven't done so, you will see the following display on your Apple TV.
Configuring your Connection and Apple ID
Once the Apple TV boots for the first time and you have successfully paired the remote, the next step is to select your language and the country or region. You will then be prompted to select whether you wish to setup the device using another device or manually.
If you choose to "Set Up with Device" you will automatically transfer your Apple ID and Wi-Fi connection credentials to the Apple TV. If you choose to complete the set-up manually, you will use the on-screen keyboard to enter the information manually.
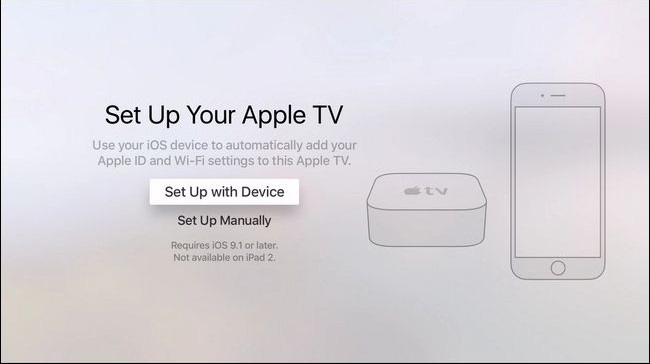
The only difference between these two methods is in the time it will take to complete each set-up. Using the device is generally quicker since everything will be automatically transferred. But we have to stress that both methods will get your Apple TV working just the way you want it to.
Final Selections
Once the device is connected and you are connected to the iCloud system, you are ready to begin enjoying the device. There are only few selections left to be made like whether or not you will be using location service and the like. The important thing to note here is that every change you make can easily be reversed in the Apple TV's settings.
Bonus Tip: How to Fix an Apple TV that is Not Working
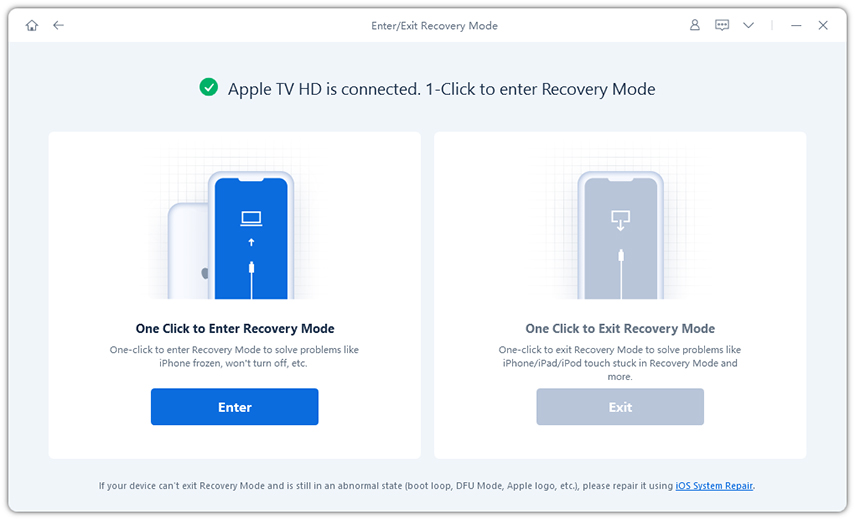
Like all iOS devices, you may soon experience problems with your Apple TV that a simple reboot will not easily fix. In this case you need a solution like Tenorshare ReiBoot that can gain access to the device and fix any underlying issues without affecting the device's data.
This program is designed to help you eliminate all iOS stuck issues including a device that is not working correctly because of certain software issues. It is very easy to use and fixes the problem in a very short time.
Summary
Apple TV Setup can be a simple process when you follow the above guide. If you have problems with the setup or any other aspect of Apple TV functionality, ReiBoot offers a great way to fix the problem.
Speak Your Mind
Leave a Comment
Create your review for Tenorshare articles
