[Guide] How To Change Weather Location On iPad
Many Apple weather app users face the problem of the wrong location in the iPad weather widget. There can be many reasons for this problem like you have not provided location access to your weather app or you have not updated it for a long time. In this guide, we will provide you with some important information on how to change weather location on iPad. So, let’s fix it.
- Part 1: Introduction To Weather Widget
- Part 2: How To Change Weather Location On iPad
- Part 3: How To Change iPad Location If Needed
- Part 4: Useful Tips About iPad Widget
Part 1: Introduction To Weather Widget
Widgets provide very quick and easy access to your favourite apps, content, or anything on your device. The same is the case with the weather widget. You will not have to follow tap and swipe on multiple home screens to see the daily weather forecast. Having a weather widget on the home screen can be much more convenient to get instant weather updates.
Part 2: How To Change Weather Location On iPad
The weather app needs access to your location. If you have not provided access of your current location to the weather app then you will receive the wrong weather updates. Some users have reported that the weather widget is not working, is buggy, or not updating the temperature on the iPad. That’s why they look for how to change weather location on iPad ios 16, and 15. Here is a very simple way how to change weather location on iPad widget.
- Long press the weather widget on your iPad home screen.
- Now press “Edit Weather” and see the location added in the weather widget.
- If it’s showing the wrong location then add your location manually by tapping on the location field. You can also let your iPad determine your current location.
Once you have selected a location then tap on any empty space on the screen to go back to the home screen and save your selection.

Part 3: How To Change iPad Location If Needed
Providing access to the right area location is very important to get correct weather updates. Sometimes, you see your device is stuck at one location you don’t belong. In such rare cases, it becomes difficult to change your location to the right area.
So, if you see nothing is working out for “how to change weather location on iPad home screen” then try changing your location with Tenorshare iAnyGo. It’s a professional location changer that changes the device location to your preferred area. Here is to change iPad location using iAnyGo:
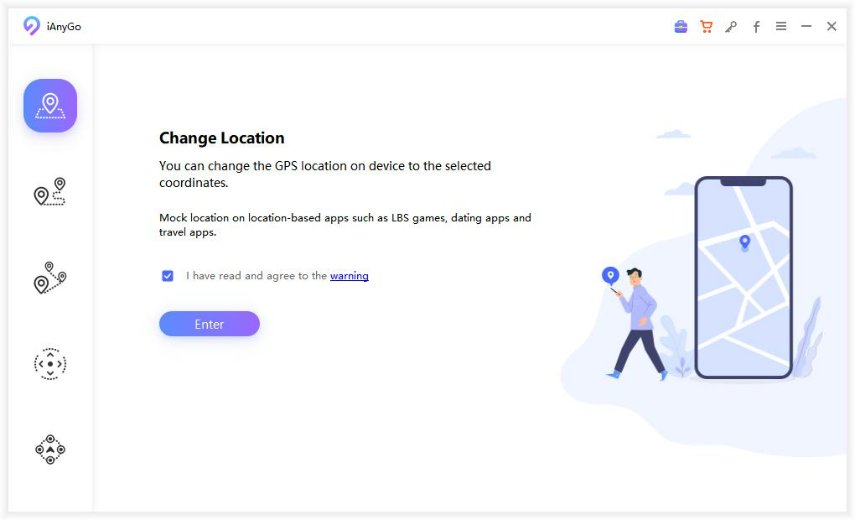
Launch iAnyGo on your PC. The default mode is to change location so proceed with this mode.

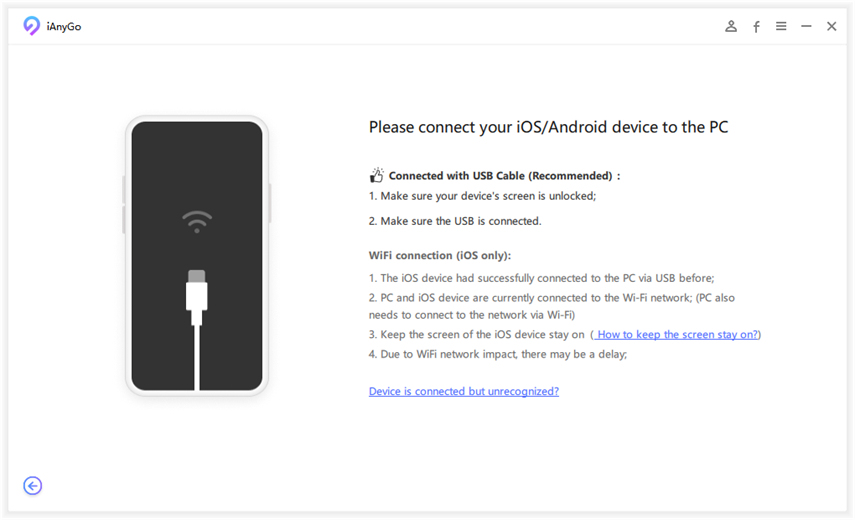
Connect your iPad to the PC using a USB cable. Unlock your iPad. If you see a pop-up message asking for your permission to add the connected PC as a trusted device then grant permission by clicking on “Trust” and proceed.

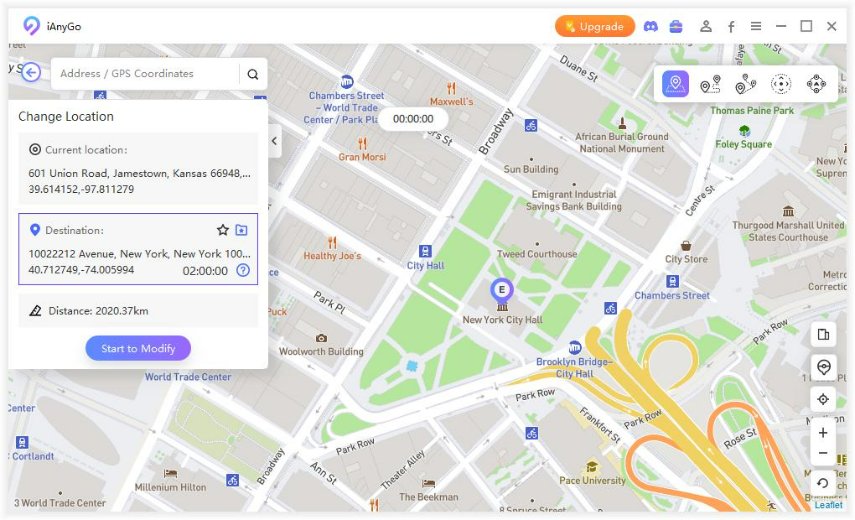
Now you are at the last step which is choosing your desired location. You can search your desired location in the search box. After selecting a specific location, all the location-based apps such as WhatsApp will be updated to the new location including the weather app.

Part 4: Useful Tips About iPad Widget
Now on Apple devices, you can easily add and remove widgets, change their layout and size and place them anywhere on your home screen. Here are some useful tips to add widgets on your iPad home screen and how to use widget stacks.
1. Steps to Add Widgets on iPad Home Screen
Widgets can be added to the home screen of your device directly. Moreover, you can place the widget anywhere on the screen. So, next time when you find yourself searching for how to change the weather location on iPad, make sure you have quick access to it on the home screen. You can add a widget by following these steps:
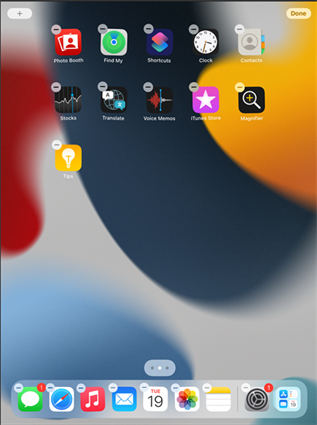
Long press on an empty area of your iPad home screen.

- Tap on the (+) icon in the upper left corner of the screen.
Scroll down the list of widgets to select the widget you wish to add.

- Choose your preferred size and layout of widget and tap on the “Add Widget” option.
- Place your widget to the preferent position on the screen and press Done.
2. Steps to Use Widget Stacks
Stack widget allows you to make a layer of widgets by stacking them on top of each other. Adding stack widget which dynamically changes throughout the day to show you content from different apps and services on your device. You can go through the content being shown on your stack widget by swiping it up or down. Here is how you can create widget stacks on the iPad home screen.
Long press on a specific widget and select the Edit Stack option.

Tap on the (+) or (-) icon to Add or Delete widget as you like.

- Tap “Done” when you are finished stacking widgets.
- You can swipe up and down to cycle through the content of widget stacks.
The End
We hope this guide provided you with sufficient information on “how to change weather location on iPad” and iPad weather widgets. So, use this knowledge and update your iPad to enjoy the convenience of widgets.
Speak Your Mind
Leave a Comment
Create your review for Tenorshare articles

Tenorshare iAnyGo
2024 Top Location Changer
With Bluetooth tech built-in: no cracked/error 12, 0-risk.


