Easy Steps to Create Folder in Google Photos
Google Photos is one of the most widely used online platforms to store media files like audio clips, videos, and photos on cloud. It is very easy to organize the photos and other media files on Google Photos. One of the ways in which you can do this is by creating separate albums or folders on Google Photos to categorize the media files on it.
You can do this by either using your Android or iPhone or by using a computer from the browser. Apart from this, you can even name, share, and edit the folders that you create on Google Photos. If you want to organize the contents of your Google Photos efficiently by creating distinct folders, you can use any of the methods given below. Read on to know more about how you can create folders in Google Photos in simple ways.
- Part 1. How to Create a Folder/Album in Google Photos on Android Phone
- Part 2. How to Create a Folder/Album in Google Photos on Desktop
- Part 3. How to Create a Folder in Google Photos to Automatically Add Photos?
- Part 4. How to Add Photos or Videos from Google Drive to Google Photos
- FAQs on Google Drive and Google Photos
- Bonus Tip: How to Selectively Download Data from Google Account?
Part 1. How to Create a Folder/Album in Google Photos on Android Phone
If you are one such person who prefers using their phone to carry out different functions, you would definitely prefer creating an album on Google Photos using your mobile phone. If so, you can know how to create folder in Google Photos using your mobile phone in the following way.
- Download Google Photos on your phone and enter your Google account details to sign in.
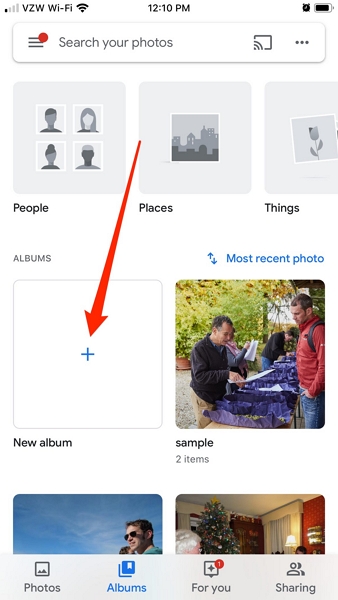
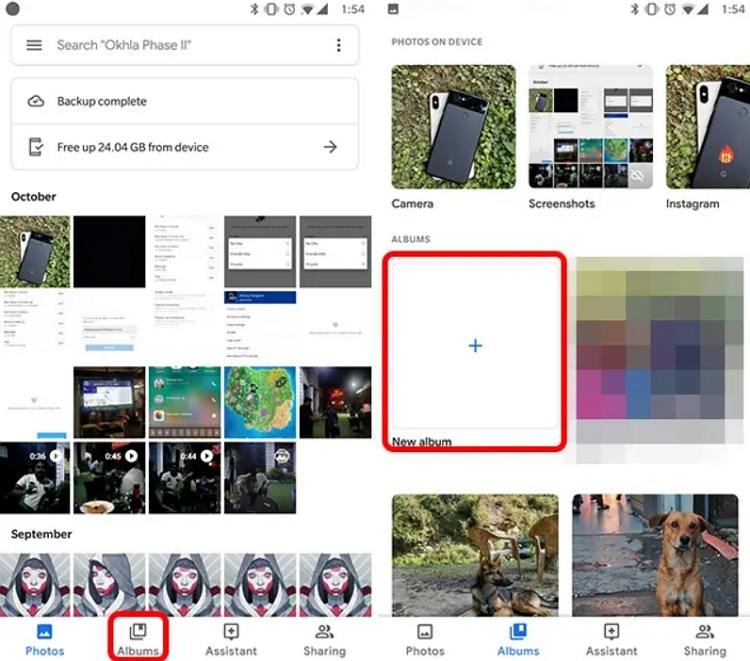
- From the bottom of the screen, select “Albums” and from the “New Album” section, tap on the “+” icon.
Key in your album name and then tap on “Add Photos” to select all the images that you wish to add in this folder.

After this, you can use the “Edit” option to make changes to this album or keep it and use it as it is.
Part 2. How to Create a Folder/Album in Google Photos on Desktop
If you cannot access your phone or you do not wish to use your phone to create albums and folders on Google Photos, you can use your computer to create a folder or album on Google Photos. You can know how to make folder in Google Photos on your desktop in the following way.
- From any browser on your computer, navigate to https://photos.google.com.
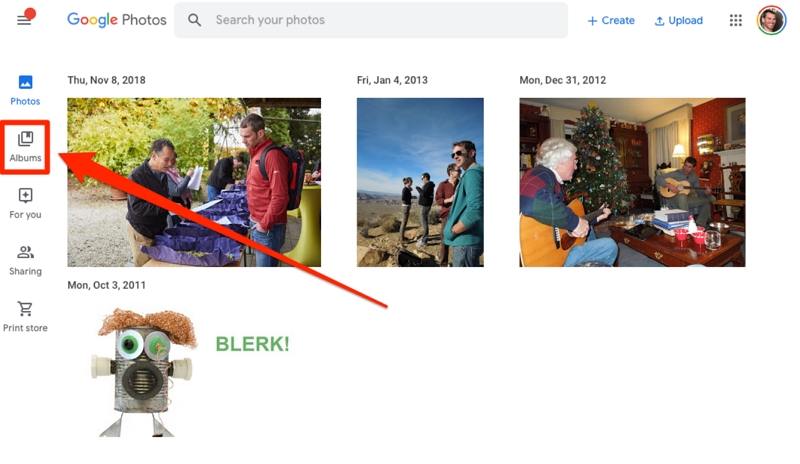
Click on “Albums” and then from the “Create album” section, select the “+” sign in blue.

Add a title to the album and click on “Add Photos”. You can even select the photos from your computer.Once done, click on “Done”.

After this, you can share the newly created album with anyone you wish.
Part 3. How to Create a Folder in Google Photos to Automatically Add Photos?
The above ways to create a Google Photos folder are pretty straightforward and simple. If you wish to create a folder in Google Photos where you can add photos automatically, you can follow the steps given below to create a Live Album which can automatically add your favorite photos.
- Launch Google Photos app on your phone.
- From the bottom of the screen, go to “Library” and then tap on “Albums”.
Tap on the “+” icon in the “New album” section.

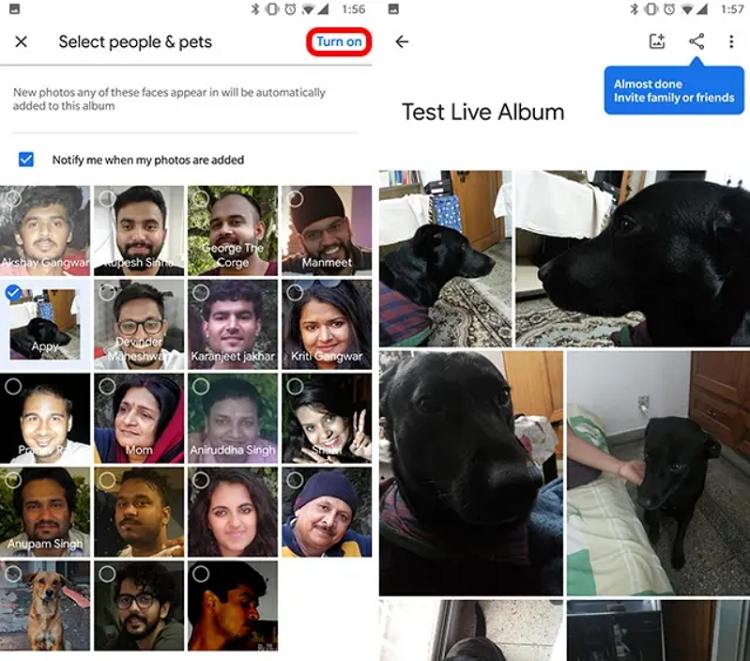
Give your album a title, and tap on ‘Automatically add photos of people & pets.’ Select the people or pets you want to automatically add to the Live Album.

Next, tap on ‘Turn on’ in the top right corner. Your album is now ready. This live album will add the photos of your friends and family automatically.

Part 4. Can You Create Folders within Albums in Google Photos?
When it comes to organizing files, it is always easier when you can create different categories within a folder containing similar files. Although you can create multiple albums or folders on Google Photos, this popular cloud storage space still does not give its users the option of creating multiple albums of folders within a single album or folder.
Bonus Tip: How to Selectively Download Data from Google Account?
Is there a way to download and restore data from Google account selectively? Of course, yes. UltData for Android is the tool that you can flexibly download and restore data from Google account without factory restoring your device.
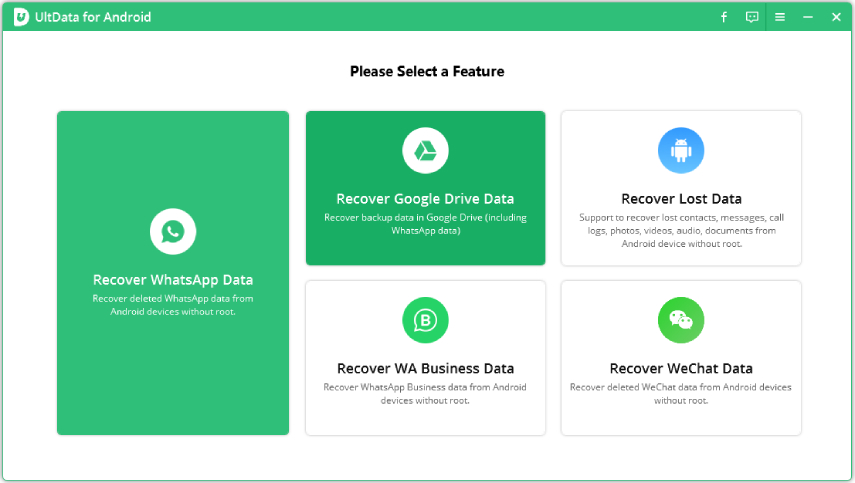
Run UltData for Android and select “Recover Google Drive Data”. Log in to Google Account with your account details and click “Sign in”.

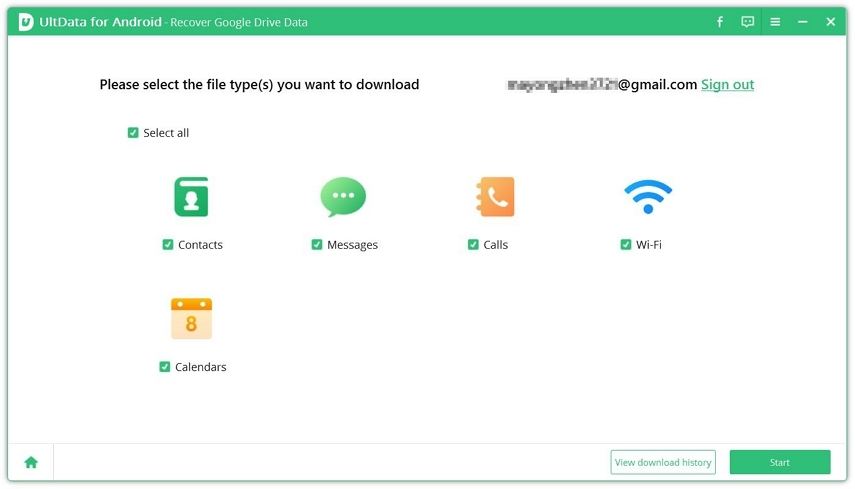
Once you logged in to your Google account, select the data type you would like to recover and click “Start” to start scanning.

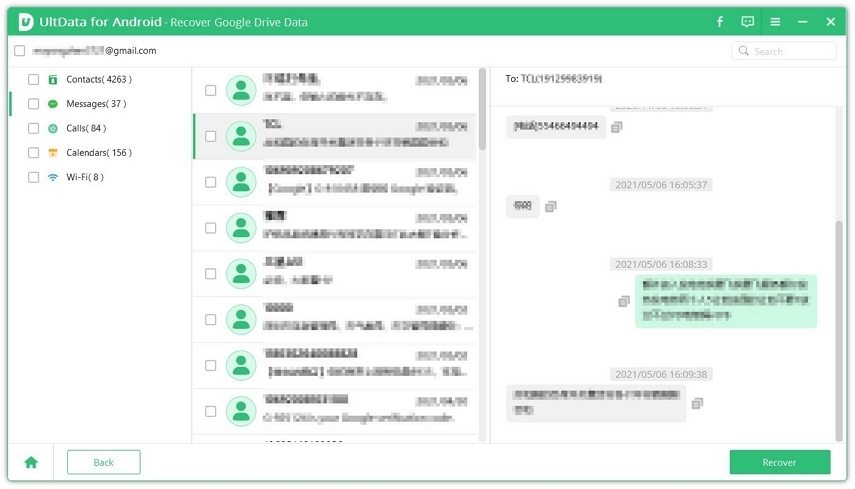
After Scanning, preview and recover your wanted Google data.

Conclusion
With the help of the methods described above to add folders to Google Photos, you can easily organize the photos and other media files on your Google Photos cloud storage space by creating separate folders or albums to segregate the files. This would make it easier for you to find any media file that you are looking for with ease. You can even create a live album where your friends and family automatically get categorized into separate folders.
Speak Your Mind
Leave a Comment
Create your review for Tenorshare articles
Tenorshare UltData for Android
Best Android Data Recovery Software
Highest Data Recovery Rate
