What to Do If Failed to Synchronize Cloud Saves?
Before looking for a solution to this issue, it is important to explain what Uplay and Ubisoft are. Uplay is a well-known digital rights management, distribution, communication, and multiplayer service for gamers. It is worthwhile to know that Uplay has been renamed Ubisoft Connect. It provides gamers with a platform for enjoying their various games and also allows seamless connections with other players. This free service can be accessed directly from your games or on your computer via a mobile application.

Ubisoft, on the other hand, is the video game company that developed Uplay. Although the company’s headquarters is found in Montreuil, it has a lot of development studios in different parts of the globe. This French company has numerous video game franchises such as Just Dance, Assassin’s Creed, Rayman, Prince of Persia, and Far Cry.
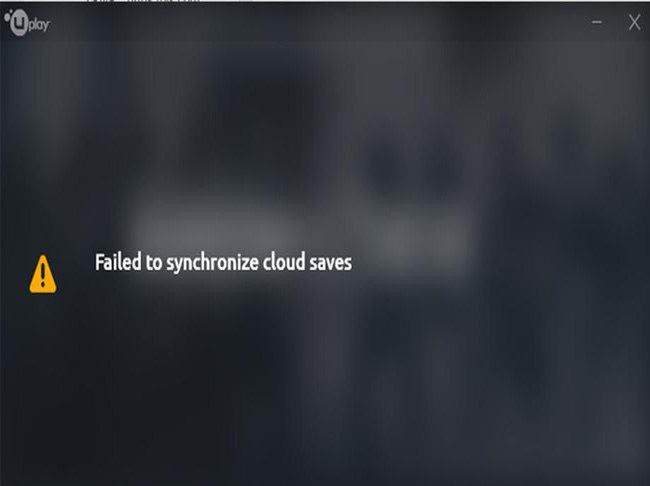
Now, let’s go back to the “Failed to synchronize cloud saves” problem. Generally, when you are trying to play any of the Ubisoft games in Uplay, you may get this error. As a result of this, you may not be able to load beyond the Uplay screen; hence, you cannot enjoy playing the game.
So, what can you do to deal with this problem? The answers are all found in this article.
- Part 1. What Happens If Failed to Synchronize Cloud Saves
- Part 2. How to Fix Ubisoft Failed to Synchronize Cloud Saves
- Extra Tip: How to Recover Lost Files Stored on Computer
Part 1. What Happens If Failed to Synchronize Cloud Saves
In general, when syncing any game, the cloud servers will access the file information and update the latest profile utilized for playing the game. If you are getting the “failed to synchronize cloud saves” error, you will not be able to get the ‘save game’ file. Therefore, you will not be able to retrieve the data. Even if you try to recover the saved game data manually, the platform will not allow you.
Part 2. How to Fix Ubisoft Failed to Synchronize Cloud Saves
If Uplay is showing you the “failed to synchronize cloud saves” error, there are a few things you can do to get rid of it.
1. Disable cloud save synchronization
To disable cloud save synchronization, you should follow the steps below:
- On your PC, go to “Start” and select “Programs”. Choose “Ubisoft” and then click “Uplay” to launch the Uplay PC client.
- Look at the top left-hand corner of the screen and tap the menu icon to continue
- Select “Settings” and hit “General”
- Lastly, uncheck the “Enable Cloud Save Synchronization for supported game” option. This should solve the issue.
2. Save FC4 file
- Make sure the “Enable Cloud Save Synchronization for supported game” option is still unchecked.
- Look for the FCA saves folder on your PC. Then, back up the folder in another location on your computer.
- Now, open the FCA saves folder. This will show you various *.save and *.save.upload files. Select one of the *save files and delete the others. The number in the name of the file must be “f”. But if it is not “f”, change it to “f”.
- Go back to your game and load it. This may fix the problem. However, if it doesn’t, you should restore the FCA saves folder you backed up in step 2. Go back to step 3 and try different save files. One of the files may fix the problem.
Extra Tip: How to Recover Lost Files Stored on Computer
Regardless of the backup you have, there are times when you will lose some important files stored on your PC. This could be because of accidental deletion of data, crashed system, infection of the computer by malware, emptying of recycle bin, and lots more. In this case, you have to find a way to recover the lost files. Luckily, you don’t have to lose your sleep over this as Tenorshare 4DDiG is the top-quality program for recovering lost files stored on a PC. This reliable data recovery tool is available for everyone that wants to retrieve any kind of files lost on a computer.
If you want to use this tested and trusted tool to recover the lost files stored on your computer, here are the important steps you must follow:
Click 4DDiG Spring Sale Coupon Code to obtain limited-time offers.
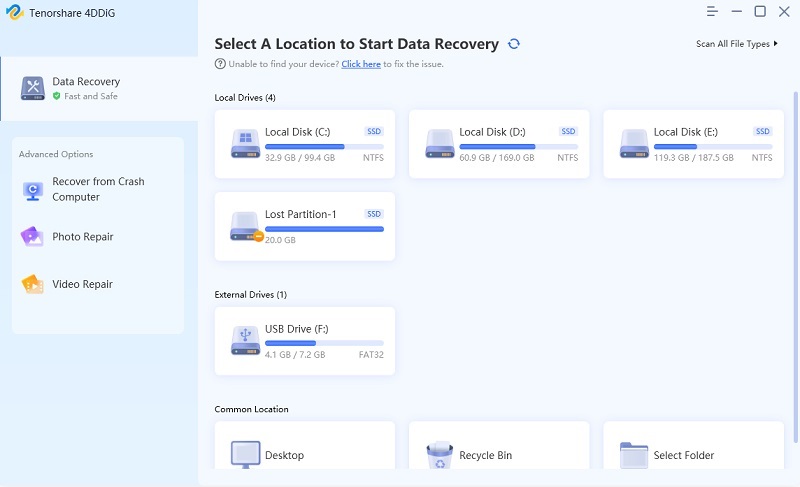
Download and launch 4DDiG, select the location where your files get lost and click scan.

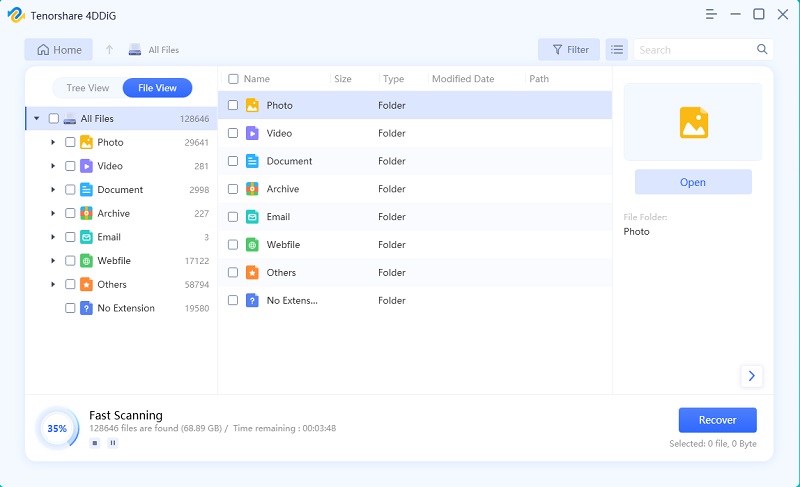
4DDiG immediately examines the selected drive all around for missing data, and you can pause or stop the searching at any time if you've identified the files you want to recover. Wait for a few minutes, you will see the lost files scanned by the software.

Once the scanning is complete, you need to choose the files you want to recover.

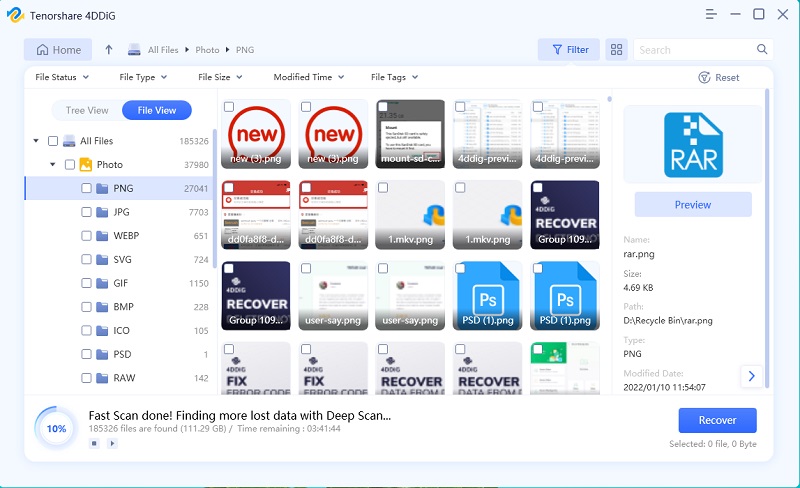
This is the last step of this data recovery process. Here, the program allows you to change File Type, Deleted List, and Tree View. To do this, use the option at the top of the left corner of the interface. Also, use the option at the right pane to preview the file.
Once the files have been recovered, you can go to the source destination to check them.
Speak Your Mind
Leave a Comment
Create your review for Tenorshare articles


