HEIC Converter & Device Accessibility Control
Tenorshare iCareFone allows you to batch convert images from HEIC to JPG in seconds. You can also use iCareFone to turn on/off the device’s accessibility options when you have difficulty controlling these features on your device.
Available for macOS 12 Monterey now Available for Windows 11/10/8.1/8/7
Part 1. How to Convert HEIC to JPG
Step 1: Connect Device
Download and install Tenorshare iCareFone on your PC and connect your device with it by using a lightning to USB cable. If prompted to "Trust This Computer", please unlock your device and enter the passcode to ensure successful detection. After the device is connected, select “HEIC Converter” icon under “Manage Your iOS Device” on the main interface to quick start.
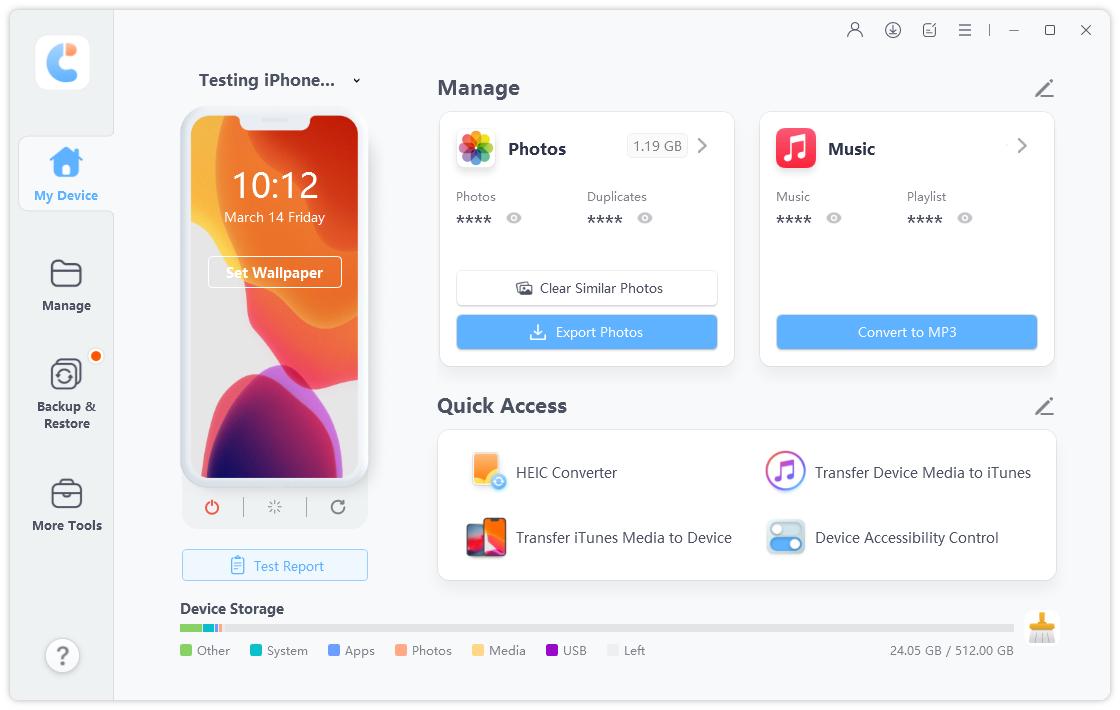
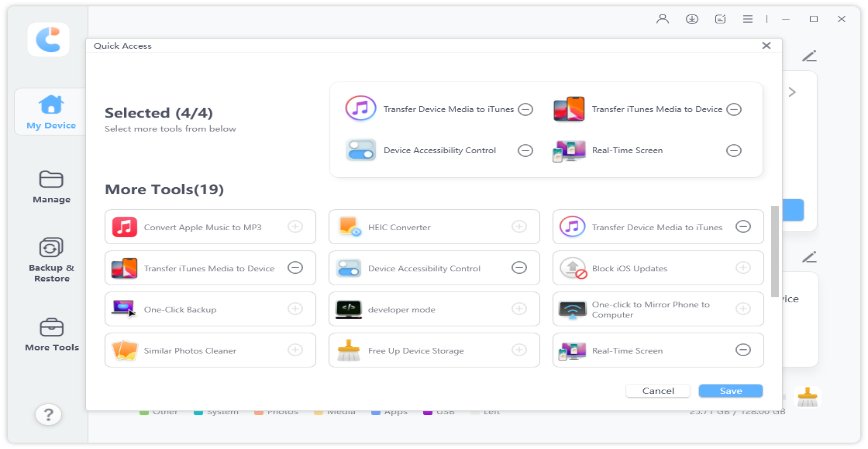
Note: You can also select “More Tools > HEIC Converter” tab from the top menu to start.
Step 2: Select HEIC Photo(s)
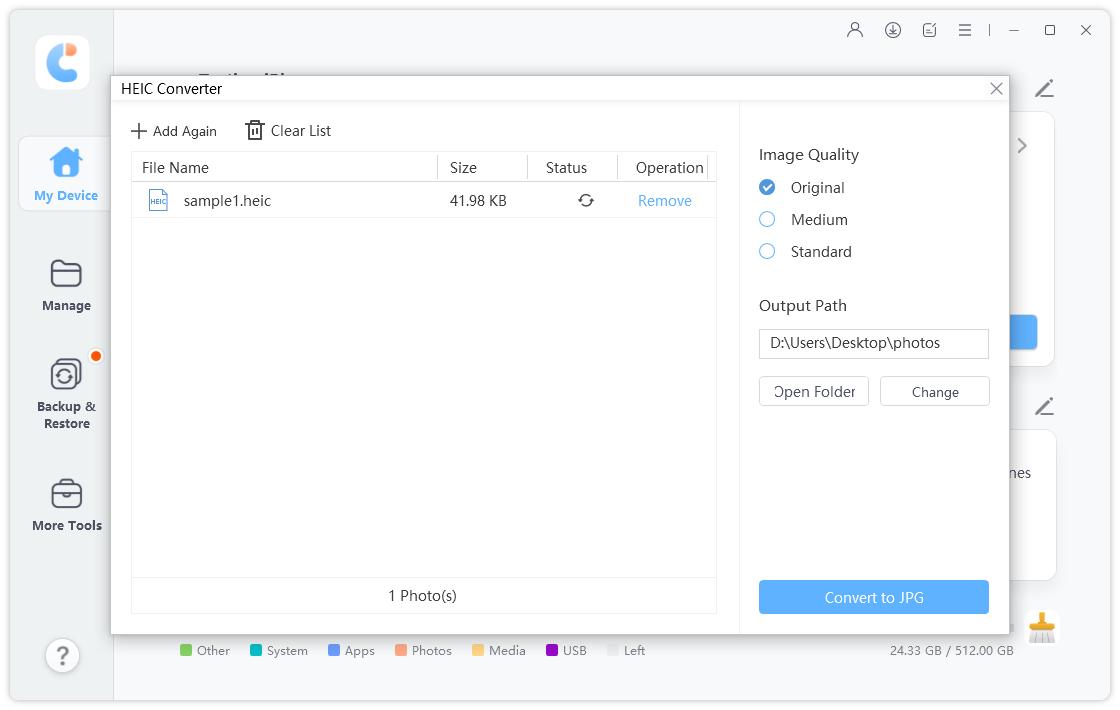
Choose Add Photos and then click “Select Photos” or “Select Folder” to select the HEIC photos. (“Select Folder” allows you to choose multiple HEIC photos at once.)

You can also click “Add Again” from the top left corner to add more photos. If you need to delete photo(s), click “Remove” under the “ Operation” list to delete a single photo or choose “Clear List” to clear all selected photos.

Note: After selecting the HEIC photo(s), you can choose the converted JPG image quality from Original(95%), Medium(70%), and Standard(40%).
Step 3: Start Converting HEIC to JPG
iCareFone will save the converted JPG photos on your desktop by default. You can click “Change” button to select the output path as you wish. If all the settings are set, click “Convert to JPG” to start the conversion.
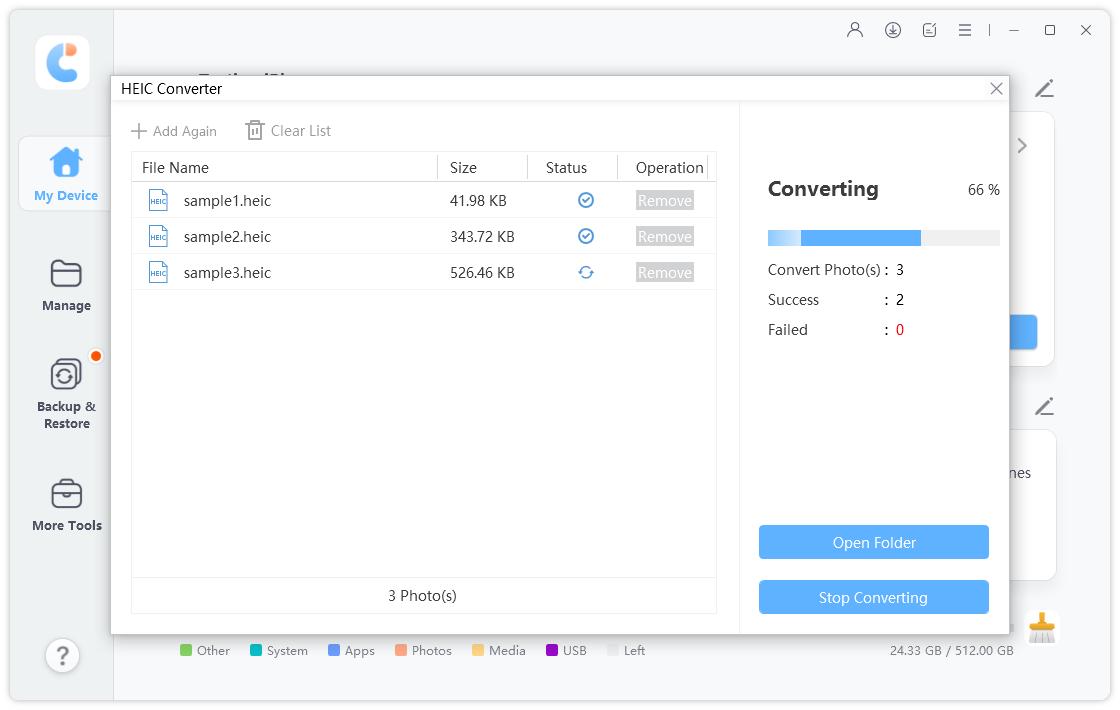
Note: No more than 1,000 photos can be converted at a time.
Step 4: Conversion Completed
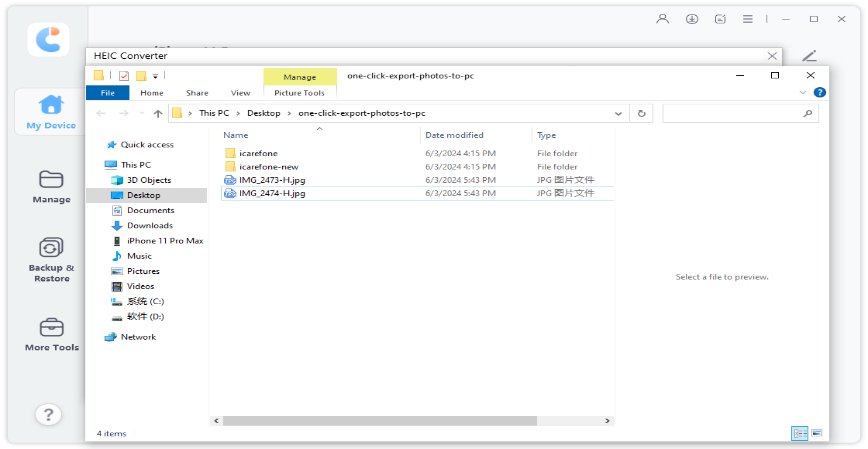
When the conversion is completed, the folder of the output path will pop up. If not, you need to click “Open Folder” to check the converted JPG photos.
Part 2. How to Control Device Accessibility Options
Step 1: Connect Device
Download and install Tenorshare iCareFone on your PC and connect your device with it. If prompted to "Trust This Computer", please unlock your device and enter the passcode to ensure successful detection. After the device is connected, Then select “More Tools > Device Accessibility Control” tab from the top menu to start.

Step 2: Turn ON/OFF Device Accessibility Features
Now you can turn on/off device Accessibility features without any restrictions.
- AssistiveTouch: When it is enabled on your device, a button will appear on your device screen. And you can use this button to lock the screen, take screenshots, etc.
- VoiceOver: It helps you use iPhone without seeing the screen.
- Zoom: It lets you zoom in on everything on the screen as you like.
Invert Colors: It allows you to view items against a dark background.

Is it Helpful?
Still Need Help ?
Simply contact our support team who are happy to help out. You can submit an online form here.

