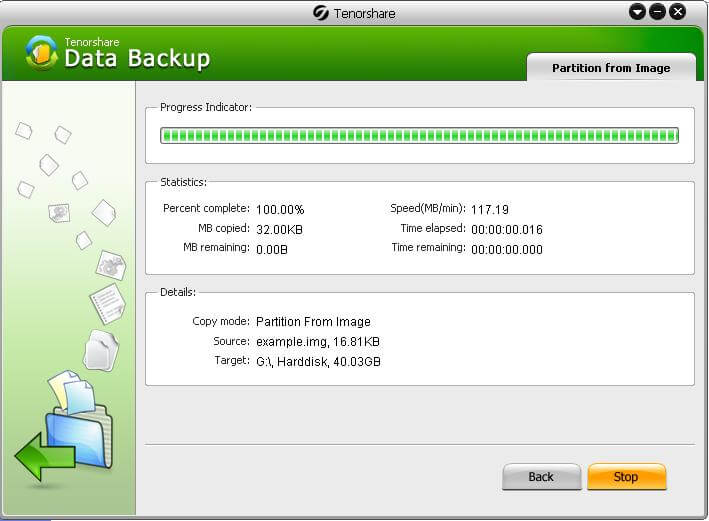
How to Use Tenorshare Data Backup
Tenorshare Data Backup is professional yet easy data backup software that protects your Windows system, partitions, folders, files with backup and restore. By using this backup tool, you can back up your Windows system, photos, videos, audios and documents and restore them completely if your hard drive crashes.
Here are detailed guide on how to use this data backup software. We divided this guide into four parts:
Part 1. How to Clone a Disk
If you are planning to upgrade your hard drive and need to get your data from old hard drive to the new one, you can clone your hard drive to retain all the files and folders.
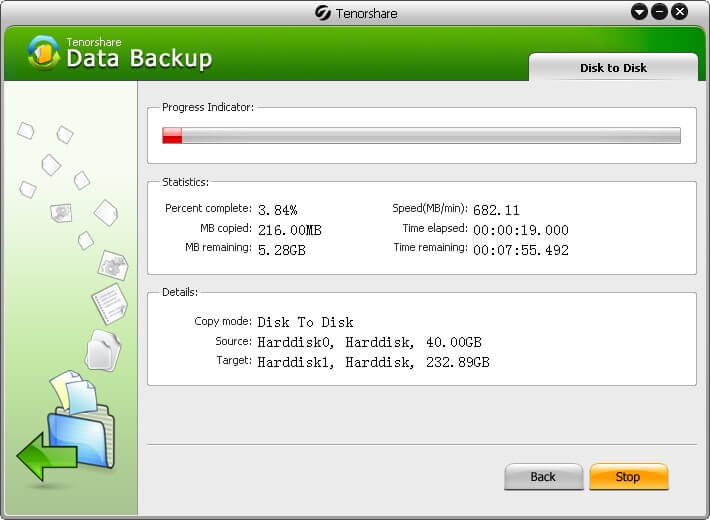
Step 1: On the main interface, there're several options, here you need to select "Disk to Disk".
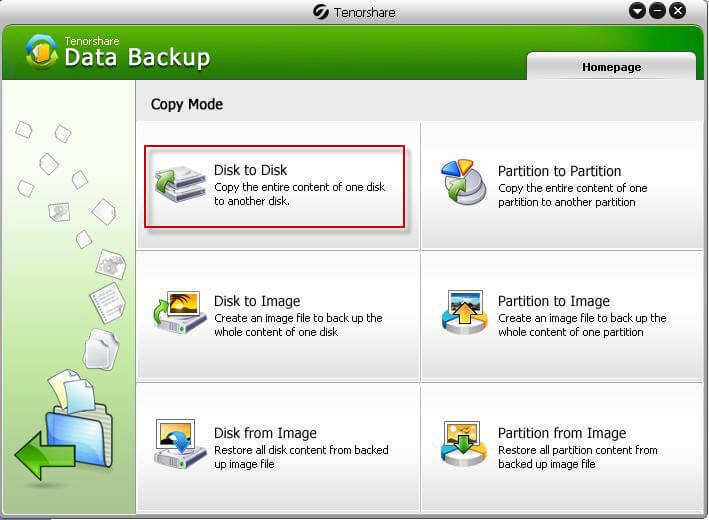
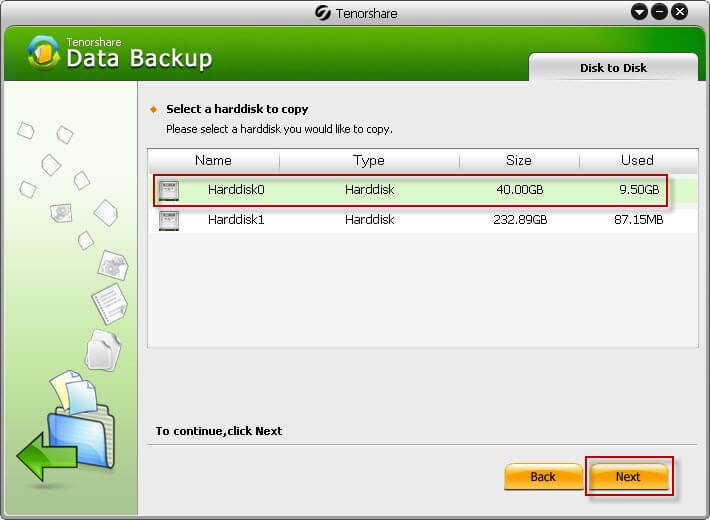
Step 2: Then choose the source disk, which will be your old drive.
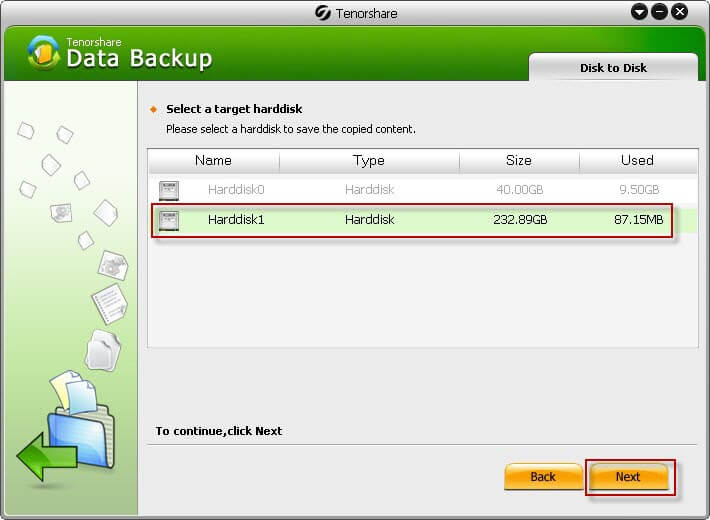
Step 3: Select the target drive, which would be your new drive where the source partition will be copied. Click "Next".
Step 4: Once complete, the disk has been cloned.
Part 2. How to Clone a Partition
To either make a backup or distribute an identical environment to multiple computers, you can clone a hard drive partition.
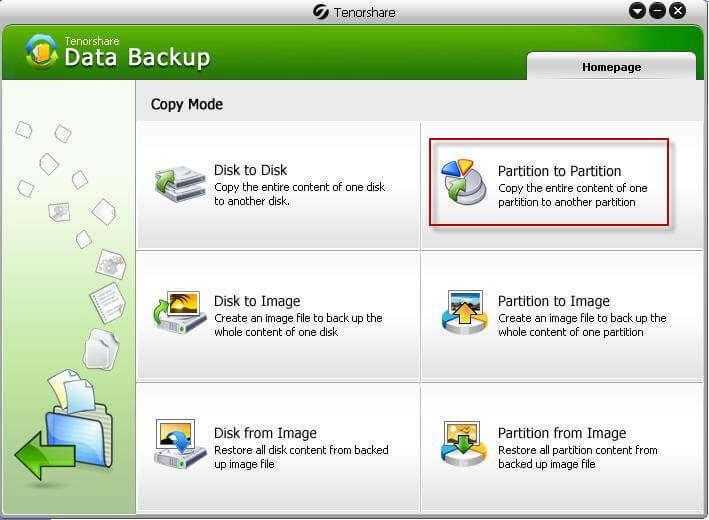
Step 1: Select "Partition to Partition" on the main interface.
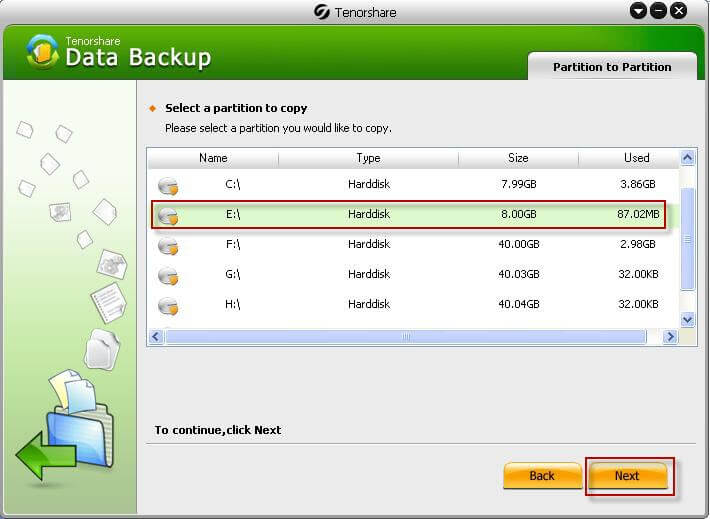
Step 2: Select one partition you need to clone from the partition list this software detects, and click "Next" to proceed.
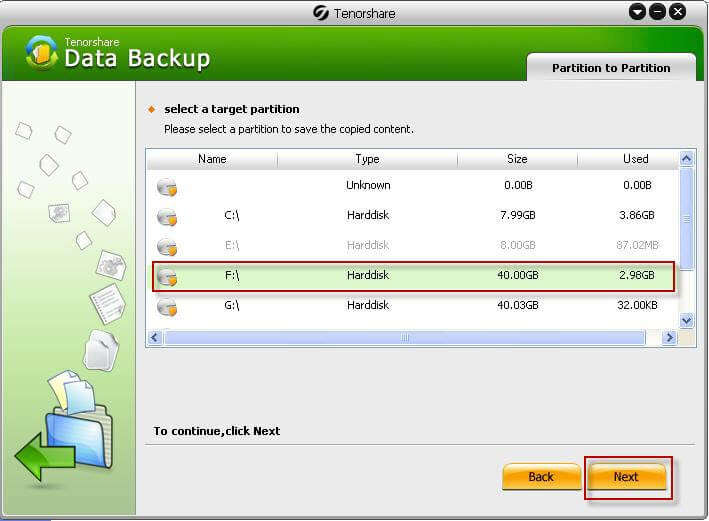
Step 3: Then select the target partition, which you are going to clone the source partition to. Here you can't select the source partition in this step. Click "Next".
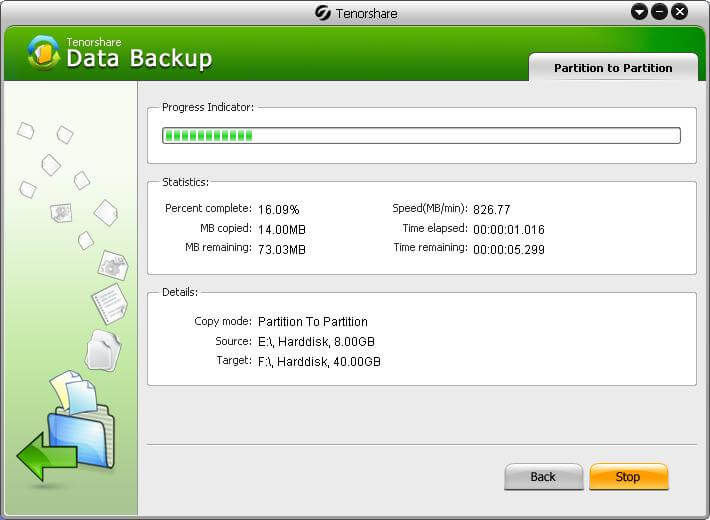
Step 4: Then it starts to copy the contents on the source partition to the target partition. As the progress bar reaches 100%, all the data are cloned completely.
Part 3. How to Create and Restore an Image of the Entire Disk
In case data loss due to system crashes, virus, or natural disaster, you should back up the entire disk in advance.
Step 1: Connect an external hard drive or other portable media to your computer.
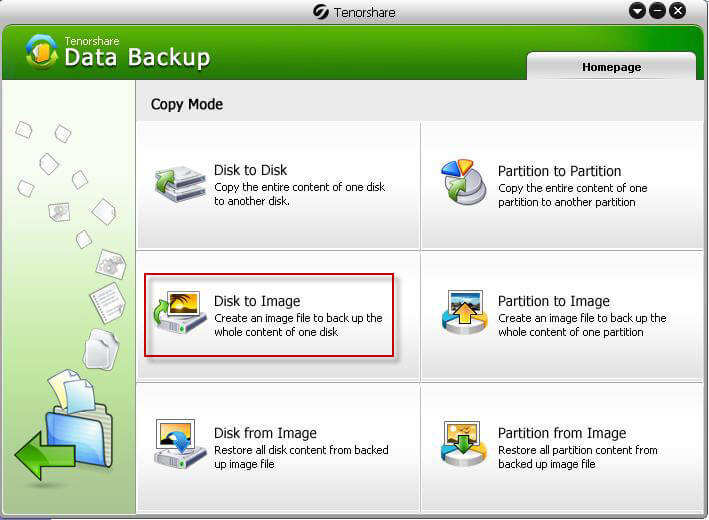
Step 2: Select "Disk to Image" from the options provided by this software. This will enable you to create backup copies of all that is on your hard drive.
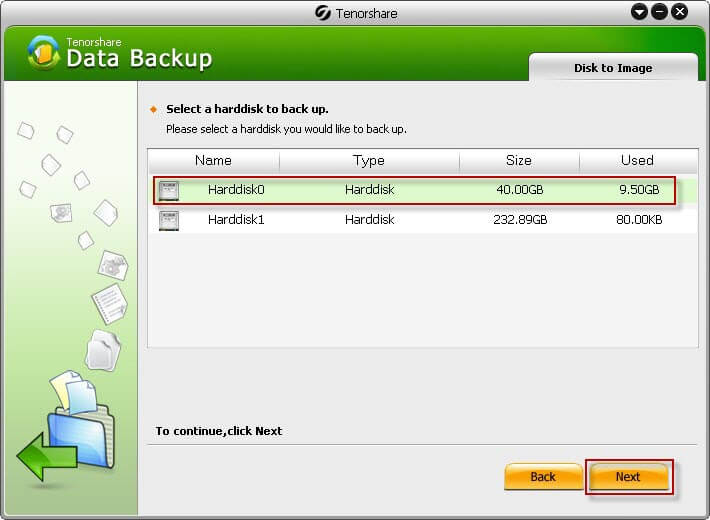
Step 3: Select the hard disk you would like to back up. Click "Next".
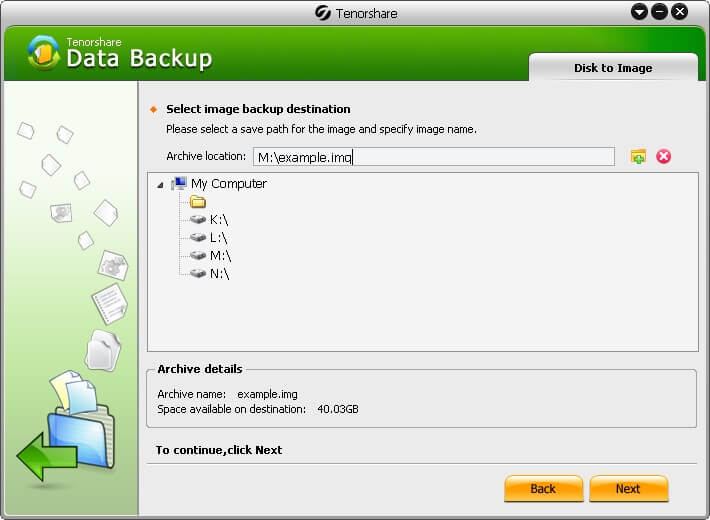
Step 4: Select your external hard drive as the destination folder to save the backup image the software extracts, and enter a file name with an .img suffix. Click "Next".
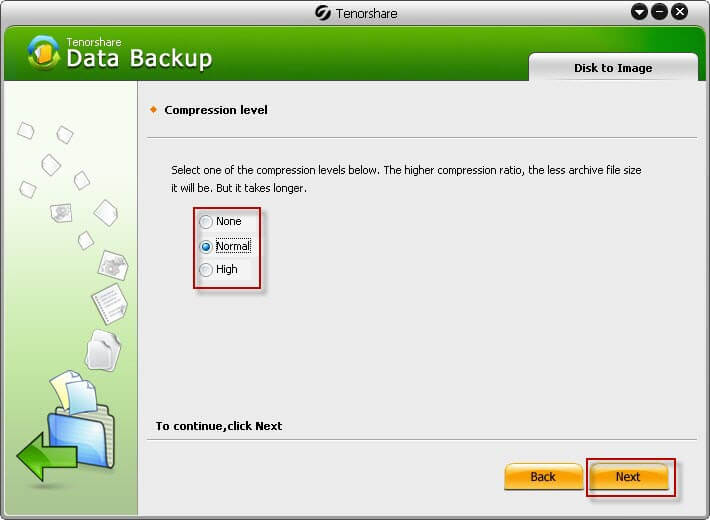
Step 5: Choose a compress level that you need. The higher compression ratio is, the less archive file size is. However, it will take longer time if you select the high compression. Click "Next" to go on.
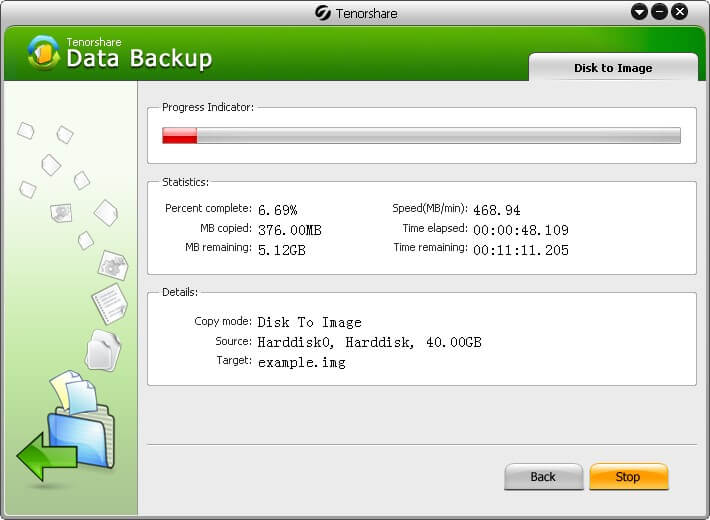
Step 6: It will take you several minutes to back up. After it completes, all your data on this disk are backed up in an IMG file.
You can use this system image to restore the contents of your computer if your hard disk or entire computer ever stops working.
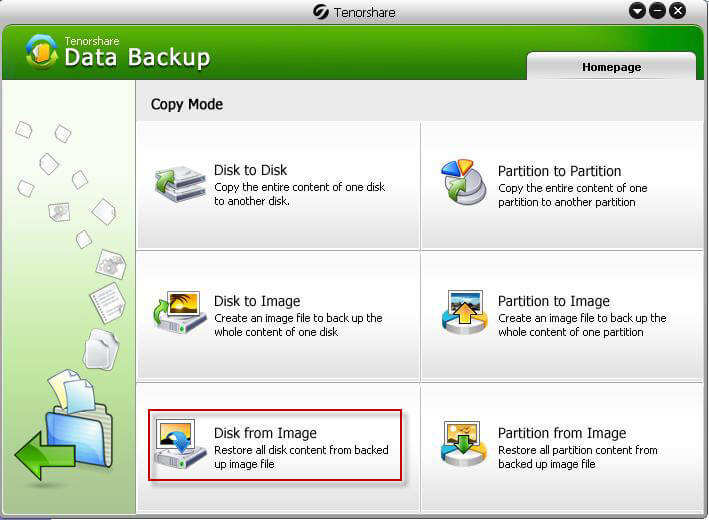
Step 1: Plug the external drive containing the image file into your computer. Select "Disk from Image" on the main interface.
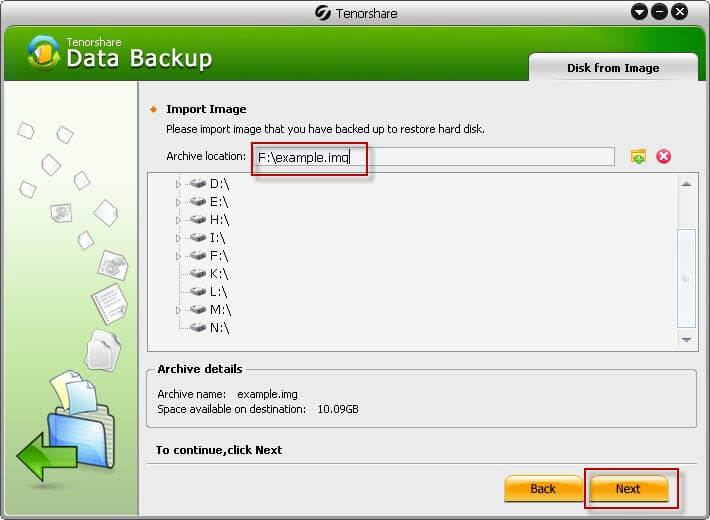
Step 2: Navigate to the folder which contains the image file you created before and select this file. And then click "Next".
Step 3: Select the hard drive you're restoring, and click "Next".
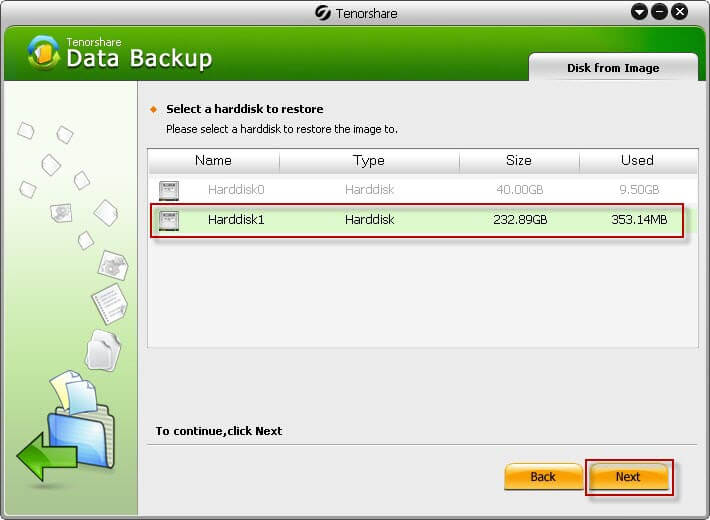
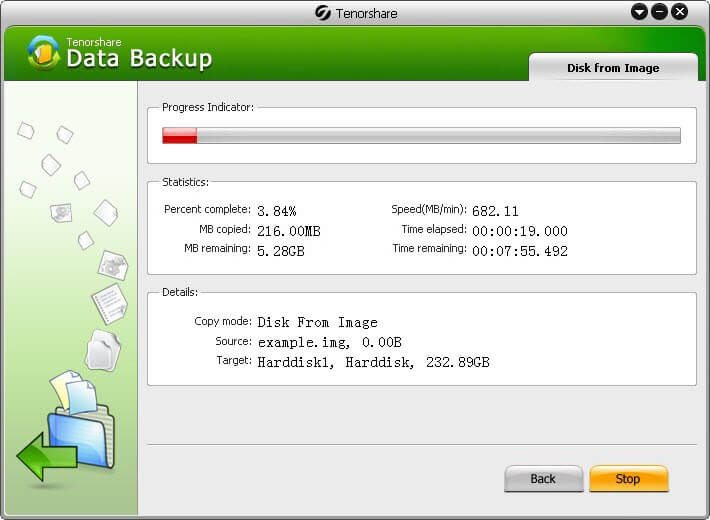
Step 4: The restoring process begins. This will completely erase the disk in the destination field. Wait for the disk to be restored.
Part 4. How to Create and Restore an Image of a Partition
In order to protect data loss from program errors, system crash, or some accidents, you should back up your partition which contains your vital information.
Step 1: There are several options provided by this software. Here you should choose "Partition to Image".

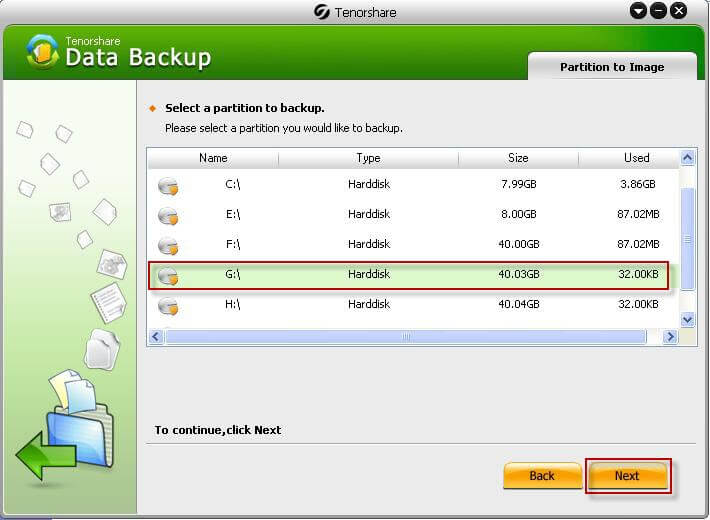
Step 2: You will see all of your partitions on your computer. Select the one you need to backup (If you need to backup all the partition on your disk, you can turn to How to Create and Restore an Image of the Entire Disk). Click "Next".
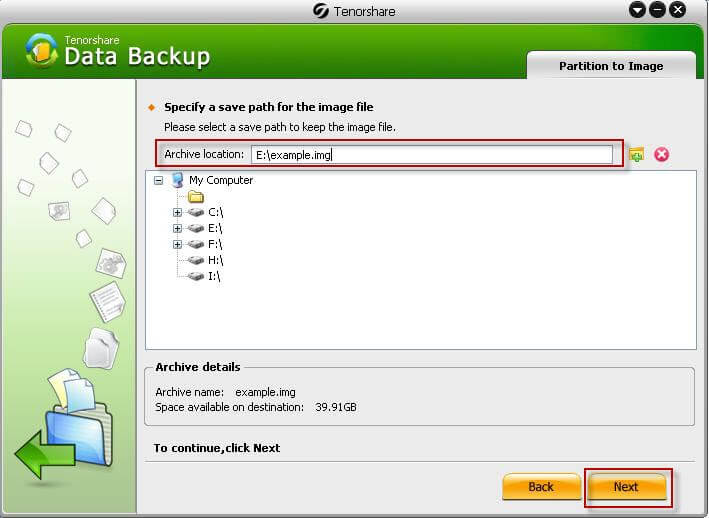
Step 3: In the window that appears, select a location to save the image file that this software extracts, either on your external drive or extra internal drive, and enter a file name with an .img suffix after the location. Click "Next" to go on.
Step 4: Choose a compress level with which this program compresses your data during the backup process. The higher level will make a small-sized archive but be more time-consuming. Click "Next" for the next step.
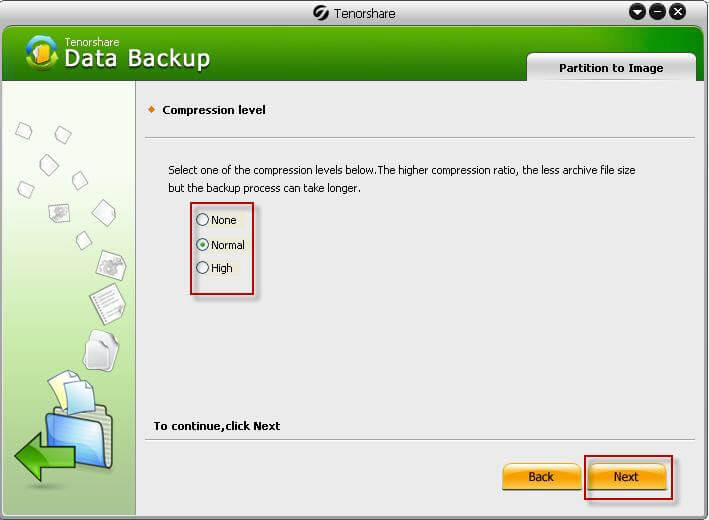
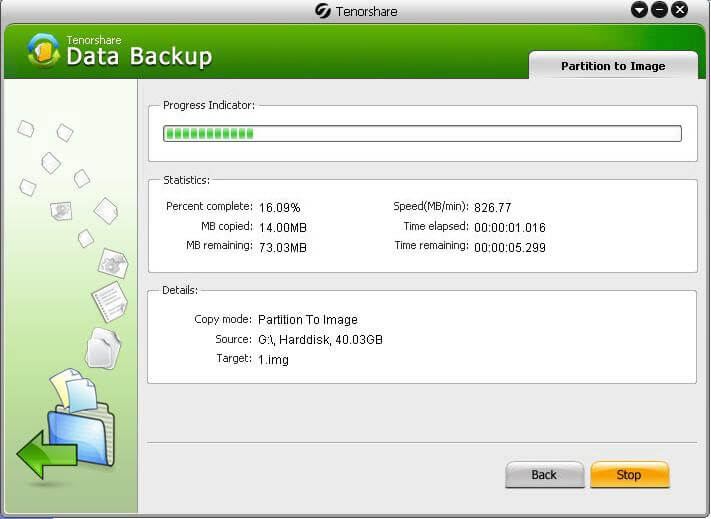
Step 5: Then the backup process begins. There is a progress bar that will indicate how it works. After it reaches 100%, your partition is backed up in a file with the IMG format.
If disaster happened and you lost data on your partition, you can use this image file you created before to restore the data on this partition.
If you lose data due to partition corruption, partition deletion, or other causes, you can restore data on partition using the image file you created before.
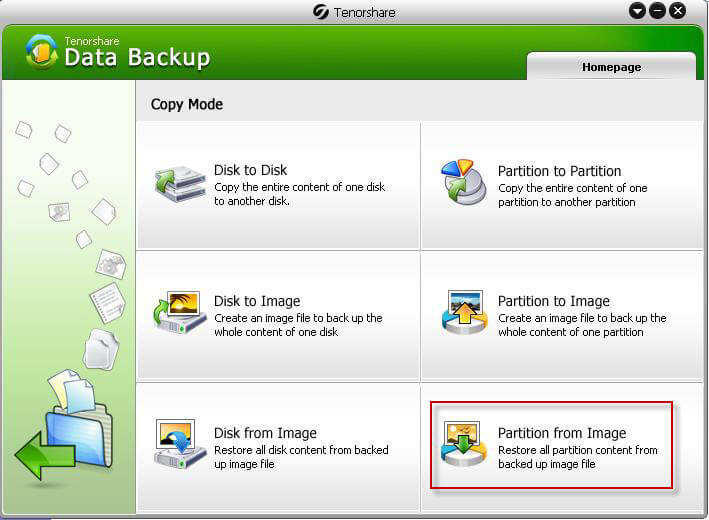
Step 1: Select "Partition from Image" at the right bottom of the interface.
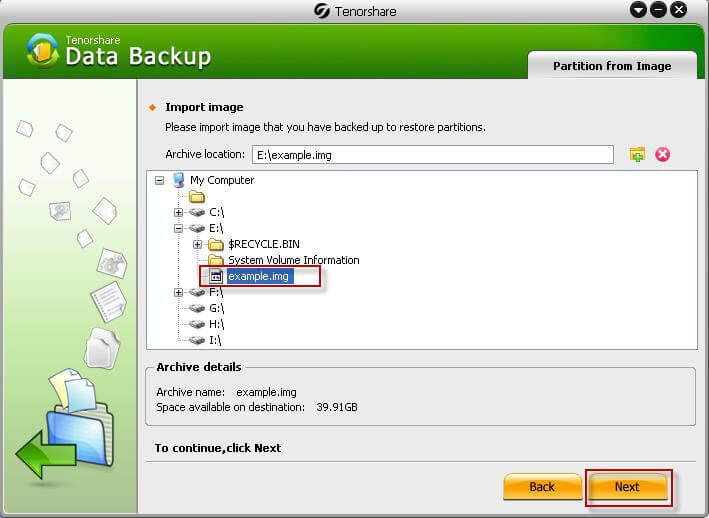
Step 2: Browse the file directory to find the image file you created before, and select it. Click "Next" to go for the next step.
Step 3: Select the partition you need to restore, and click "Next".
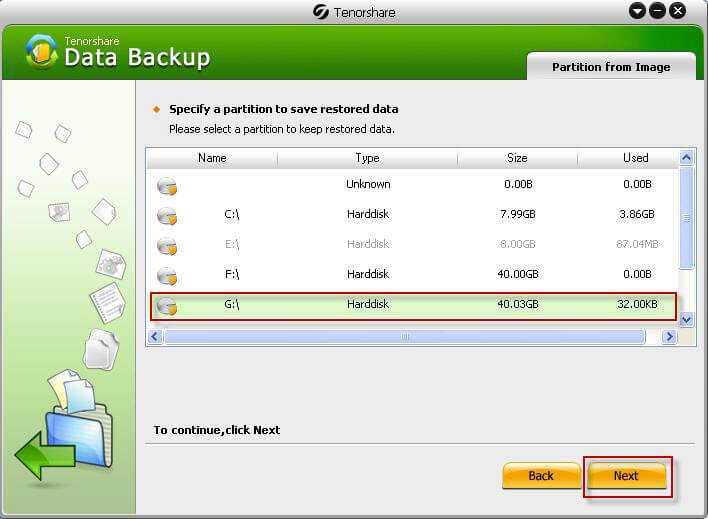
Step 4: The partition restoring starts with a progress bar. After this bar reached 100%, all your data are restored.
