How to Use Tenorshare iCareFone Cleaner
Tenorshare iCareFone Cleaner is a magical cleaning and speed-up tool to instantly and safely remove useless items, free up massive storage as well as protect your data privacy from leak to keep your iPhone/iPad/iPod optimized for its best performance and better your iPhone experience. Here you can find all detailed tutorial on how to use Tenorshare iCareFone Cleaner.
Getting Started
Please download and install Tenorshare iCareFone Cleaner on your computer, then launch it after installed successfully. After that, use the USB cable that comes with your iOS device to connect your iPhone, iPad or iPod touch, to your computer.
Once your iDevice is connected, all information about your device including name, type, version, serial number, system storage, total storage, used storage and free storage will be shown on the main interface, you can have a general idea how much storage you’ve used and how much storage is available. Then click on the Start button to start scanning.

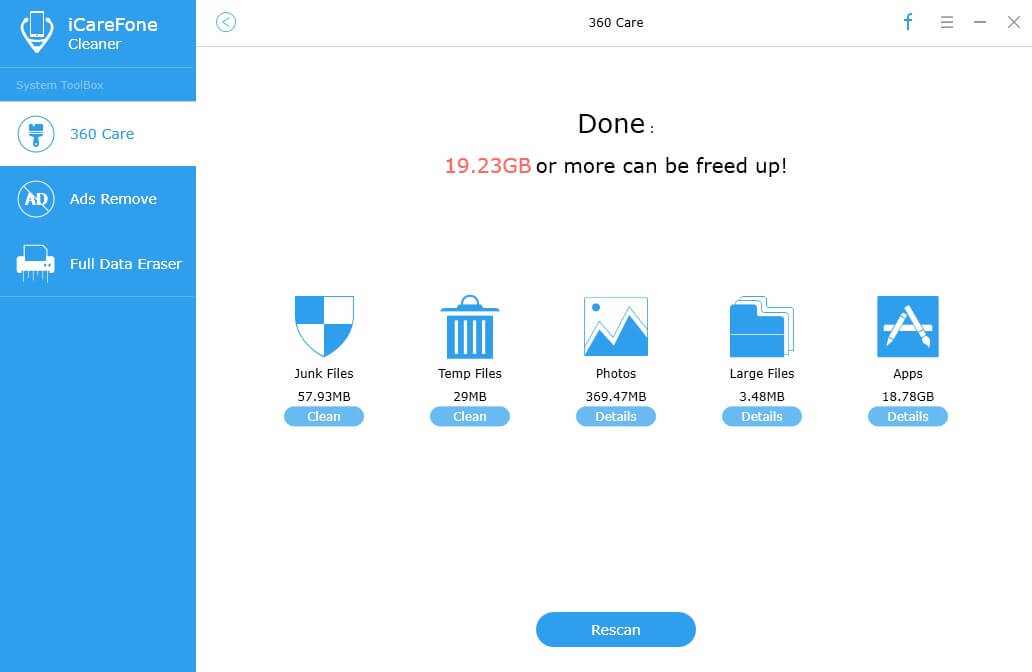
When the scan completed, how much storage space can be freed up will be displayed in category. There are five types of files you can choose from to get them cleaned, they are Junk Files, Temp Files, Photos, Large Files and Apps respectively. Below we will guide you how to use these features one by one in details.
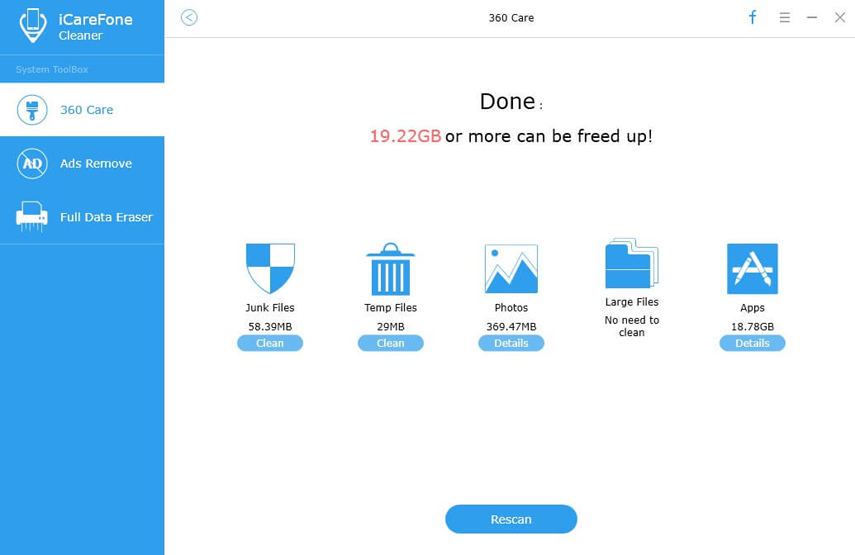
Part 1: Junk Files/Temp Files Cleaning
Junk Files cleaning can help you one-click to delete all kinds of junk files associated with App caches, App cookies, App Temp, Browser History, Contacts, Photo Library Cache Files generated by third-party tool, Invalid Data, crash log and etc. to free up massive space and boost your iOS device.
Temp files cleaning can permanently remove unnecessary system files including corrupted downloads, downloaded temp files, user storage files, log files, etc.
Choose the Junk Files/Temp Files from the main interface and hit the Clean button to free up all the junk files/temp files stored on your device. The time of cleaning junk/temp files depends on the size of them. To make sure that junk/temp files are cleaned up totally, please unplug your device while scan and cleaning.
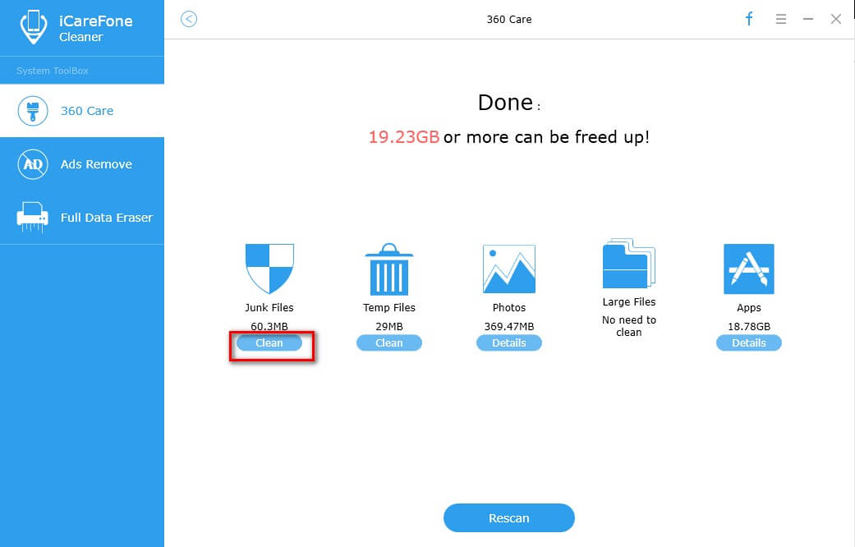
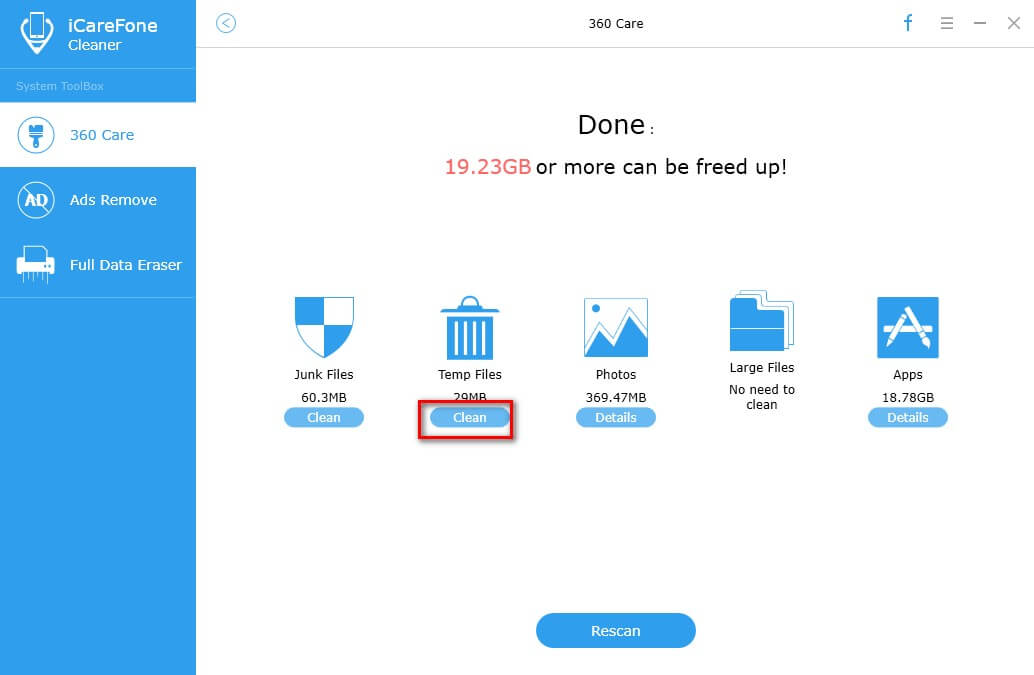
Once cleaning completed, you will see the amount of files cleaned up.
Part 2: Photo Backup & Compression
Tenorshare iCareFone Cleaner provides two options for you to save more photo storage space.
Backup & Delete
To avoid data loss, this feature is capable of baking up all your precious data before deletion at once. Even though you delete photos by accident, you may still find them back from backups.
Step 1: After the scan finished, click on Details below the photos icon.
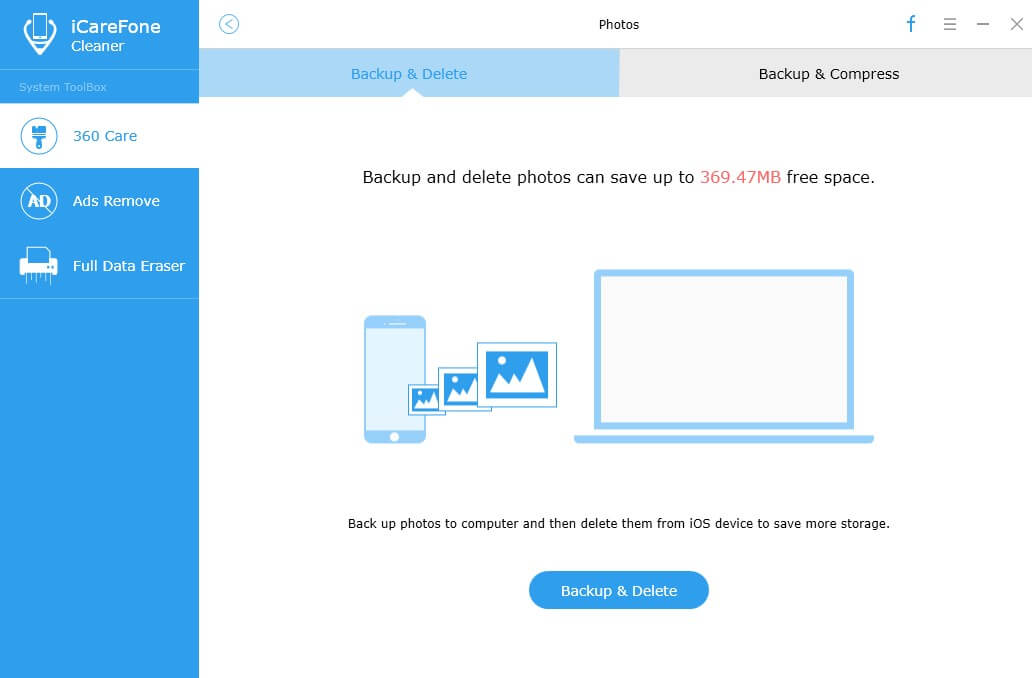
Step 2: Then choose Backup &Delete option on the left top and hit Backup & Delete option to continue.
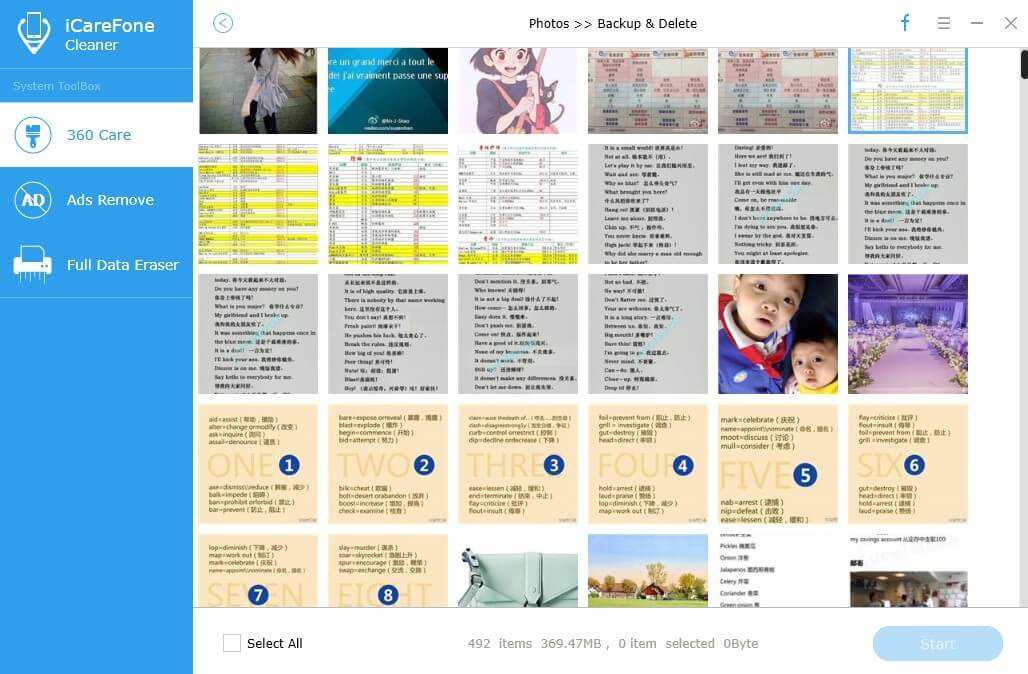
Step 3: Now, all you photos on your device is displayed on the screen, select the target one you would like to remove or simply check Select All at the bottom of the interface, and click on Start button to start backup. After backup, the selected photo will be deleted automatically.
Step 4: Once deleted, you are told how much space has been released with Backup & Delete feature. Meanwhile, you can check what you deleted by clicking on Open Backup Folder as all your deleted photos are stored in the disk on your computer as default.
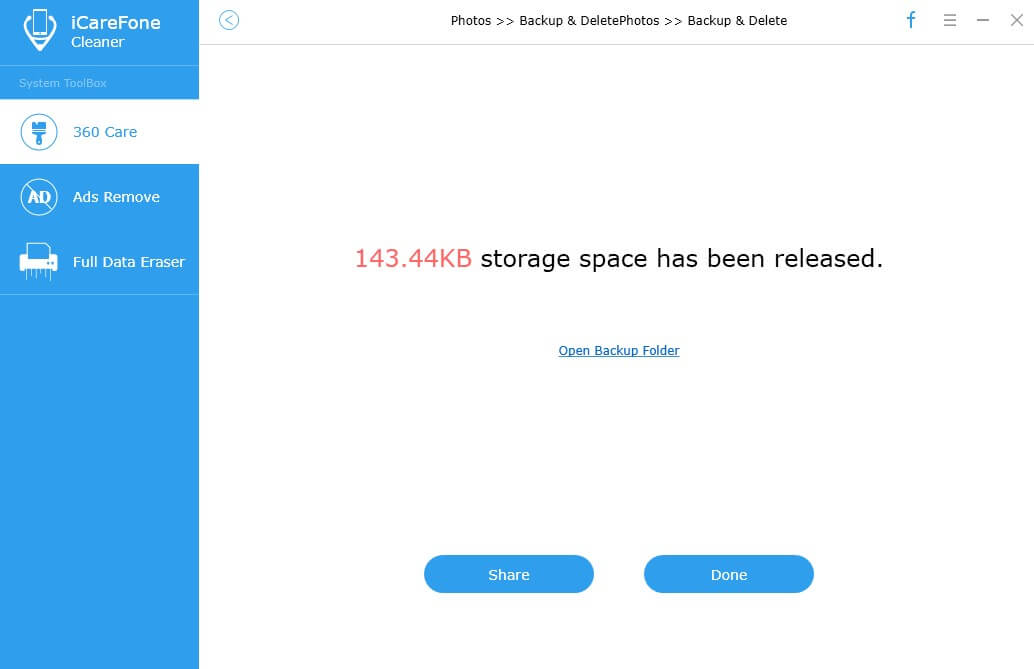
Step 5: Click on Done to close it or share with your friend on Facebook by hitting Share.
Backup & Compress
Backup&Compress allows you to losslessly compress and resize your images and photos to save about 75% your camera’s storage space without reducing the quality of images before and after compression.
Step 1: When the scan completes, click on Details below the photos icon.
Step 2: Next up choose Backup &Compress option at the right top and hit Backup & Compress option to start lossless compression whist backing up your photos to computer.
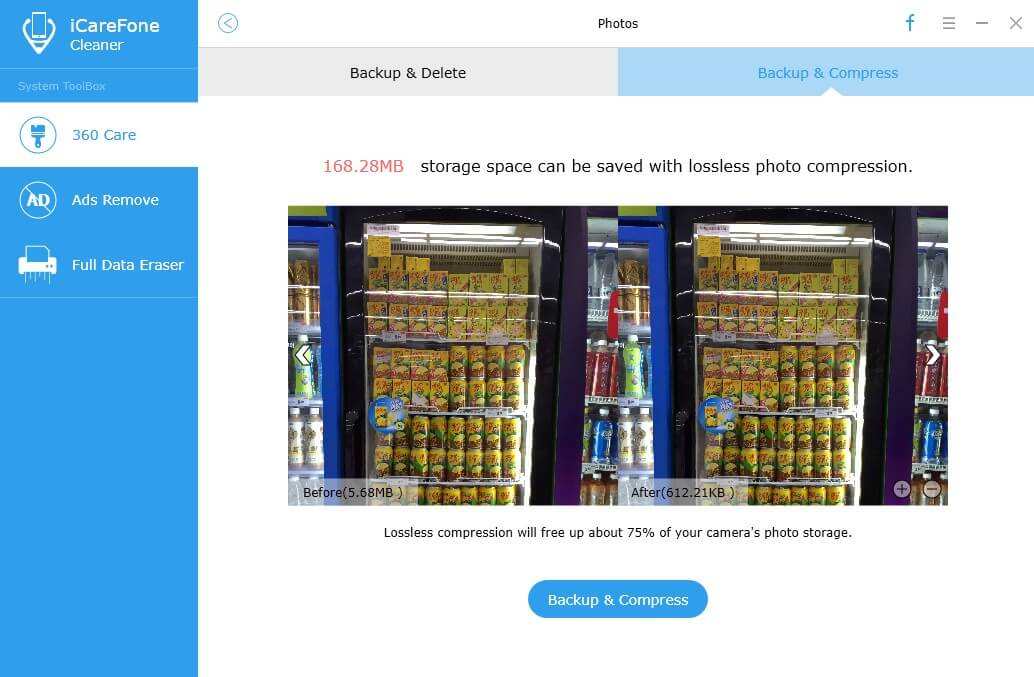
Step 3: If you want to check those photos you backed up, just click on Open Backup Folder, then all your backups will be listed out.
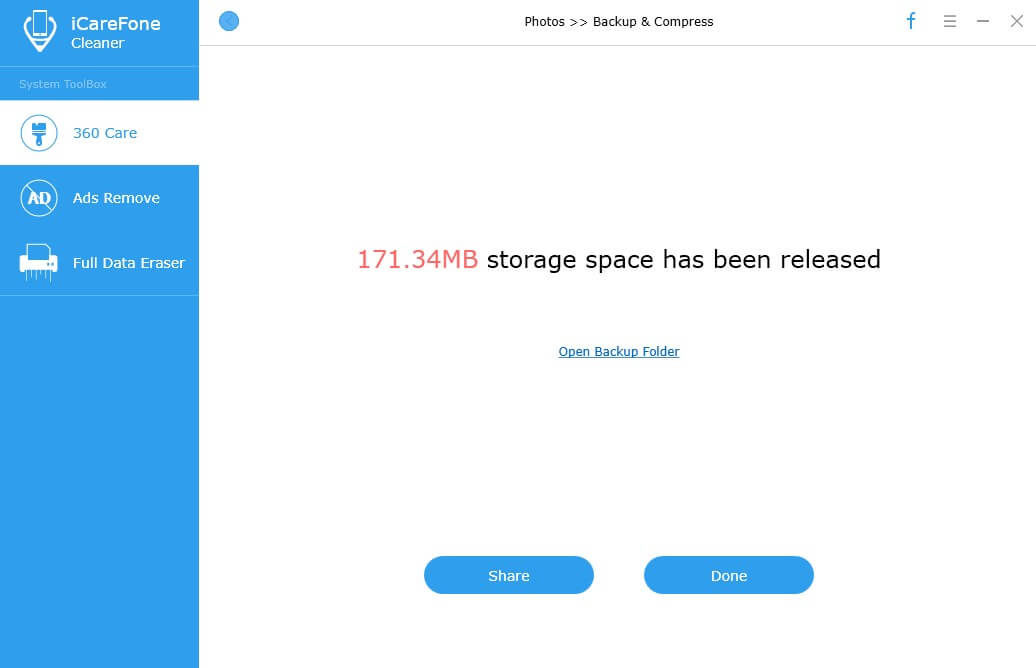
Step 4: In the operation result windows, you can click on Done to close it or share Tenorshare iCareFone Cleaner with friends on Facebook if you find this feature is helpful to your device.
Part 3: Large Files
Large Files Cleaning option in Tenorshare iCareFone Cleaner is made to help you instantly find and delete watched large music files, videos and other media files which are taking up too much storage and used resource for storage space saving.
Step 1: When the scan completed, click on Details below large files icon.
Step 2: Up next, tick the target media files you’d like to delete or batch delete all large files by checking the box in front of Name, then hit Backup &Delete option at the right bottom to start backup. After backup, the selected large files will be removed automatically.
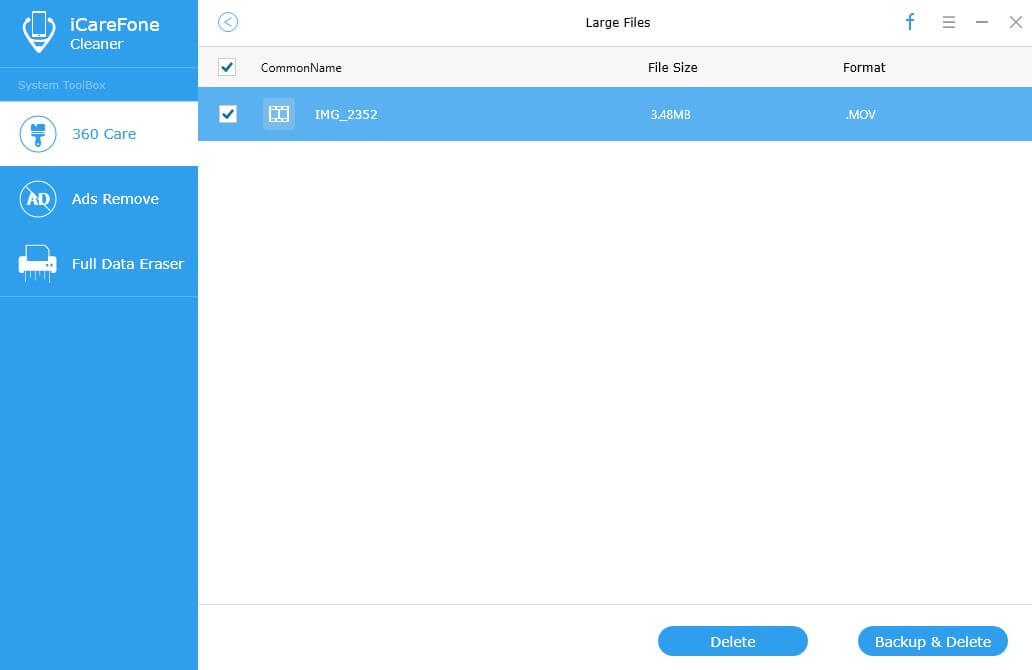
Step 3: If you want to check those photos you backed up, just click on Open Backup Folder, then all your backups will be listed out.
Part 4: App Uninstaller
This feature aims at removing unwanted apps in bulk to reclaim some iPhone storage with only a couple of clicks and extend your battery life.
Step 1: After scanning is done, click on Details under the Apps icon.
Step 2: Then Tenorshare iCareFone Cleaner will list all Apps installed on your device, you can tick the App you want to delete by click on the delete icon alongside the target file and hit Yes when the window pops up or simply select unwanted Apps in bulk to batch delete Apps by clicking Uninstall button for time saving.

Part 5: Full Data Eraser
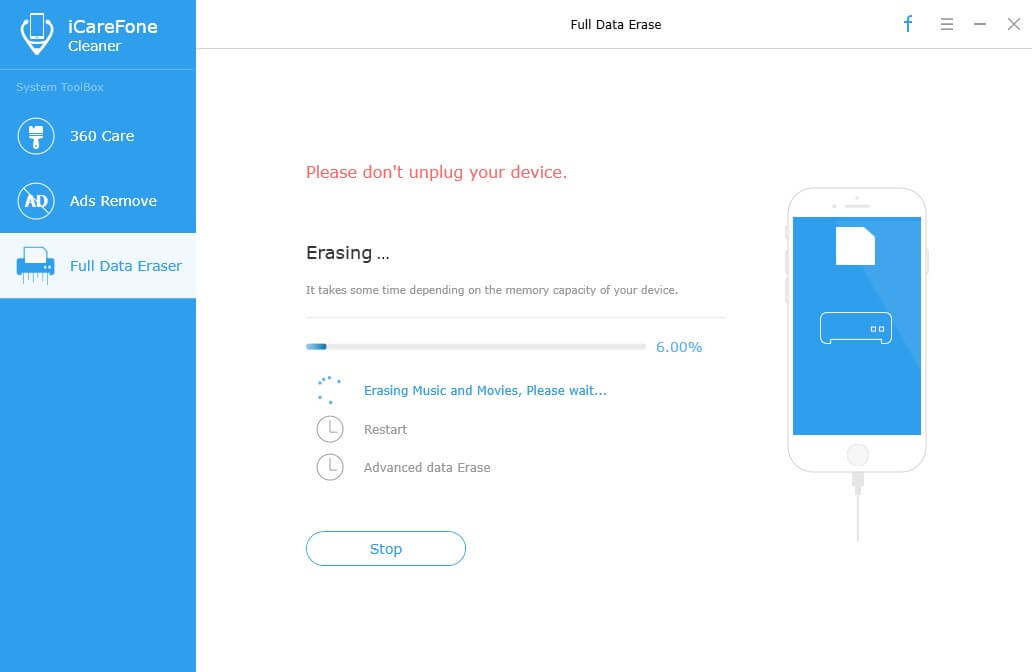
This Data Eraser can wipe all contents such as photos, music, videos, contacts, text messages, Call History and more data from iPhone/iPad/iPod and prevent the sensitive data in your old phone being recovered.
Step 1: Once the scan done, click on the “ Full Data Eraser” on the left panel.
Step 2: Next, hit on the "Erase" button to start erasing your iPhone permanently.
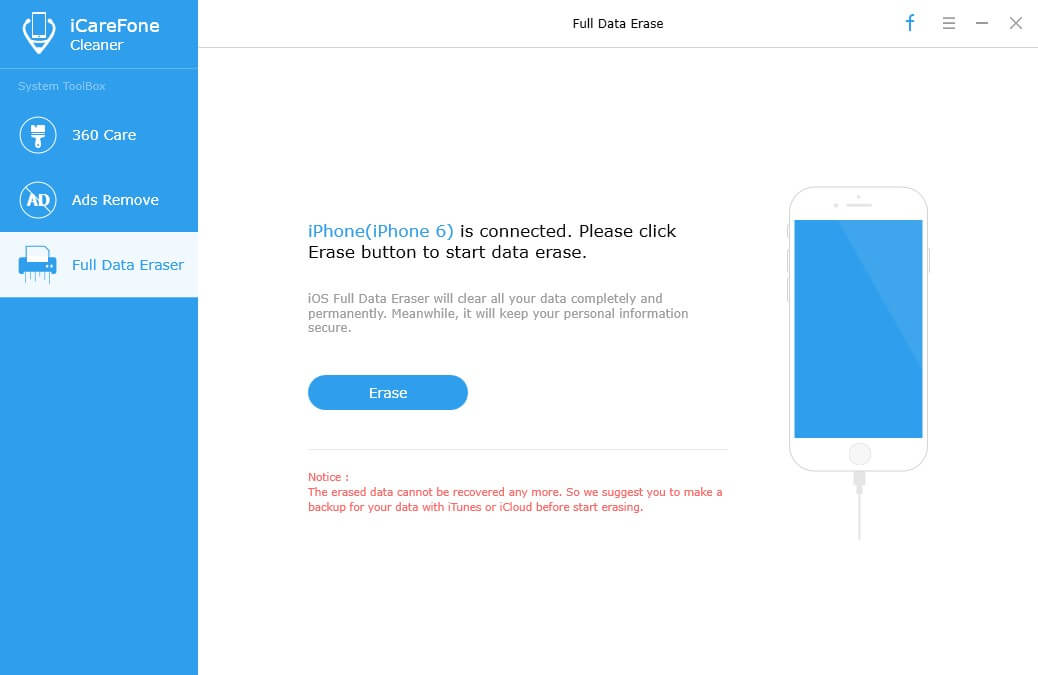
As the erased data cannot be recovered any more, you need to enter "delete" to confirm your operation before erasing.

Step 3: Wait a few seconds until the end of the process, and please note that unplug your device during the whole process.
