Guideline for PDNob Image Translator for Windows
Guideline for Win
Try PDNob Image Translator Now
Learn how to use PDNob Image Translator to extract and translate text from images in seconds. Download the latest version of PDNob AI Image Translator and get started now.
Try PDNob Image Translator Now
Welcome to the PDNob Image Translator user guide! In this guide, we'll show you how to easily translate text from images. Whether you're new to the tool or looking to refine your skills, you'll find simple, step-by-step instructions to make your image translation process smooth and efficient.
Step 1 Download & Install PDNob Image Translator for Free
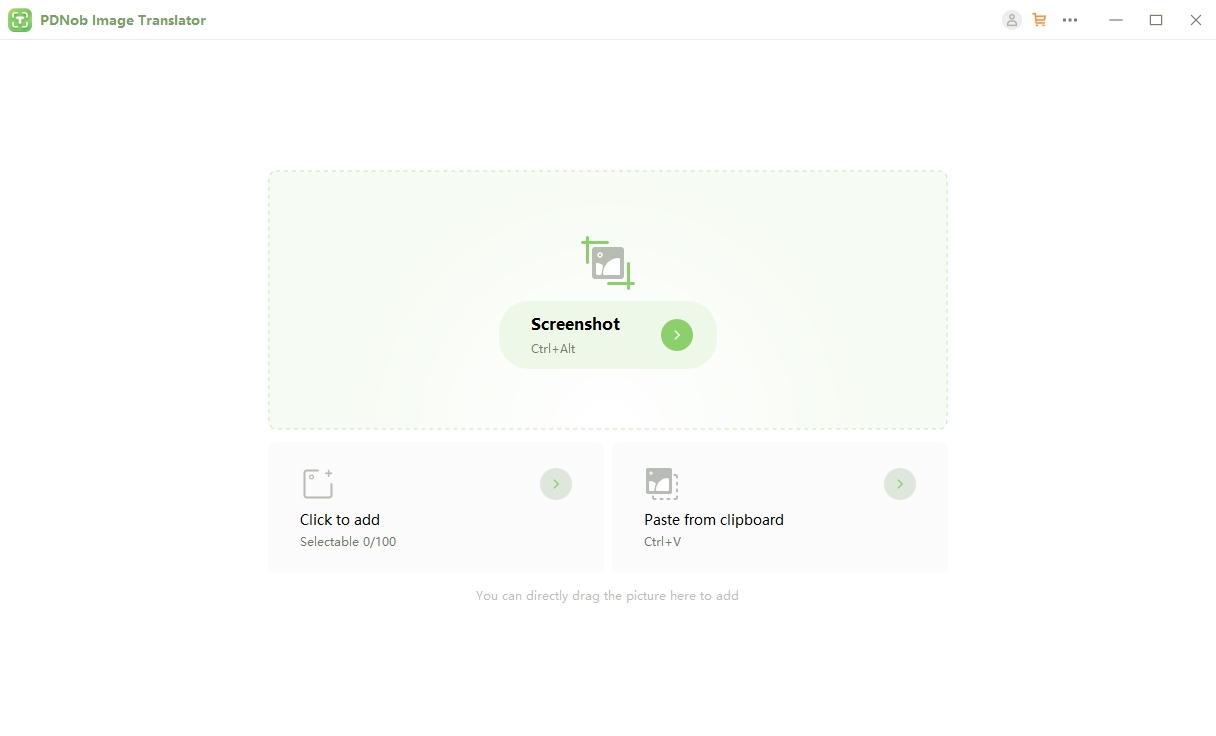
Step 1. Click the FREE DOWNLOAD button below. Download and install PDNob Image Translator on your Windows or Mac. Open it by double-clicking the icon on your desktop.
Step 2 Log in to Your PDNob Account
Click the profile button in the top right corner and log in to your PDNob account.

Step 3 Add Photos
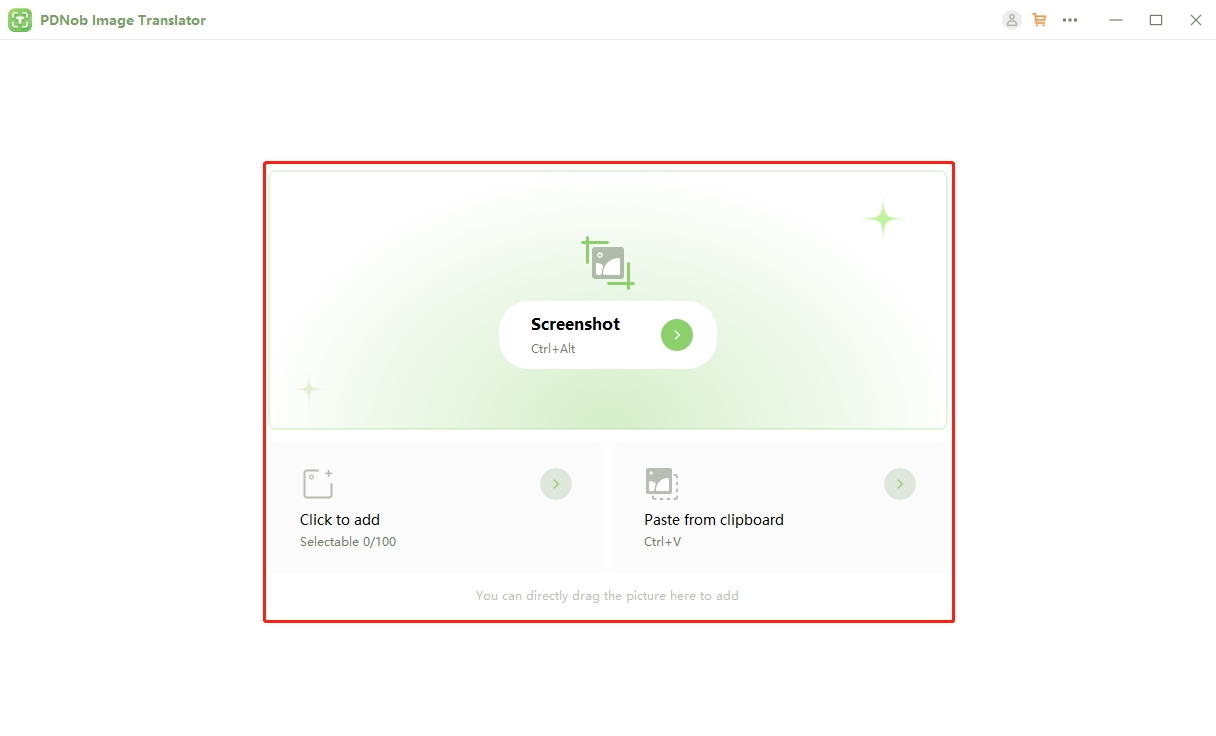
Add 1-100 photos by taking a screenshot, clicking to add, pasting from clipboard, or dragging images directly here.
Step 4 Select Translation Language
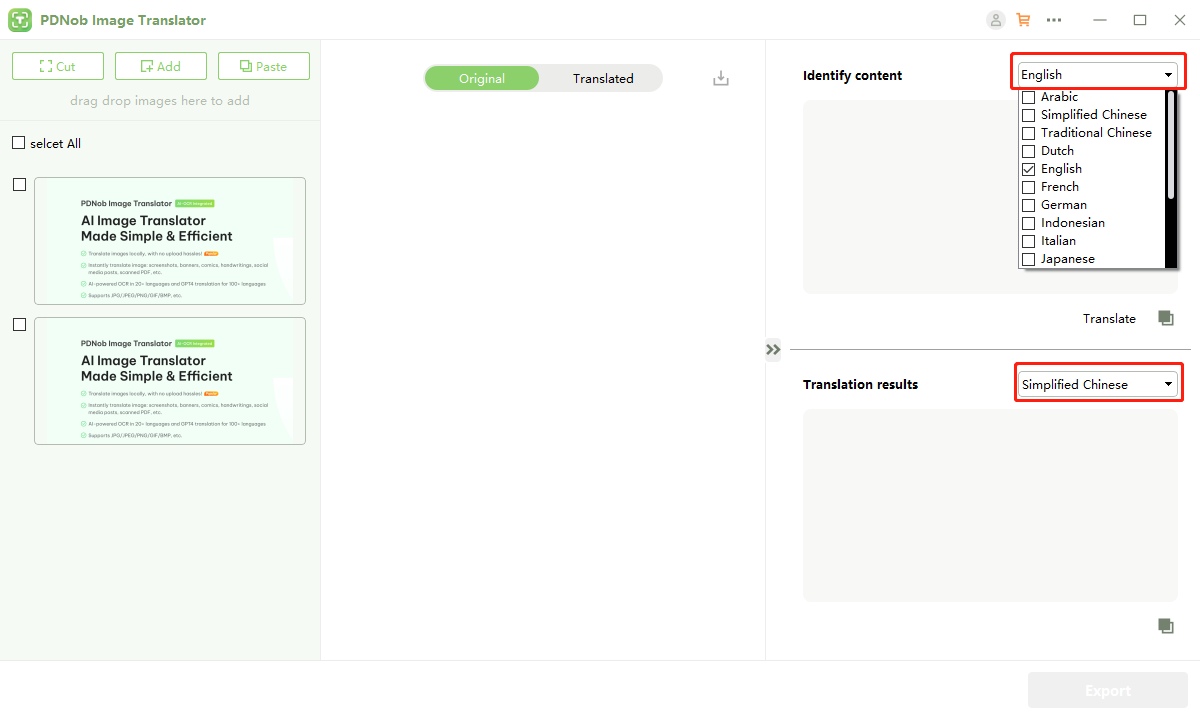
In the right panel, select the language of the uploaded image and the language of the desired translation.
Step 5 Translate Image
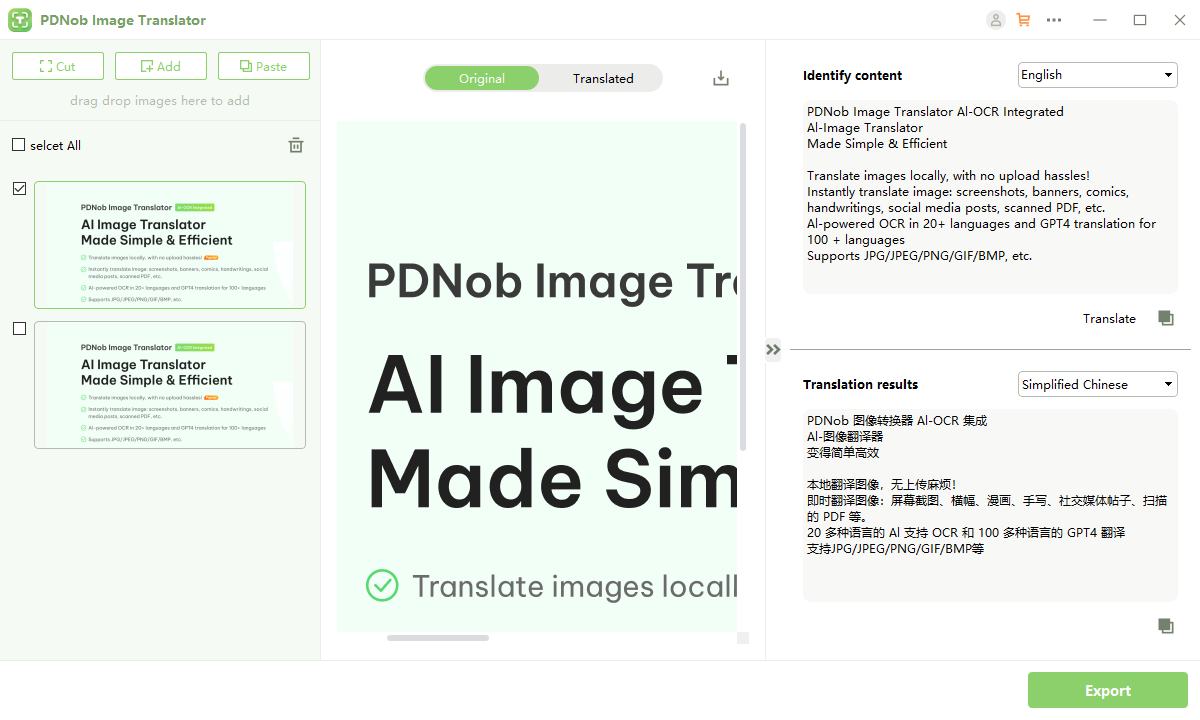
Select the image in the left panel and it will automatically generate the original text and translation in the right panel.
![]() Note:
Note:
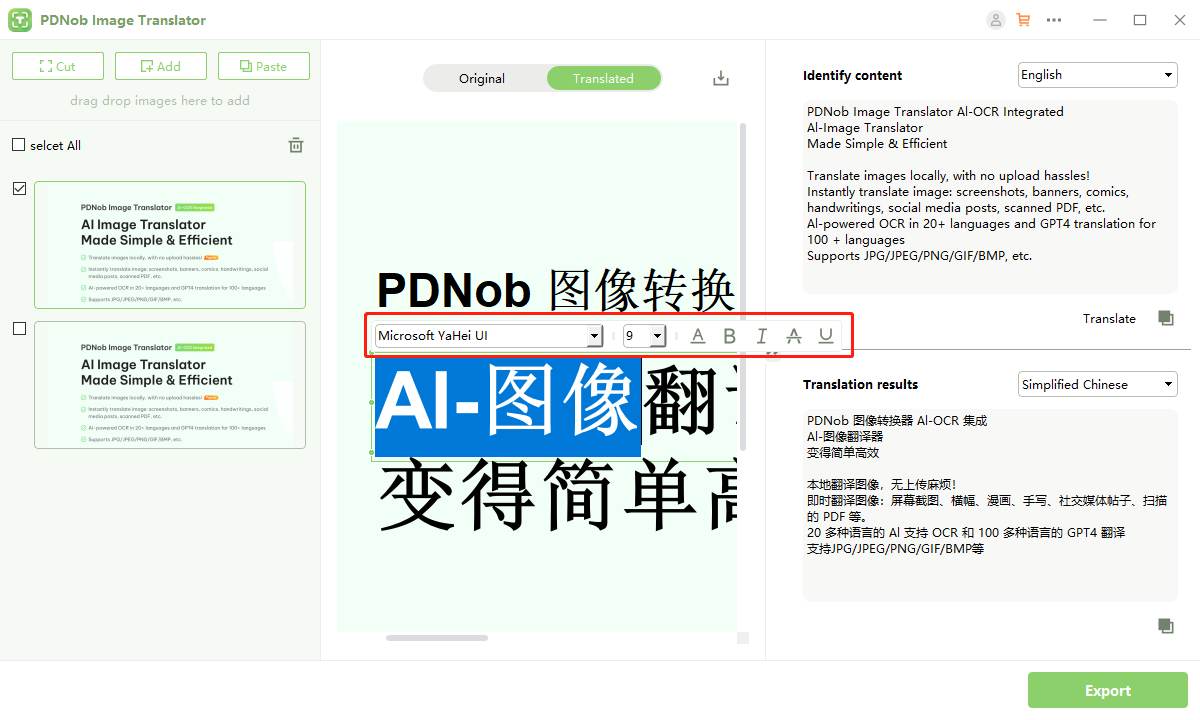
In the middle panel, click on the translated image to edit the text, including font, font size, color, and more.
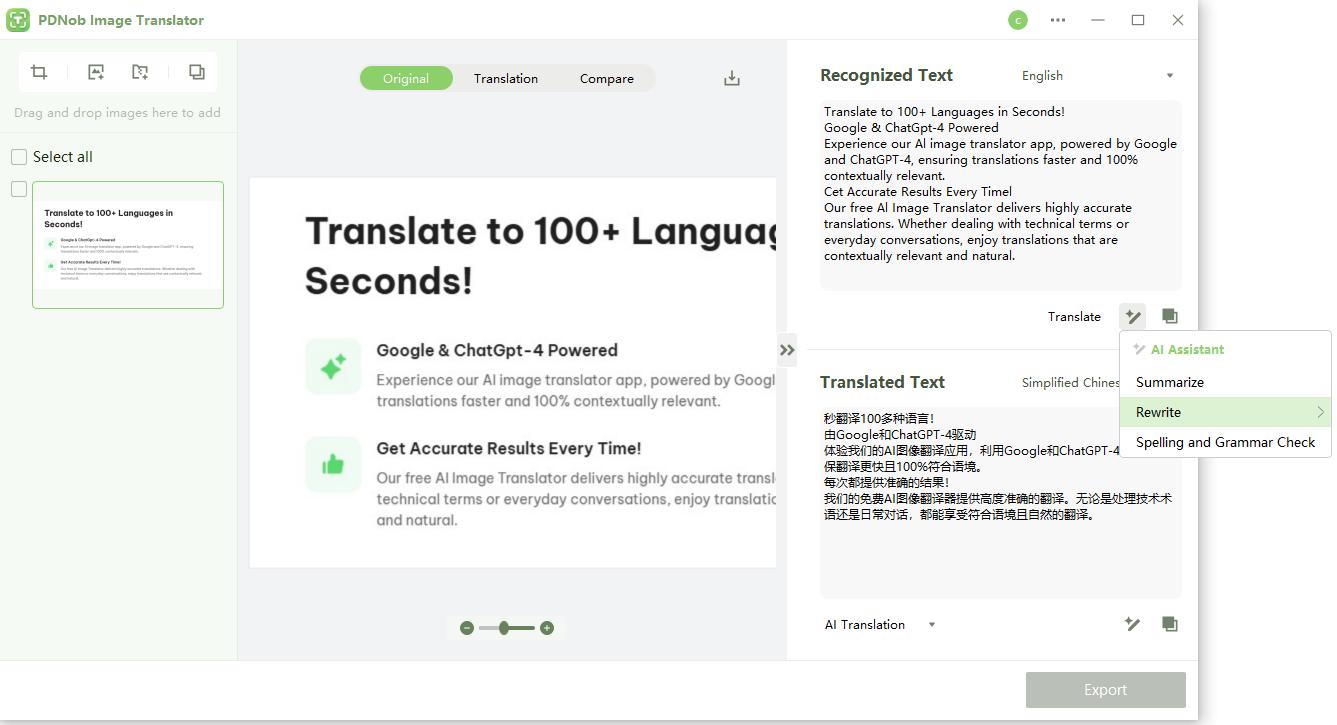
Choose between General Translation and AI Translation. Opt for the new AI Assistant to process your request: Summarize, Rewrite, Speling and Grammar Check.

Step 6 Export Translation Image/Translation
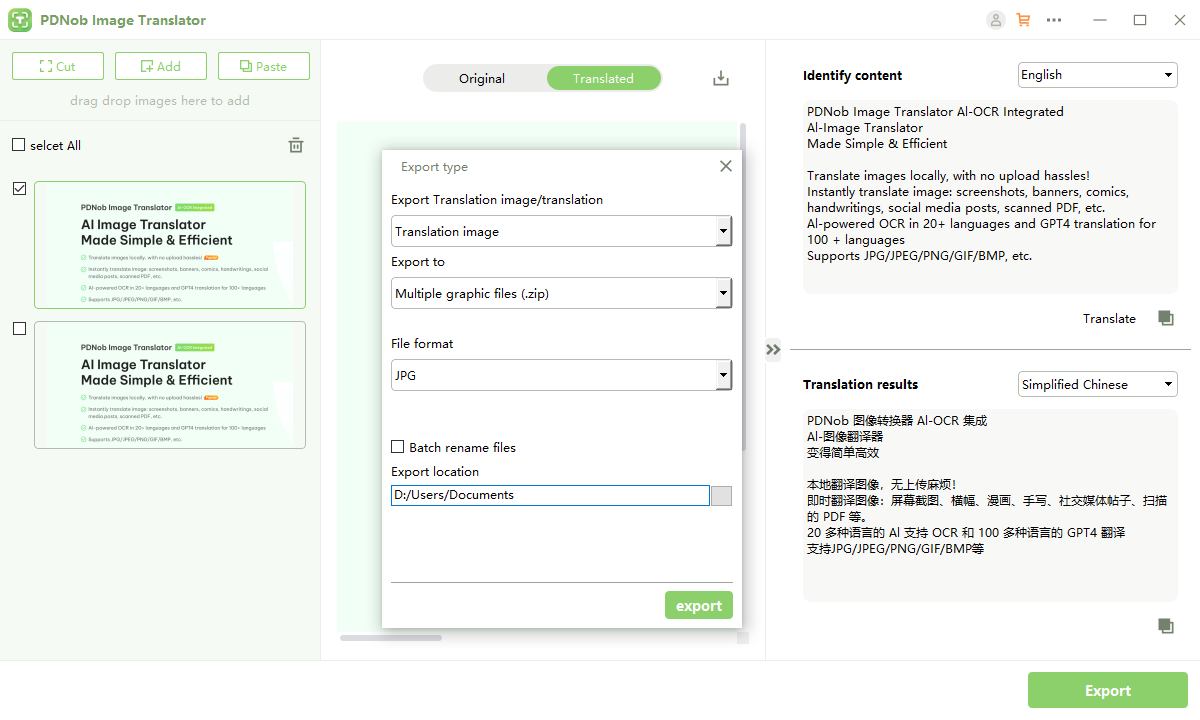
Click the Export button in the lower right corner. And in the pop-up export panel, select the export form, file format, export location, etc. Press the Export button after setting.
Is this page helpful?
Still Need Help?
Just contact our support team and we will reply to you within 24 hours on business days.
Contact Us