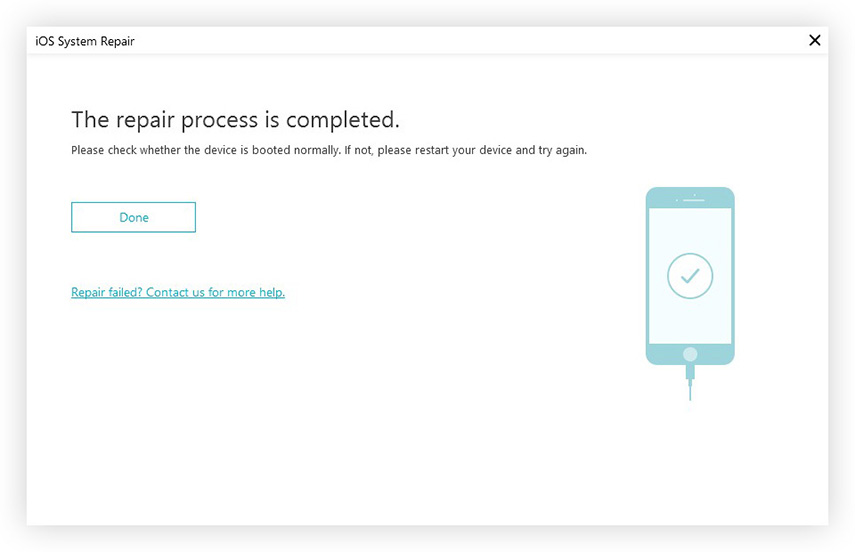
Guide for Repairing iOS Operating System
Got troubles with your iPhone 12/12 Pro(Max)/12 mini/iPad/iPod? Over time your devices may have become sluggish and unresponsive, or endured some initial glitches like apps not working, battery draining quickly, etc. With iCareFone you can easily tackle these problems without data loss.
Note:
- 1. This software doesn't support to repair hardware failure on your device.
- 2. iOS will be updated to latest version after repair.
- 3. Jailbroken device will be restored to non-jailbreak state.
Step 1: Connect Device
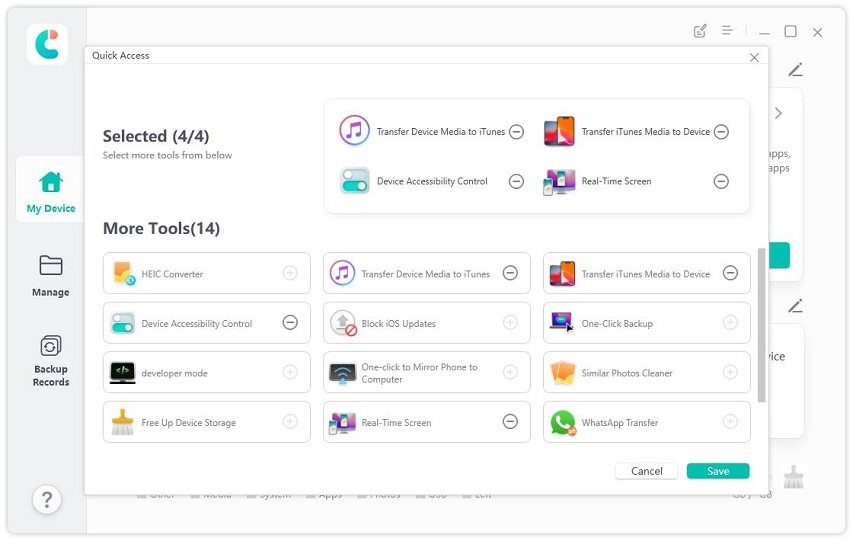
Download and install Tenorshare iCareFone on your PC or Mac and connect your device with it. If prompted to "Trust This Computer", please unlock your device and enter the passcode to ensure successful detection. After the device is connected, click "More Tools" and select "iOS System Repair".
Step 2: Download Firmware
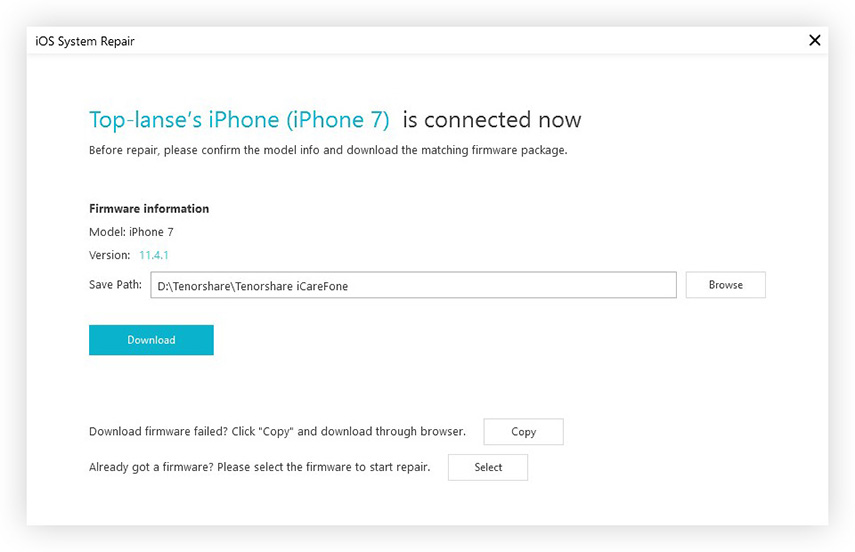
Click "Start Repair" on next page and you will be greeted to download a firmware package for repairing. Carefully check the information and click "Download" button.
Tips:
- 1. If you failed to download the firmware with iCareFone, you can click "Copy" button to download through browser.
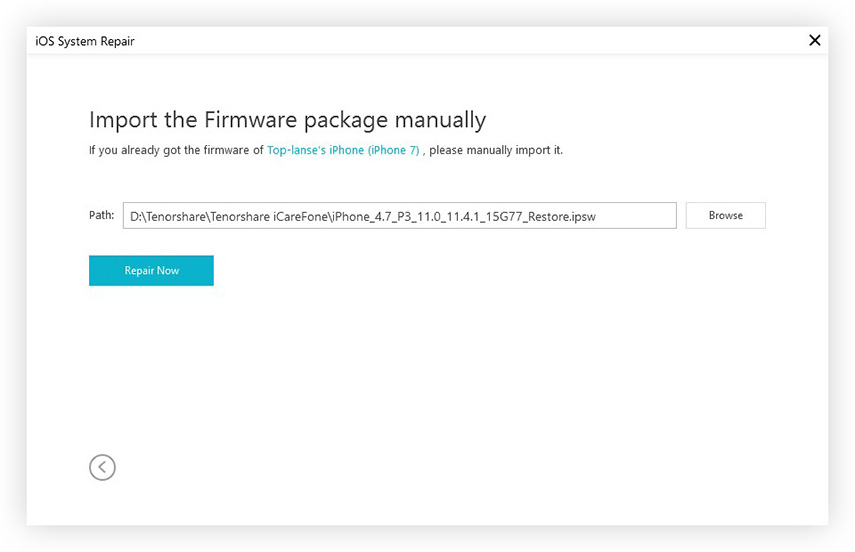
- 2. If you have already got a firmware package, you can click "Import" button to manually add the IPSW file.
Step 3: Start Repair
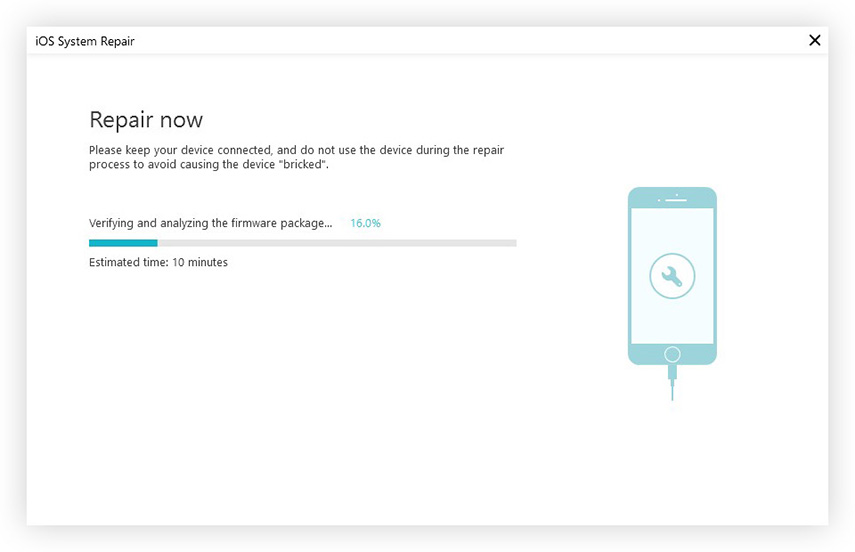
When the firmware is ready, please click "Repair Now" to start troubleshooting. The whole process will take a while and your device will automatically restart with Apple logo and loading bar. Please don't disconnect your device till the repairing process finishes.
Step 4: Advanced Mode (Optional)
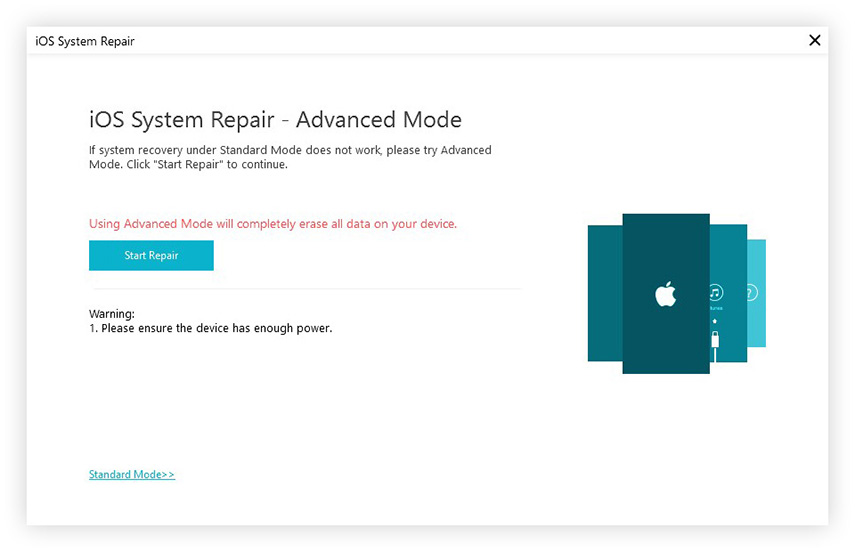
If your iOS device still has problems after repairing, you might as well try Advanced Mode. Kindly note that this will erase all the data but will also increase the success rate of repair. Therefore it's recommended to make a backup first.
Select "Advanced Mode" on the lower left corner from iOS System Repair interface and click "Start Repair".
Similarly, you will need to download the firmware package online. Next, click "Repair Now" to proceed advanced repairing. When it finishes, you are good to set up and activate your device.
