How to Recover Data from Crashed System
Tenorshare 4DDiG - Mac Data Recovery is a professional Mac data recovery software. When you are in the face of technical issues such as system crash or hardware failure causing data loss, the advanced fixer will help you retrieve all data from crashed system without fear of it any more. So, the below guide will show you how to recover data from crashed system mac in detail.
Step 1: Preparations for Exporting Data from Crashed System
- 1. A blank USB Flash Drive or External Mobile Hard Disk Drive.
- 2. A working Mac computer.
Step 2: Creating A Bootable Drive
1. Download 4DDiG – Mac on an available Mac. When completed, launch the program, select "Recover Data from Crashed System" and click "Start".
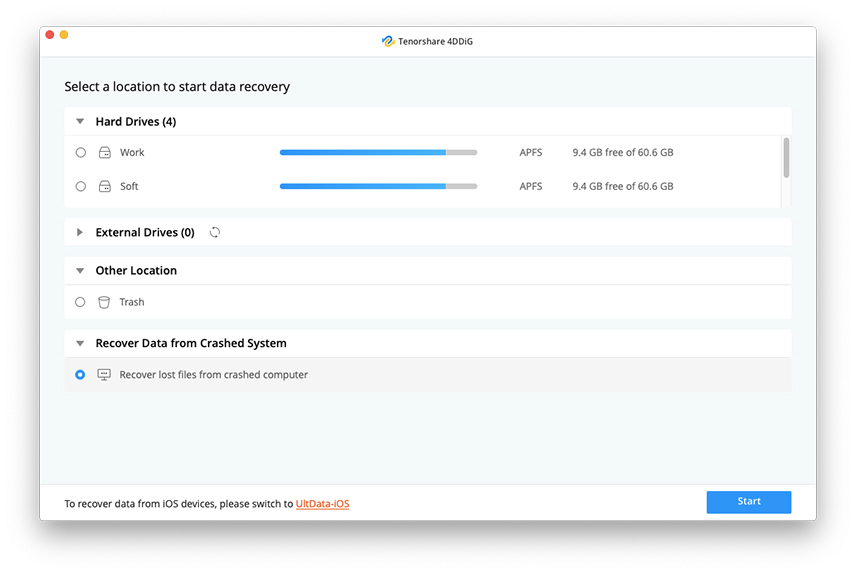
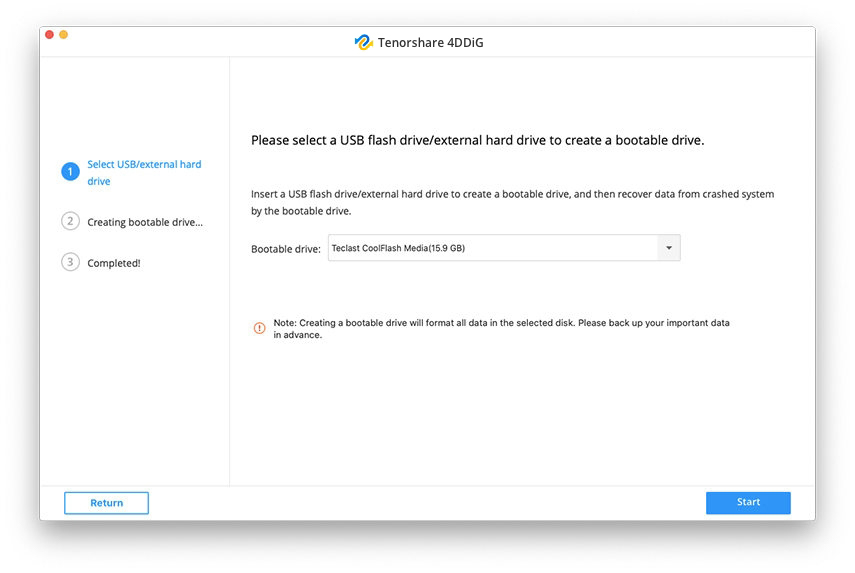
2. Next, insert a USB flash drive/external hard drive to the bootable Mac. In the "Bootable drive" option, using the drop-down list selects the disk you just inserted, then hit "Start".
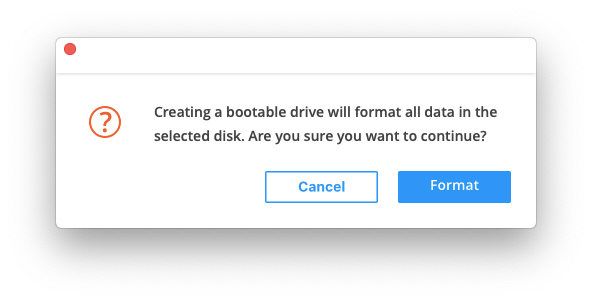
3. Before creating a bootable drive, a message window pops up to remind that you're required to format the selected disk first to erase all data, and back up important data in advance. Then, press "Format".
4. The program starts formatting disk, and then creates a bootable system. (Please do not disconnect USB flash drive during the program proceeding.) The process will take a while.
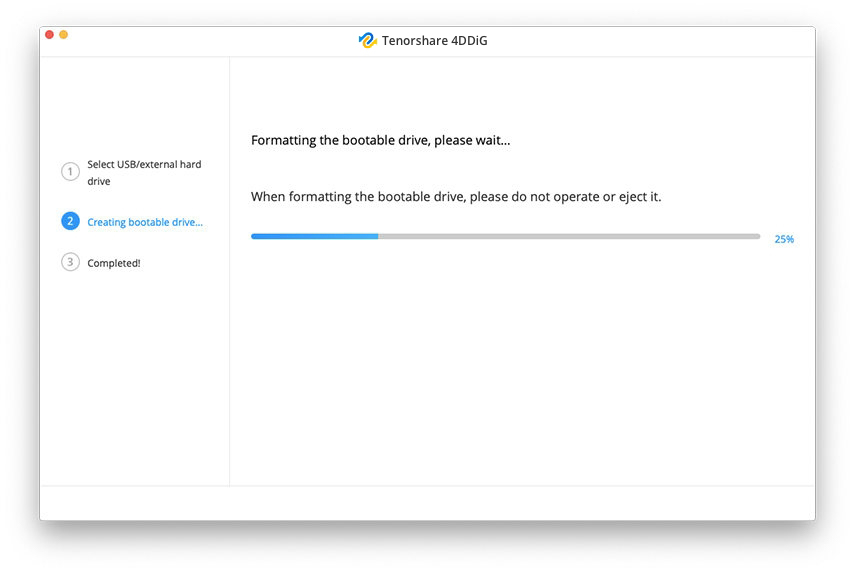
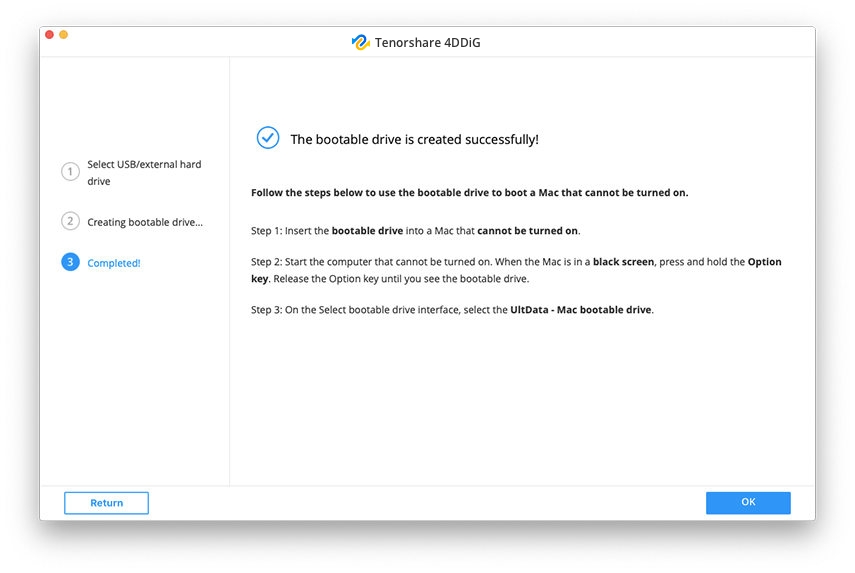
5. After a while, the bootable drive is created successfully!
Step 3: Recover Data from Crashed System
- 1. Insert the newly burned bootable disk into the crashed Mac computer.
- 2. Boot the crashed Mac computer by holding the "Option" button at the same time.
- 3. When entering disk selection interface, release the "Option" button, and select "Tenorshare 4DDiG – Mac" to boot disk.
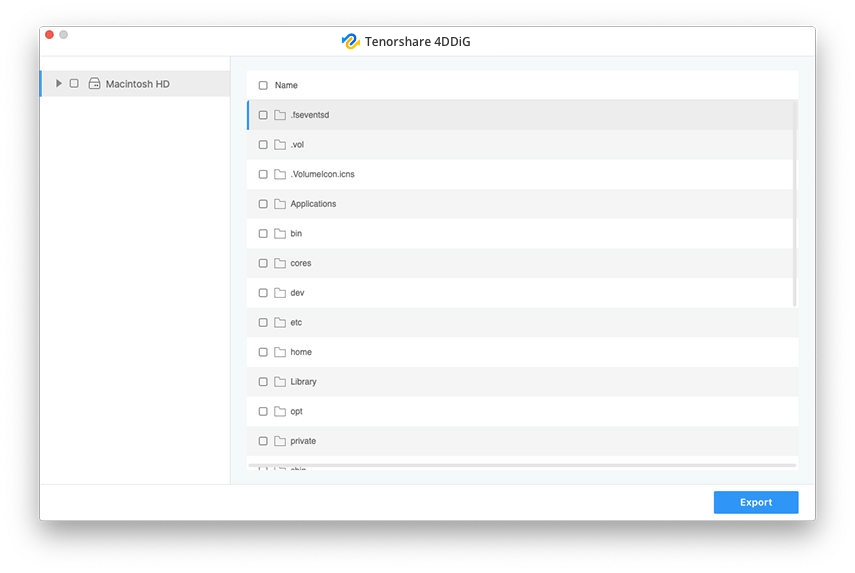
- 4. After entering system, you can pick the data to export, and then tap "Export".
