Quick Guide: 3 Steps To Separate Apple ID For Family Members
Apple provides for its users highly personalized and specific services. Be it Apple Music, iTunes, Apple books, anything, the recommendations and services you receive are personal to your preferences and behavior.
What decides this personalization? An Apple ID. But when you share yours with your family members, conflicting suggestions may lead to a disrupted user experience.
- Step 1: Set up Apple ID for Each Your Family Members Firstly
- Step 2: Remove Family Members in Family Sharing
- Step 3: Set up Family Sharing with Families Members' New Apple ID
- Forgot Apple ID Passcode? An Easy Method To Remove It
How To Separate Apple ID For Family Members [3 Steps]
To save the troubles of inaccurate recommendations and services and protect your privacy, separate Apple ID for family members with ease. While you can still share subscriptions and purchases, etc., your private information will be only yours.
Step 1: Set up Apple ID for Each Your Family Members Firstly
It is now possible to join a family group or create your own and invite people to join with Family Sharing from Apple. This feature facilitates sharing of music, TV, subscriptions, iCloud, and much more with separate Apple IDs. Follow these steps for setting up an Apple ID for each family member.
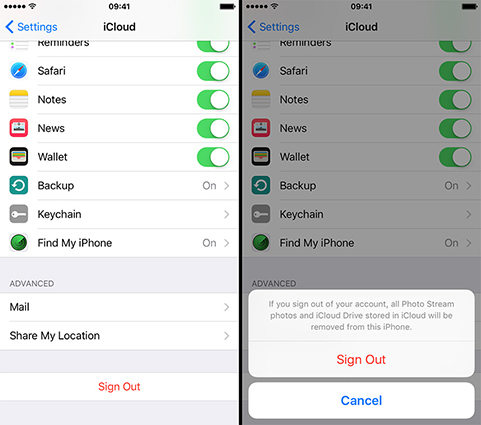
Make your family member sign out of iCloud.

- Create an Apple ID for each of them, you can create an Apple ID for your child if the family member is under 13.
Step 2: Remove Family Members in Family Sharing
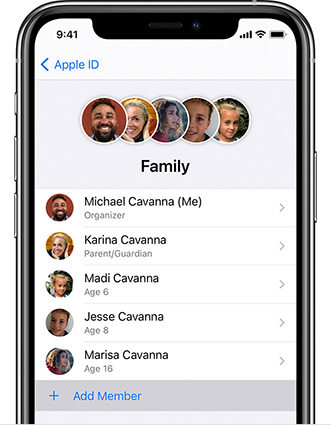
Next, you need to remove your family members from your Family Sharing account. The family organizer, the adult who created the family sharing, can also remove a member. The condition is that the member needs to be above 13 years of age. Under 13, members can only be transferred to another family.
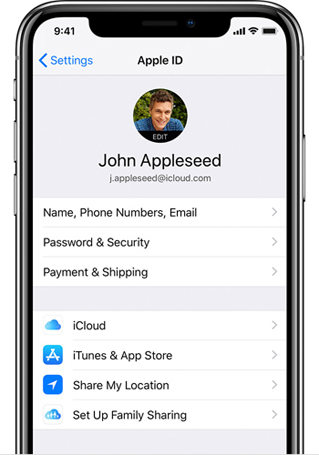
- Go to settings.
- Tap on your name.
Tap on Family Sharing.

- Go to the name of the member you wish to remove.
- Tap on “Remove [name] from Family Sharing at the bottom.
Step 3: Set up Family Sharing with Families Members' New Apple ID
To avoid runtime issues, it is best to create an Apple ID for each of your family members before adding them to your Family Sharing. Follow these steps to help your family member create an Apple ID, and then set up Family Sharing.
- Sign out of your family member’s iCloud on their device.
- Then, ask them to sign in to their iCloud with their new Apple ID.
Set up Family Sharing as mentioned above in Step 1 and invite your family members to the group.

Family Sharing: What Information Will be Shared
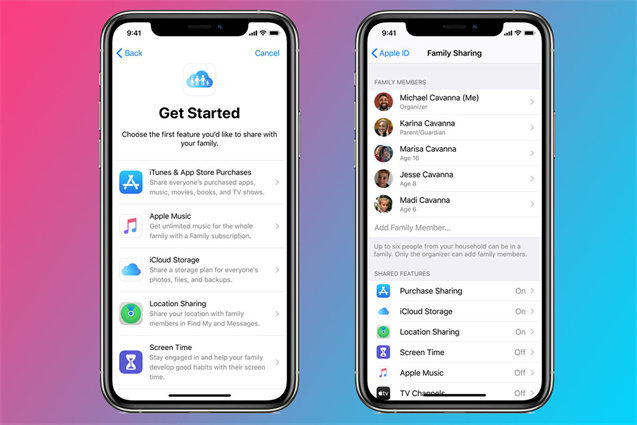
The family organizer can customize and decide what information is shared between family members with family sharing enabled. The primary options include iTunes and App purchases, Screen time, Location, iCloud storage, and Apple Music.
1. App and iTunes Purchases from Your Apple ID
Family members that are part of the group will be able to view the app, movies, TV shows, etc. purchases that another member makes. This also means that if a member purchases an app or movie, etc., other members automatically get access to that service and wouldn’t need the Apple ID and password of the purchaser.
2. Screen time of Children’Device
This feature is essentially helpful for families with kids. You can monitor your child’s screen time and set relevant controls from your device. Setting up multiple guardians is also possible so that you both can monitor your ward.
3. Location Sharing of Family Members
Family members can also monitor each other’s location. Apps like Find My and Messages allows for this. However, this feature can be momentarily disabled for privacy and can be turned on later.
4. iCloud Storage for All Users
To save up from buying a storage plan separately, family members can share a single iCloud storage, backup, and files. You can choose from 200 GB and 2 TB data plans, and your media will only be visible to you. However, how much space a person is using can be seen by all members.
5. Apple Music [Payment function]
Family sharing also allows for a family of 6 members to have access to unlimited music from apple at just $14.99/month. Each member gets their account, segregating suggestions and playlists. The cost is, however, much less when compared to separate Apple Music accounts for 6 members.
Forgot Apple ID Passcode? An Easy Method To Remove It
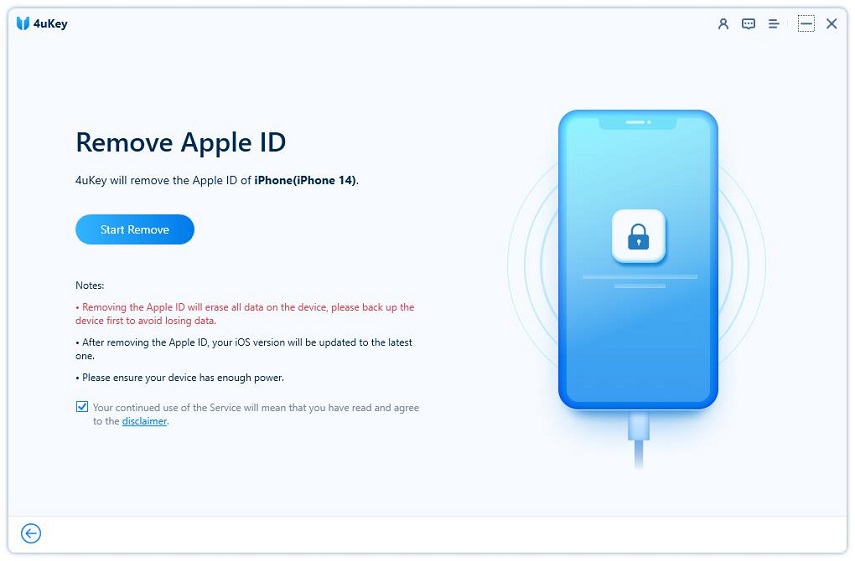
Not having access to your Apple ID can restrict you from getting added to a family sharing group. If you have forgotten your passcode to your Apple ID, with Tenorshare 4uKey, you can now remove it altogether and access your iTunes store freely again. Follow these steps.
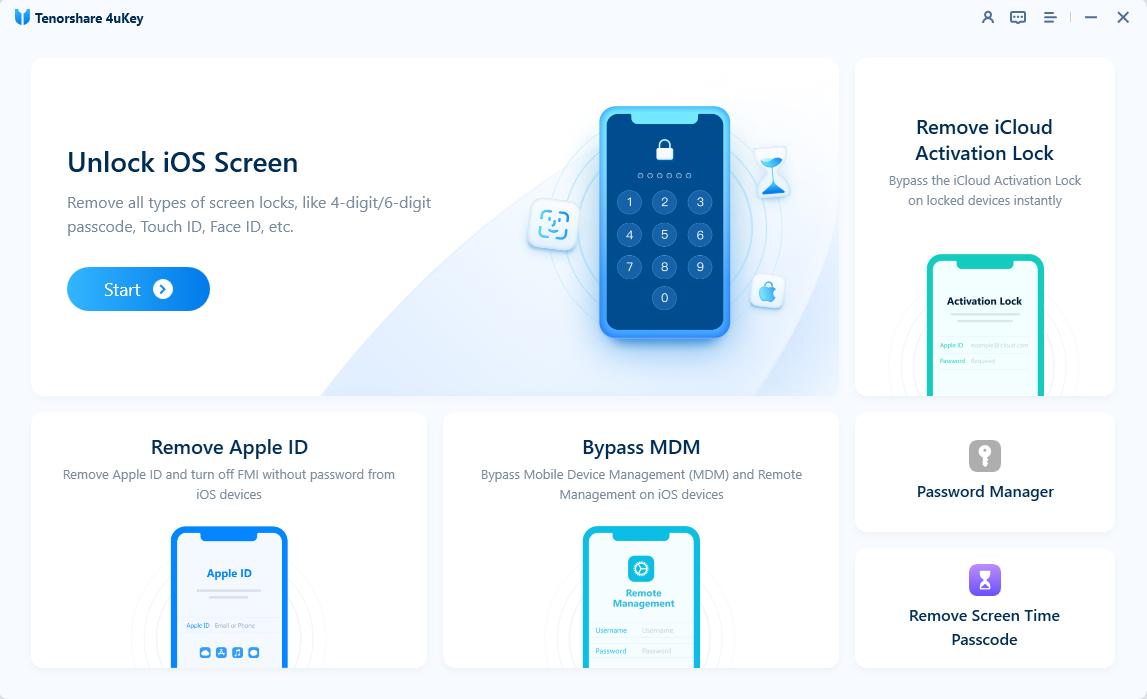
Click the free download button and install 4uKey on your PC/Mac. Select Unlock Apple ID in the interface.

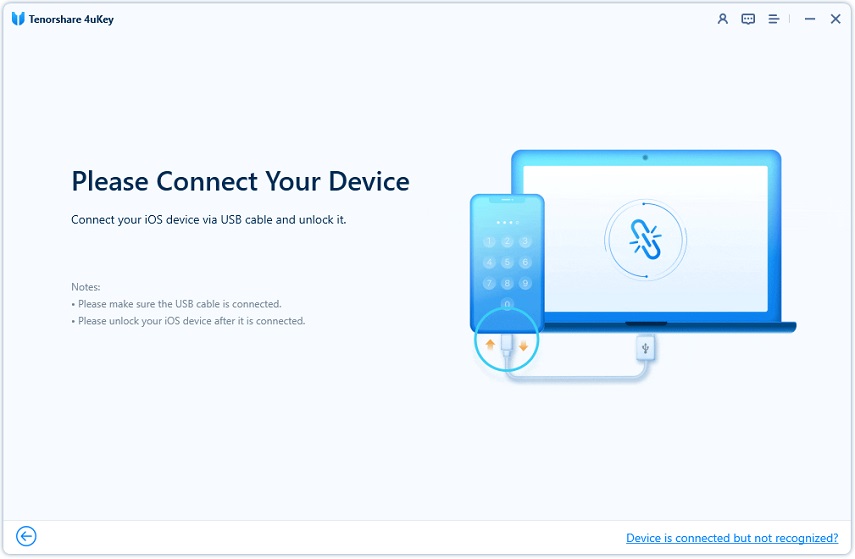
Connect your iOS device to PC via a USB cable.

Click Start Remove to start the process of removing Apple ID.

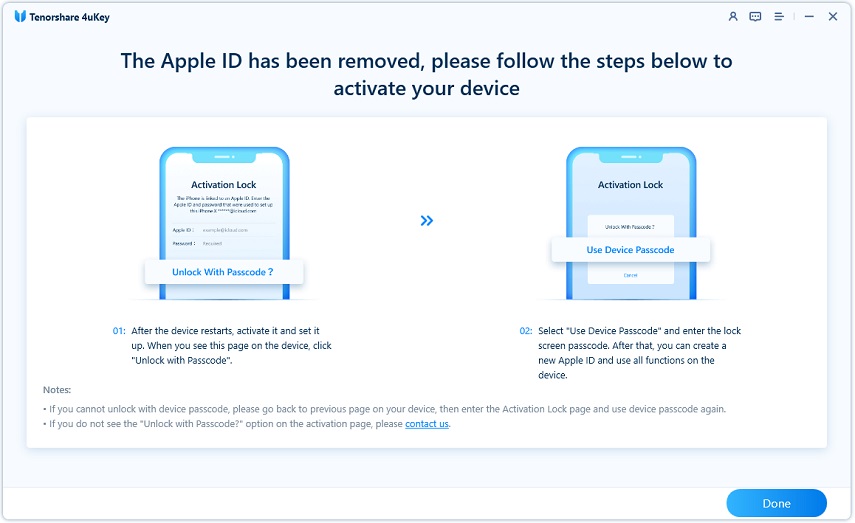
Follow the instruction on 4uKey to remove Apple ID on your device and activate your device. Now the Apple ID is remove successfully on your iOS device. You can use a new Apple ID on the device if its iOS version is higher than iOS 11.4.

The Bottom Line
Having a separate apple id for family members can be beneficial. It allows for more savings, better coordination, heightened privacy, and monitoring for children. Creating and inviting to a family sharing is a very easy procedure, hope this blog does help you.
Speak Your Mind
Leave a Comment
Create your review for Tenorshare articles
4uKey iPhone Unlocker
Easily Unlock iPhone passcode/Apple ID/iCloud Activation Lock/MDM
100% successful unlock
