How to Set Up Family Sharing on a Windows PC
with up to six members of your family. Some of the things that you can share with the feature Family sharing allows you to share the purchases you have made on the Apple's online stores are iTunes, Books, App Store apps, Apple Music, and an iCloud storage plan. That means basically you can share everything that you buy from Apple with your family members.
Apple has a comprehensive guide on how you can set up family sharing on iOS devices but it doesn't have one for Windows PCs. This doesn't mean that Windows users don't use Apple's services, they do and they also want a guide to set Apple things up on their devices.
To help you out with that, here we have prepared a guide that shows how you can set up family sharing on your Windows PC. Once the sharing has been enabled, you will be able to see the shared content on your PC just like you can on your Apple devices.
Setting Up Family Sharing on a Windows PC
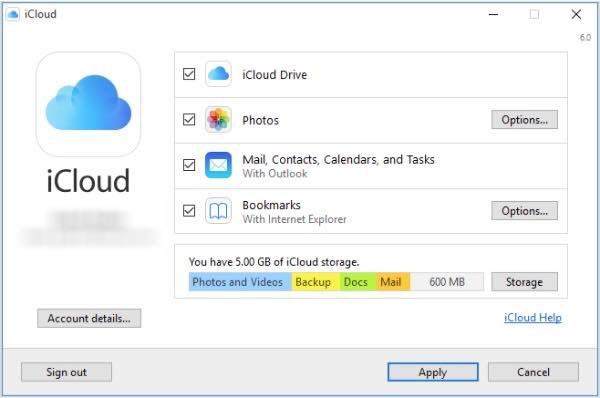
The first thing you're going to need to is iCloud for Windows on your computer. This will let you interact with many of the Apple's services from your Windows running computer.

Head over to the iCloud for Windows website and download and install the tool on your computer. Launch the tool and you will be asked to enter in your login details. Enter in the details that have shared access for Apple's services. Then, proceed with the on-screen instructions.
You should now be able to access many of the Apple services using iCloud for Windows on your computer.
One of the things you won't find access to in the tool is your shared music files. That's because it's handled by another app and it's called iTunes. That means you need to get the iTunes for Windows app and use it to access the shared music content on your computer. The following shows how you can do that:
Accessing Shared Music Content with iTunes
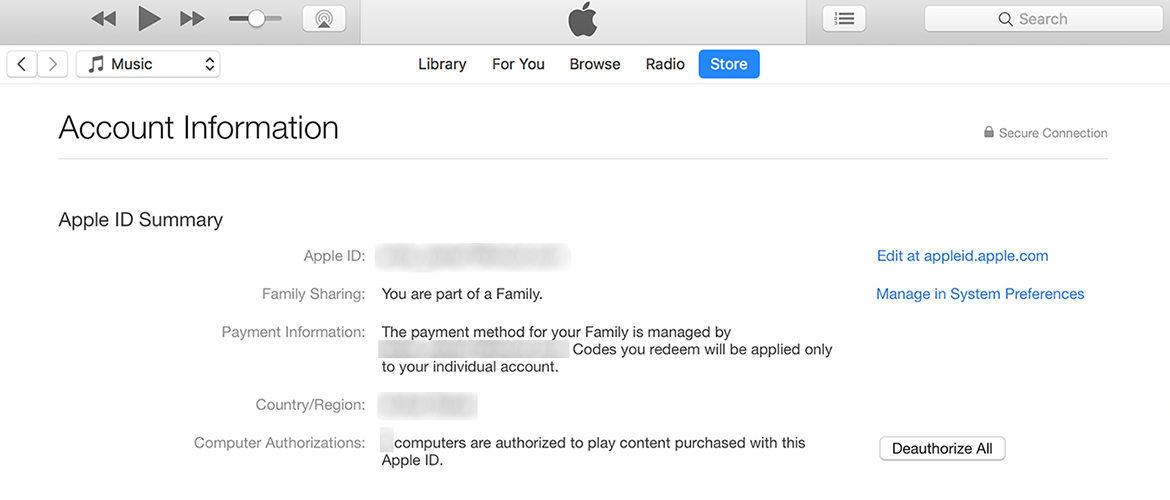
As we mentioned before, you need to get the latest version of iTunes installed on your computer before you can proceed. Also, once you have installed the app, make sure to log-in to your Apple account so everything can start syncing.

Open iTunes and click on the Account menu followed by Family Purchases. It will take you to the screen where you can see the purchases made by your family members and that are shared with you. If you like an item that has been shared with you, you can click on the download button to download it to your computer and make it available offline for your access.
One thing you should keep in mind with family sharing is that the country of all the users should be the same. If it's different, you will lose access to your shared content.
So, that was how you could access family shared content on a Windows running computer.
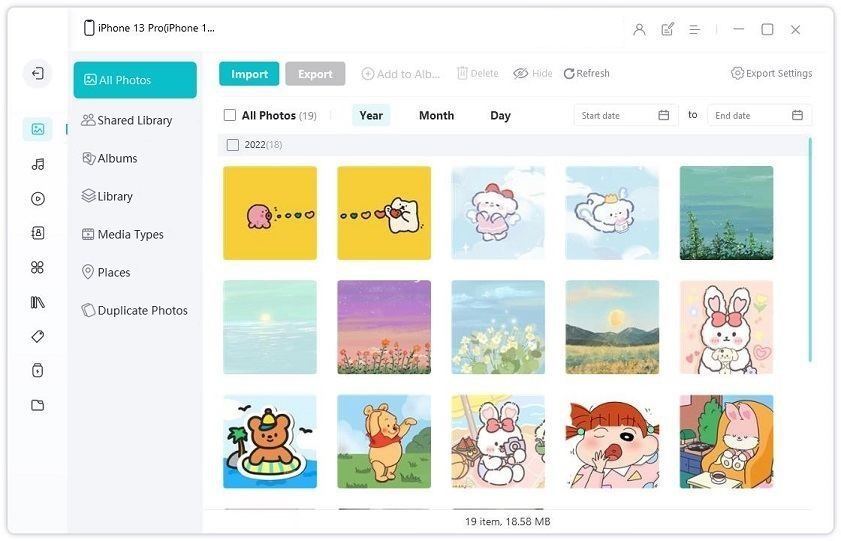
The method above shows how you can do it the official way and then there are some other third-party apps that let you do the same thing but in a much easier way. Have a look at iCareFone from Tenorshare, for example. The app has got a file manager that lets you access and manage content on your devices. That means, you can get content from one device and put it onto another. We wouldn't be wrong if we called it another way of family sharing.

We hope this guide helps you set up family sharing on a Windows PC.


Speak Your Mind
Leave a Comment
Create your review for Tenorshare articles

Tenorshare iCareFone
Best Free iPhone Transfer & iOS Backup Tool
Easily, without iTunes


