Tips for Shared Album iPhone
The iCloud service from Apple includes a complimentary offering known as the shared album iPhone. It is a fantastic method for sharing your films and photographs with your family, friends, and even coworkers.
Keep reading to learn more about iPhone shared album.
- Part 1. What is iPhone Shared Album
- Part 2: What Can You do with iPhone Shared Albums
- Part 3: How to Enable and Share an Album on iPhone
- Part 4: More Tips about iPhone Shared Albums
- Bonus: Export iPhone Photos with Only One-Click
Part 1. What is iPhone Shared Album
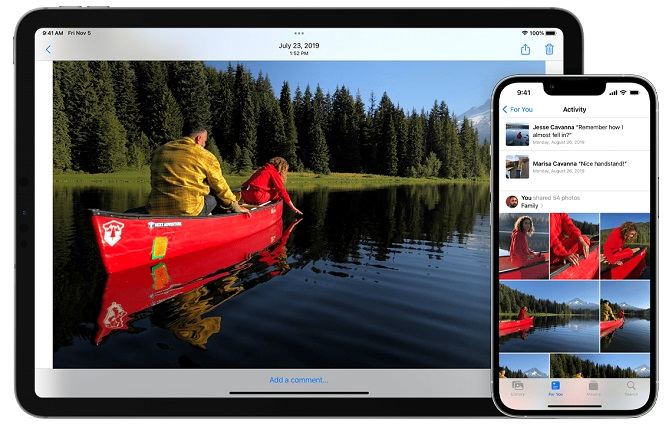
Photos in a shared album are available for viewing, liking, and commenting by subscribers. They also have the ability to contribute their own photographs and videos.
Photo Sharing enables users to compile all of the photographs they choose to distribute into a single collaborative photo album. Sharing photographs and videos from your iPhone, iPad, or iPod Touch, as well as your Mac or Windows PC, is possible using iCloud Photo Sharing.
Even if the other person doesn't have iCloud Photo Sharing installed on their device, you may still exchange photographs with them.
Unlike Instagram or Facebook, shared album iPhone restricts picture viewing to just those individuals to whom you have extended an invitation. This provides a higher level of privacy for your photographs since it hides them from the view of the general public.
Part 2: What Can You do with iPhone Shared Albums
- Create shared albums in the Photos app to make showing off your images to your loved ones or friends simple and easy.
- Instantly share photographs with others while minimizing the amount of data used on your mobile device.
- Synchronize your photographs on your iPhone, Mac, and iPad.
- You are not needed to spend extra money in order to share up to 5,000 of your images with other people.
Part 3: How to Enable and Share an Album on iPhone
How to see shared albums on iPhone? How do I enable it and share it to my friends? This section is for you.
The first thing you need to do to make your iCloud Photos available to other people is to turn on the Shared Albums option in the iCloud Photos app on your iPhone.
After you have completed that step, the next thing you will need to do is create a shared album on iCloud by using the Photos app that is accessible on your iPhone or iPad.
How to share an album on iPhone?
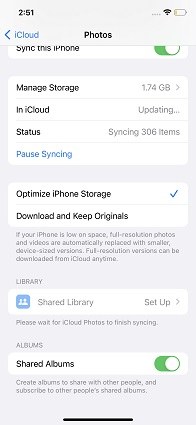
- To do so, go to Settings > Photos > On the screen that follows, check to see that iCloud Photos is turned on.
Move the slider to the ON position to allow shared albums, which may be found by scrolling down on the same page.

- Making a communal photo album iPhone.
- The next thing you'll want to do is use the Photos app that's accessible on your iPhone to create a shared album on iCloud.
- Launch the Photos app on your iPhone, and from there, choose the Albums option from the bottom menu.
- Tap the plus sign (+) located on the Albums page, and then pick the New Shared Album option.
How to share album on iPhone and add photos to them?
After you have created a Shared Album, you will be able to begin uploading photos and videos to the Shared Album that you wish to share with other people.
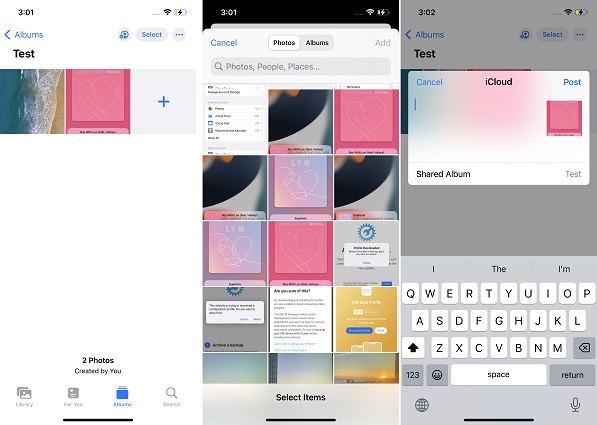
- Launch the Photos app, then choose the Albums option from the bottom menu, scroll down, and select your Shared Album from the list.
- Tap the plus sign after you have entered the Shared Album you want to see.
- Select the Photos that you wish to share with other people and then hit the Done button on the next page.
Tap the Post button that appears on the next screen to add the chosen photos to the Shared Album.

Now you learned how to share photo album on iPhone, it is time to learn additional features such as inviting more people to your shared album iPhone group.
Invite additional people:
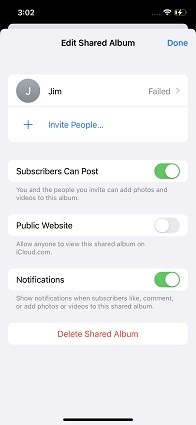
- Choose a shared album that you've made and choose it from the Albums menu.
- Navigate to the tab titled "People."
Select the Invite People option.

- Simply type in the names of the individuals with whom you want to share this album.
- Just tap Add.
Albums may also be shared with relatives and friends who do not utilize iCloud if you so want.
More Tips about iPhone Shared Albums
1. How to Remove a Subscriber from a Shared Album iPhone?
- Launch the album that is shared.
- Navigate to the tab labeled People.
- Choose the subscriber whose subscription you want to terminate.
Select "Remove Subscriber" from List from the menu that appears at the bottom of the screen.

When you create a shared album, you have the ability to decide who else may see it. At any moment, you are free to delete the album or remove subscribers from it.
2. How to Delete a Photo or Video from a Shared Album iPhone?
- Go to the album that is shared.
- To see the picture or video, tap on it.
- Click the button labeled "Trash."
- Tap Delete Photo.
If you are the owner of a shared album, you have the ability to remove any photographs, videos, or comments that have been posted to it by any other user.
Bonus: Export iPhone Photos with Only One-Click
If you do not want the storage space on your device to be consumed by all of the images that you have taken, received, or given, then you need to learn how to export photos from your iPhone or iPad to your computer quickly and effortlessly using the Tenorshare iCareFone.
It’s an-all-in one iOS data management tool, which focuses on iOS data backup/transfer/management.
But how should this be done?
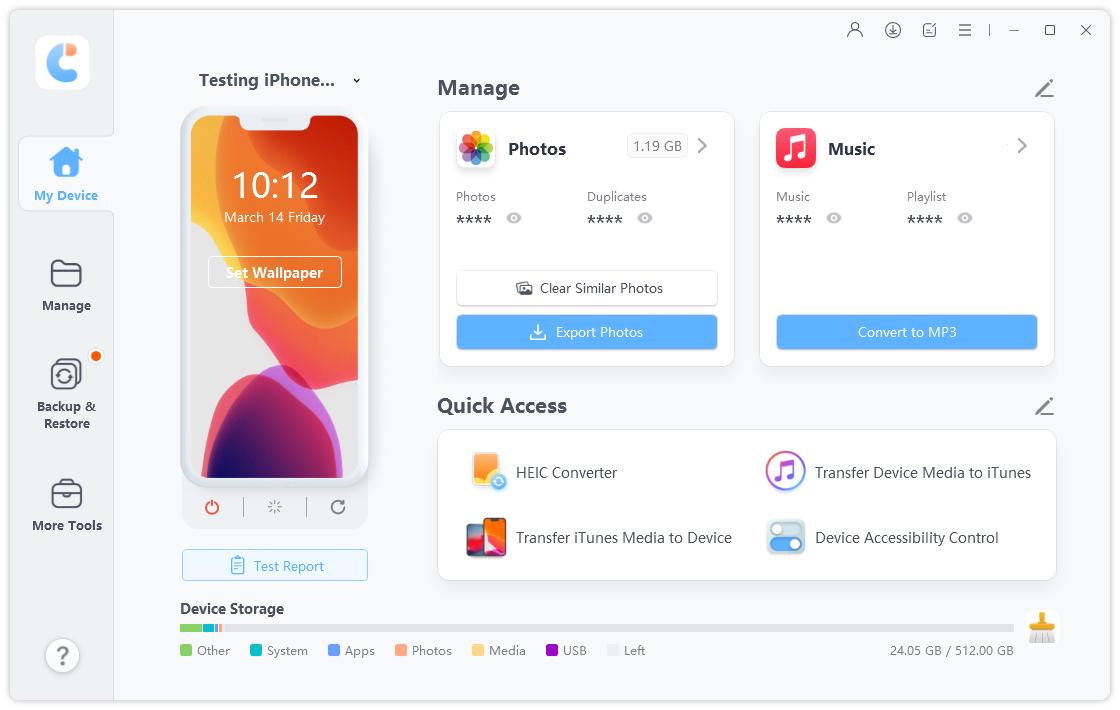
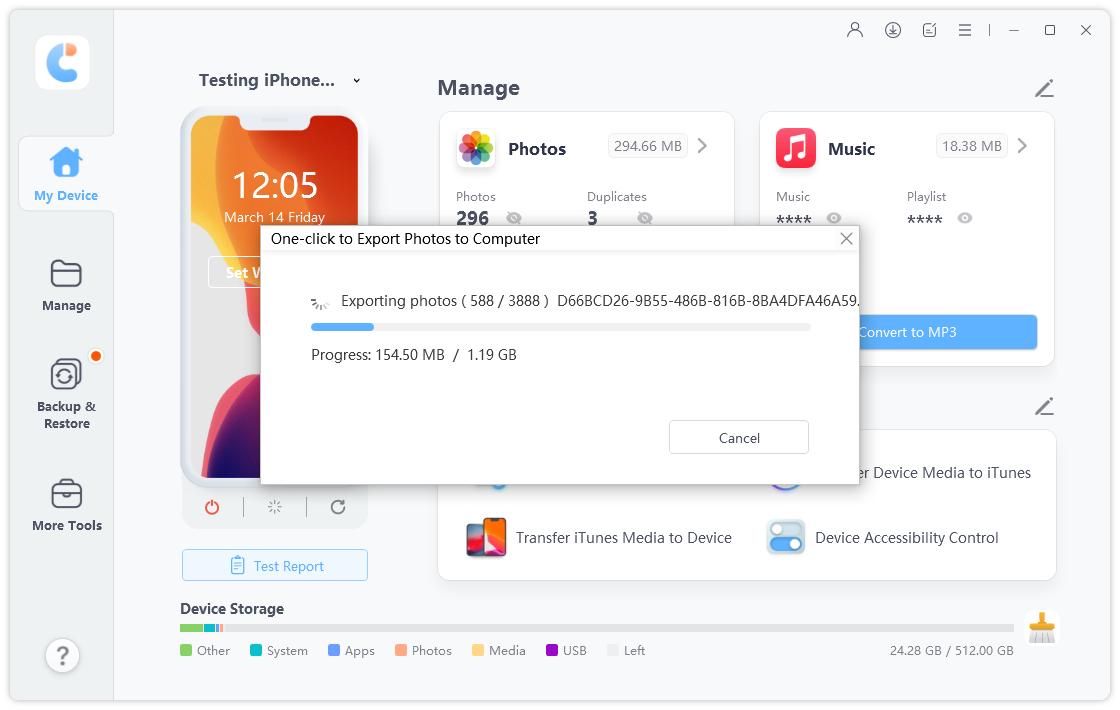
The first step is to download and install Tenorshare iCareFone on your computer. Launch it and connect your device to the computer. Choose "One-click Export Photos to PC" from the main interface to get the exporting process started quickly.

Your computer will be immediately updated with all of the images, regardless of whether they were taken by your device or downloaded from the internet.

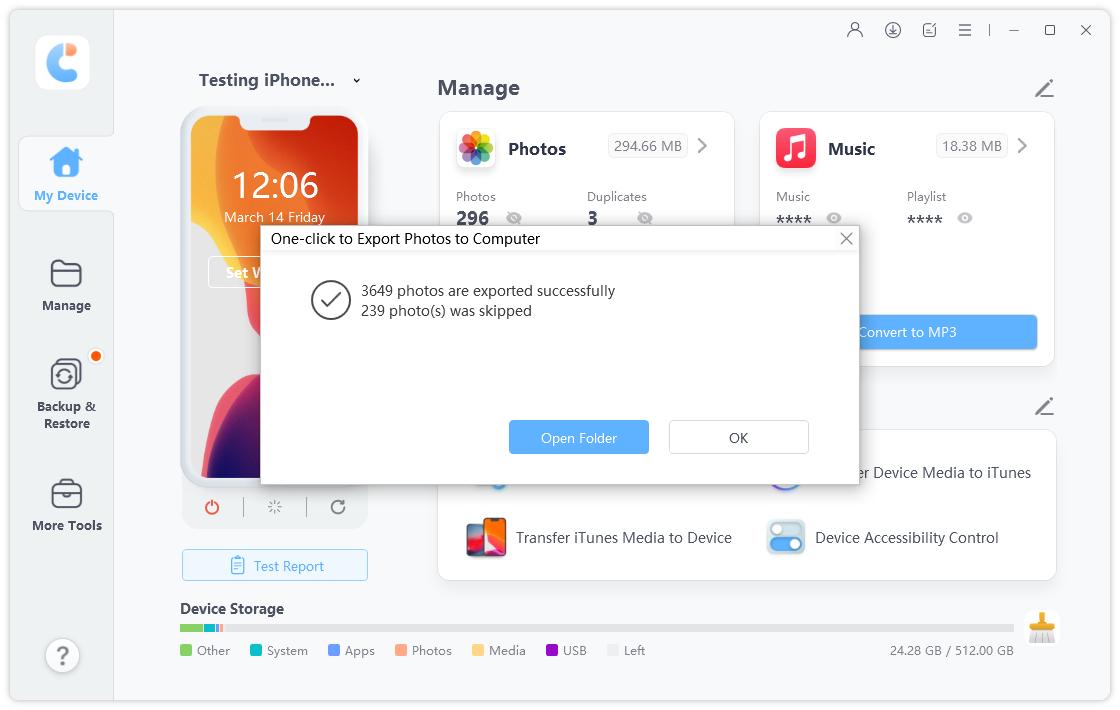
The last step is to finish the transfer, at which point the destination folder will become visible. If this is not the case, you may see the transferred photographs by clicking the "Open Folder" button.

The Bottom Line
Because you now know how to create an album on your iPhone and how to share an album on iPhone using Photo Sharing, it will be much simpler for you to include your family and friends in your photographic exploits.
By the way, you can try Tenorshare iCareFone, which makes iOS data management easy.
Speak Your Mind
Leave a Comment
Create your review for Tenorshare articles

Tenorshare iCareFone
Best Free iPhone Transfer & iOS Backup Tool
Easily, without iTunes
