Create iOS 17 Live Stickers: A Step-by-Step Guide
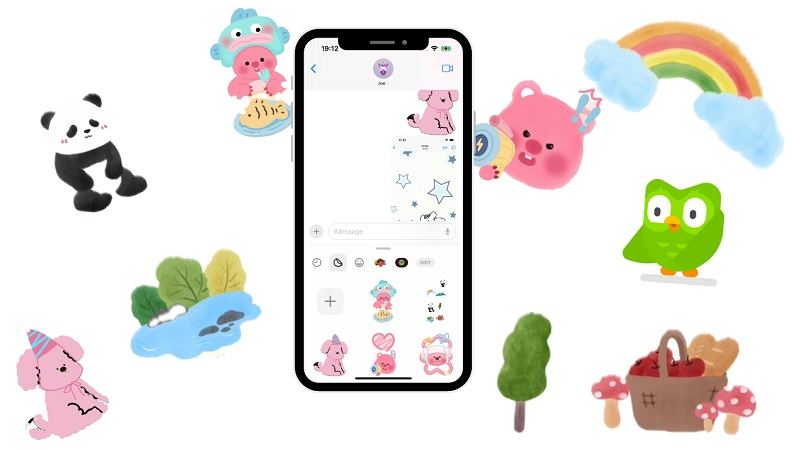
Live Stickers is one of the many new features in iOS 17, and it’s a fun one. Stickers are a fun way to put some extra life in your texts, and with iOS 17, Apple has added many new features to the stickers experience on the iPhone. Live Stickers is one of them.
But what exactly is it? And how do you set it up and use it? That’s what we’re going to answer in this post! Without any further ado, here’s everything you need to know about Live Stickers iOS 17.
- Part 1: What is iOS 17 Live Stickers?
- Part 2: How to Create a Live Sticker iOS 17?
- Part 3: What are the Other Features in iOS 17?
- Bonus: How to Downgrade from iOS 17 (Beta) to iOS 16?
Part 1: What is iOS 17 Live Stickers?
Live Stickers is a feature that lets you create animated stickers in iOS 17.
If you have a Live Photo in your gallery, you can cut out the subject from it and make an animated sticker of it. In fact, you don’t have to cut the subject yourself since iOS does it for you.
Similarly, you can also create stickers of the subject in static photos and save them in your sticker library.
After you have a static or Live Sticker in your library, you can send it to anyone in iMessage, or any other app that supports the native iOS sticker experience. With that out of the way, let’s now talk about how to create a Live Sticker iOS 17.
Part 2: How to Create a Live Sticker iOS 17?
Creating a Live Sticker in iOS 17 is really easy. You don’t need any additional app for it. All you need is a Live Photo in your Photos gallery, and you’ll be good to go.
Plus, be noted that there should be a subject within your Live Photo for this to work. If there’s no subject, there’s nothing to create a sticker of. If you have a Live Photo in your gallery which also includes a subject, here’s how to create a sticker of it.
- Open iMessage and select any chat from the list or create a new one.
- Tap the + icon at the bottom-left corner.
- Tap “Stickers”.
- Then, select the 2nd tab from the horizontal list which represents stickers.
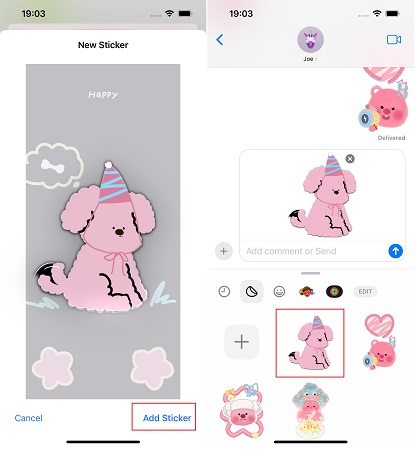
Tap the + icon to add a new sticker.

- Choose the Live Photo that you want to create the sticker of.
- iOS will automatically crop out the subject for you and create a sticker of it.
When the sticker is saved, now can send the animated sticker to any one in iMessage or other messaging apps.

You can also create a static sticker from a still photo if you don’t have a Live Photo. Furthermore, you can add effects to a static sticker to make it feel more alive. Here’s how to do that.
- Open iMessage and select a chat.
- Tap “+” icon, then select “Stickers”.
- Select the stickers icon from the tab list, then hit “+” to add a new sticker.
- Choose any static image with a subject to use as a sticker.
- If you want to add an effect to it, tap and hold on the sticker and select “Add Effect”. If you don’t want to add an effect, simply skip this step.
- Save the sticker, and you’re good to go! Now you can send the sticker to anyone in any messaging app that supports stickers.
Related read iOS 17 Live Stickers Not Working? Fixed!.
Part 3: What are the Other Features in iOS 17?
You must be wondering what are the other great features in iOS 17 besides Live Stickers. That’s what this section is about. Here are the top features coming to your iPhone with iOS 17.
xContact Posters: In iOS 17, you can create custom posters for your contact. When you call someone, they will see that poster.
NameDrop: When you meet someone for the first time and want to share your contact details with them, you can do that instantly by brining the top of your iPhone close to the top of their iPhone.
AirDrop: AirDrop has been upgraded in iOS 17. Now, you can initiate a transfer by bringing your iPhone close to someone else’s, just like NameDrop.
iMessage: The iMessage interface has been updated. Now, there’s a new compact layout that tucks away all the options until you need them.
Check-In: You can automatically let your friends and family know when you’ve safely reached your destination using a new feature in iMessage called Check-In.
Keyboard:The keyboard in iOS 17 has been upgraded with a new autocorrection model. Now, autocorrection and predictive text should work a lot better. Plus, voice-to-text dictation will work better too.
Related read: iOS 17 New Features: Everything You Need to Know.
Bonus: How to Downgrade from iOS 17 (Beta) to iOS 16
Are you on iOS 17 and iOS 17 beta and it’s not working well for you? You should consider downgrading to iOS 16. But how exactly do you do that without any technical knowledge? Tenorshare ReiBoot is your answer.
With ReiBoot, you can effortlessly downgrade your iOS version to the previous version without having any know-how of the upgrade/downgrade process. In addition, ReiBoot also handles iOS issues such as screen frozen that may be encountered during the iOS 17 upgrade process.
Here’s how you can download iOS 17:
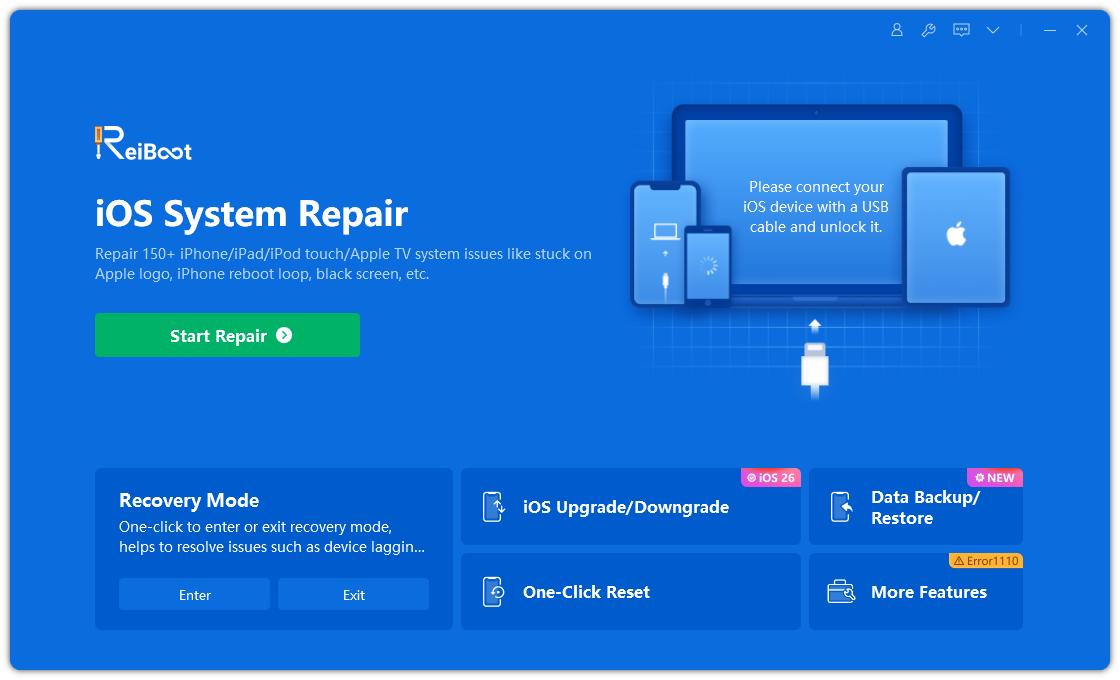
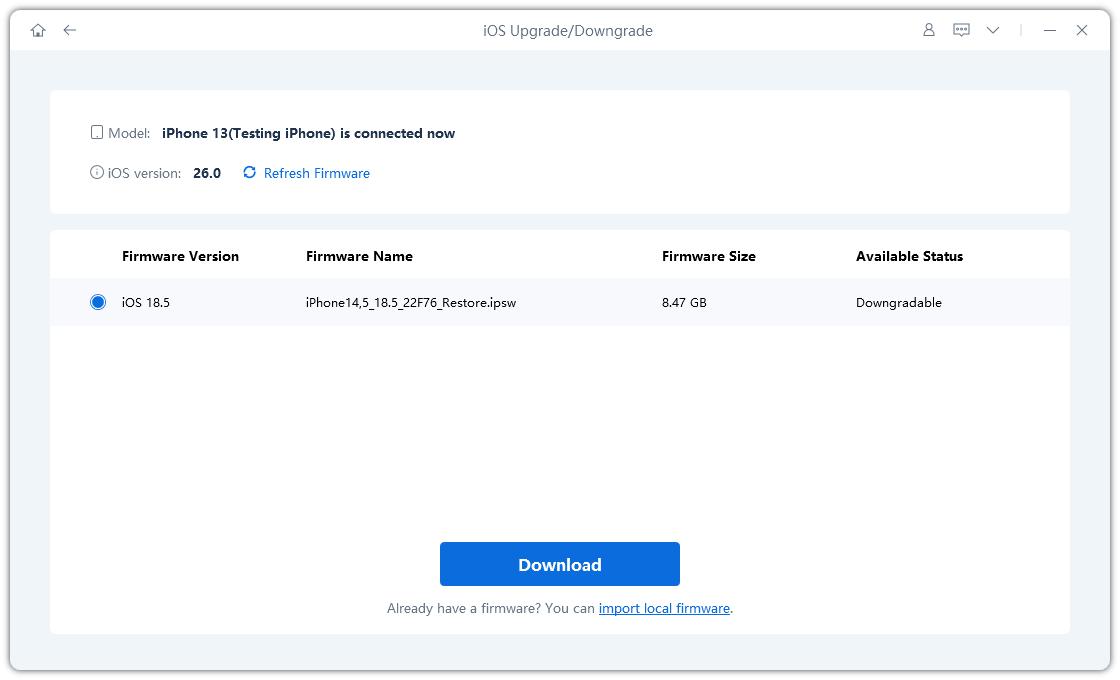
Install ReiBoot on your computer, then open it. Use a USB cable to connect your iPhone the computer, then select the iOS Upgrade/Downgrade option in ReiBoot.

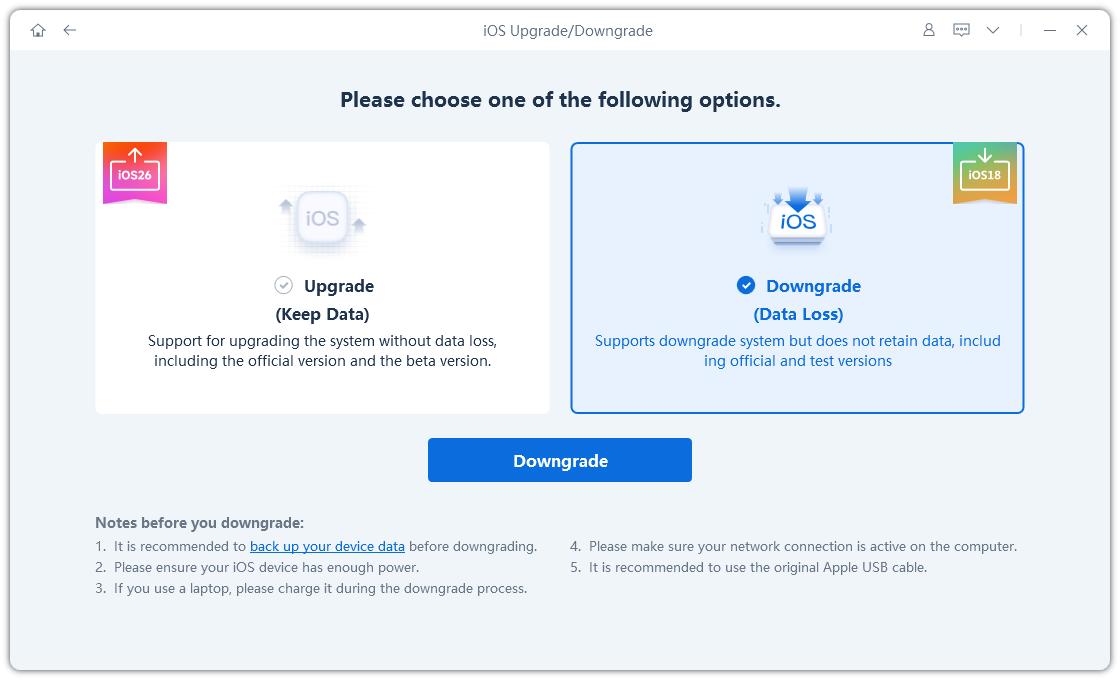
Select “Downgrade” as shown below.

Click “Download” to download the firmware package. The download for the iOS 16 firmware will begin. Wait for it to complete.

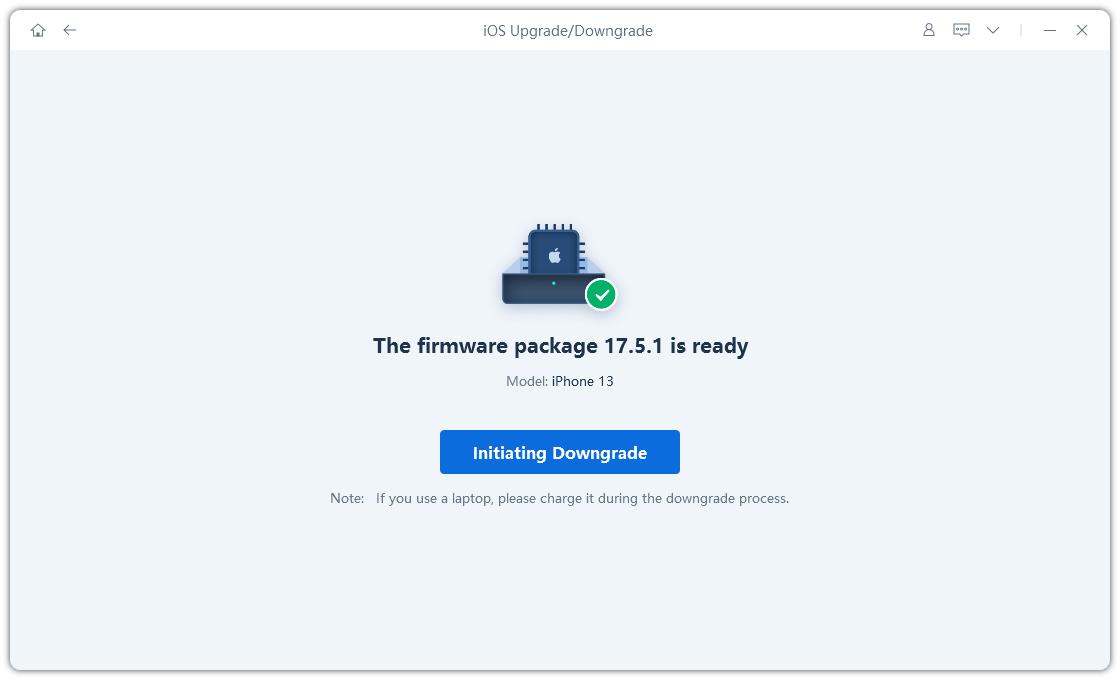
Select to initiate the iOS 17 downgrade.

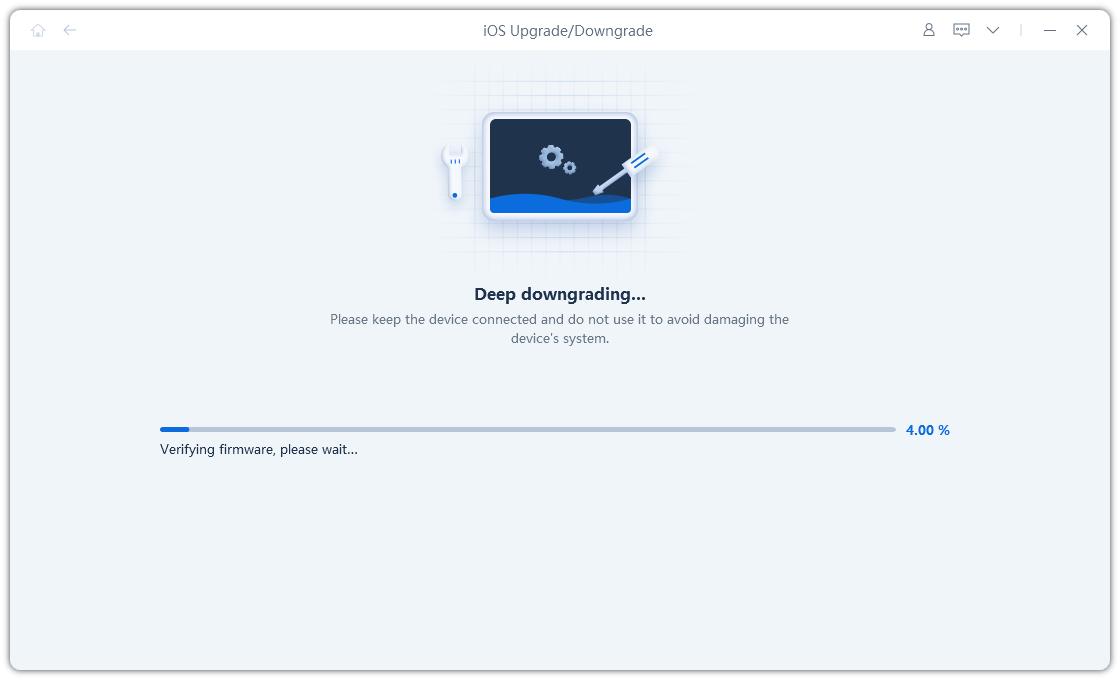
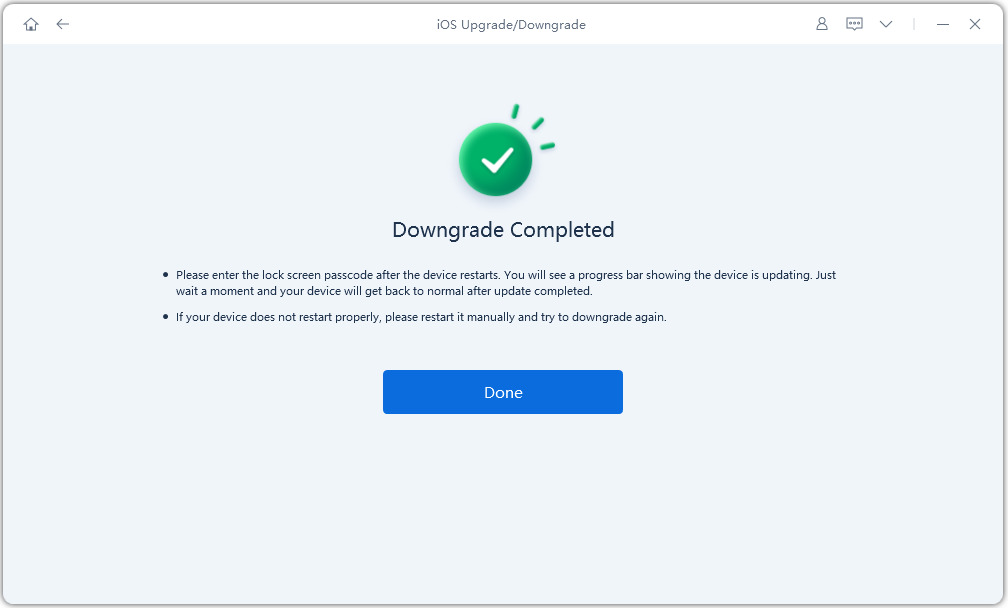
Hold tight while the process is complete. And you’re all done and ready to go! When it completed, your iPhone will go back to the latest iOS 16 version.


Here's a video guide:
The Bottom Line
iOS 17 Live Stickers is a new feature that lets you create animated stickers from your Live Photos.
You can create a Live Sticker in iMessage by selecting a Live Photo in the stickers interface. Lastly, if you’d like to downgrade from iOS 17 to iOS 16 or downgrade from iOS 17 beta to iOS 16, use Tenorshare ReiBoot for the task.
Speak Your Mind
Leave a Comment
Create your review for Tenorshare articles
