Auto-Delete Verification Codes Not Working on iOS 17? Here’s How to Fix It!
Auto-Delete Verification Codes is a new feature in iOS 17. With this handy feature, your messages app stays clear of useless OTP codes that you receive whenever you log in to an internet account.
However, some people complain this feature hasn’t been working for them on iOS 17. As you’ve found yourself in a similar situation, this article is a must-read for you! It explains what you need to do to fix this issue.
- Part 1: What Is Auto-Delete Verification Codes?
- Part 2: How to Turn This Feature ON?
- Part 3: Fixes for Auto-Delete Verification Codes Not Working
- Bonus Tip: How to Downgrade from iOS 17 to iOS 16
Part 1: What Is Auto-Delete Verification Codes?
As said earlier, it’s a new feature in the newest version of iOS (iOS 17).
When you turn this feature ON, your OTP codes are automatically deleted from your Messages app after you’ve used them using AutoFill.
This feature not only keeps your Messages app clean and organized, but can also save some space if you receive a lot of those OTP codes.
Part 2: How to Turn This Feature ON?
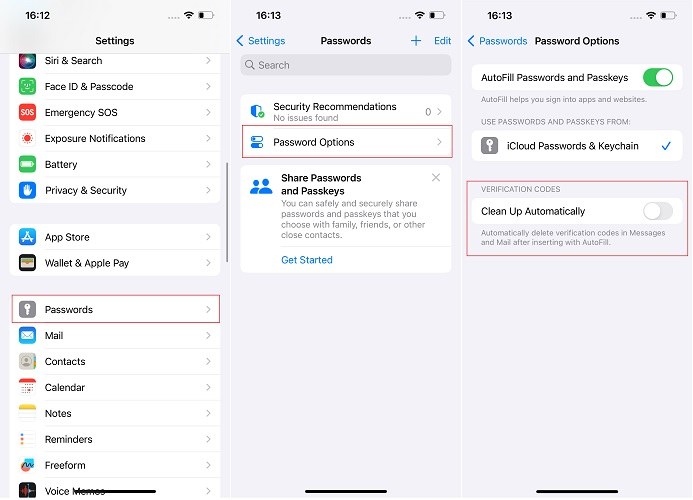
This feature is not turned ON by default on iOS 17. You have to head into settings and turn it ON yourself. Here’s how you can do that.
- Open the Settings app.
- Go to Passwords > Password Options.
Turn ON the toggle for “Clean Up Automatically”.

Now, when you get a new OTP code and you insert it into a text field using AutoFill, it will automatically be deleted from the Messages app.
Part 3: Fixes for Auto-Delete Verification Codes Not Working
If this feature is not working for you, here are a few fixes you can try.
Fix #1. Make Sure the Toggle is Turned ON
First things first, you need to make sure the toggle for this feature is turned ON.
As said earlier, it’s not ON by default. So, you have to head into the Settings app (as shown above) and turn it ON.
Fix #2. Force Restart Your iPhone
Sometimes there are temporary glitches that stop the functionality of new features.
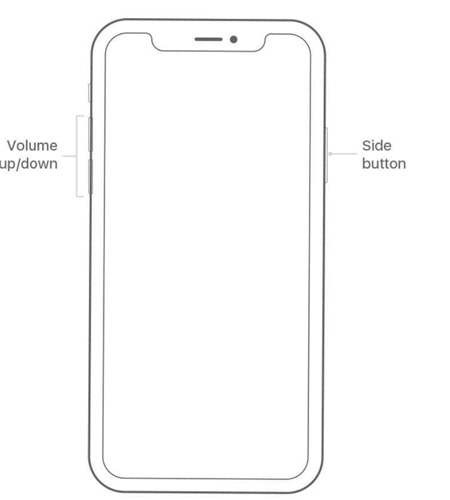
In such cases, it’s recommended to force restart your iPhone to refresh the system. Here’s how you can do that.
- Press and quickly release the volume up button.
- Press and quickly release the volume down button.
Press and hold the side button until you see the Apple logo.

Make sure to perform these steps in quick succession.
Bonus Tip: How to Downgrade from iOS 17 to iOS 16
iOS 17 update may introduce some new bugs and instability into your daily usage. That’s especially notable if the iPhone you’re running it on is your primary device.
If you’re facing bugs or issues, you might want to downgrade from iOS 17 to iOS 16. But how exactly do you do that?
Well, it’s super simple! All you have to do is use a simple utility called Tenorshare ReiBoot. With ReiBoot, you can downgrade your iOS version without any technical knowledge. Here’s how to do it. But before you proceed, make sure to back up your data, because downgrading your iOS version erases your internal storage.
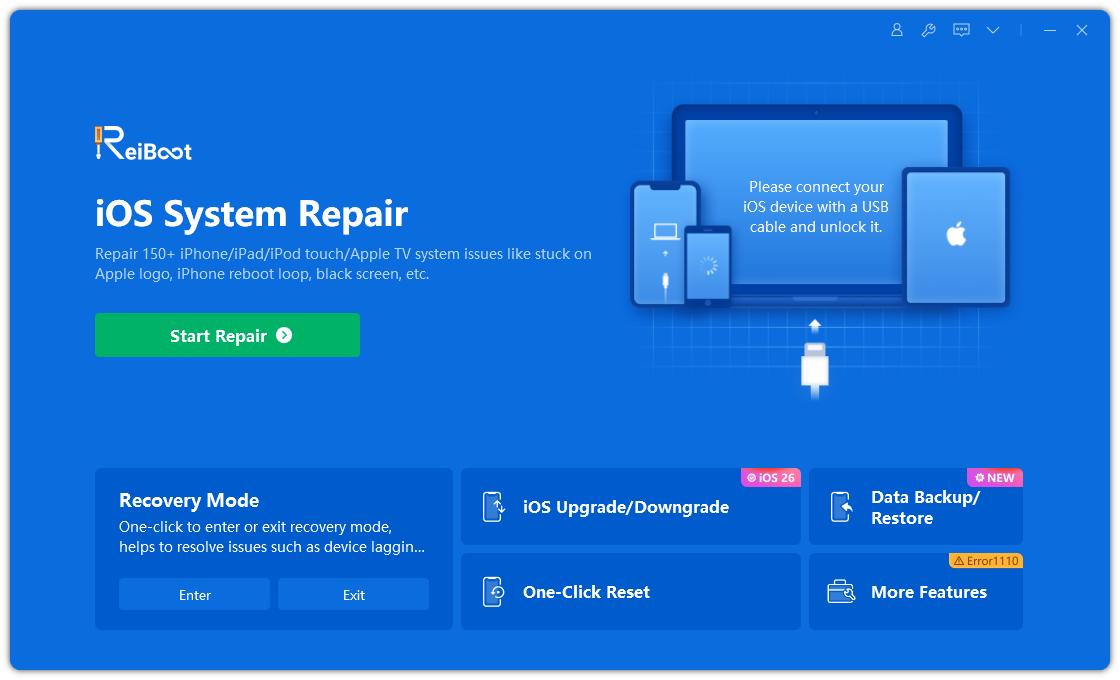
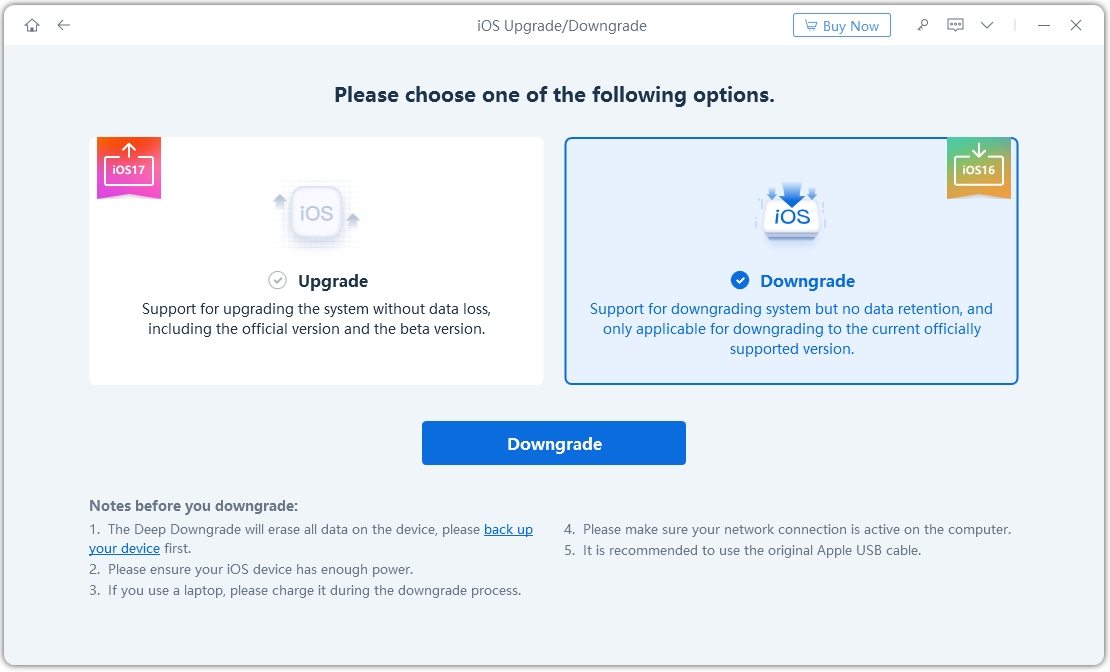
Download and install ReiBoot on your computer. Open ReiBoot. Connect your iPhone to the same computer using a USB cable. Choose the Upgrade/Downgrade option.

Choose the Downgrade option as shown below.

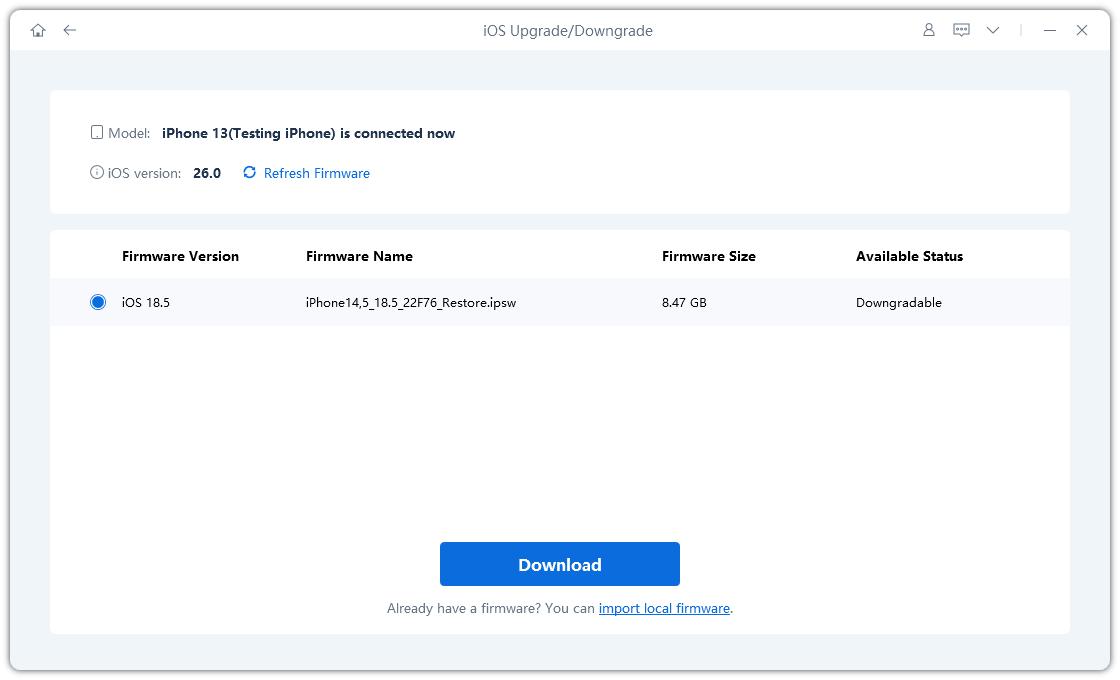
Now, you need to download the firmware package for iOS 16. To do that, simply click the download button.

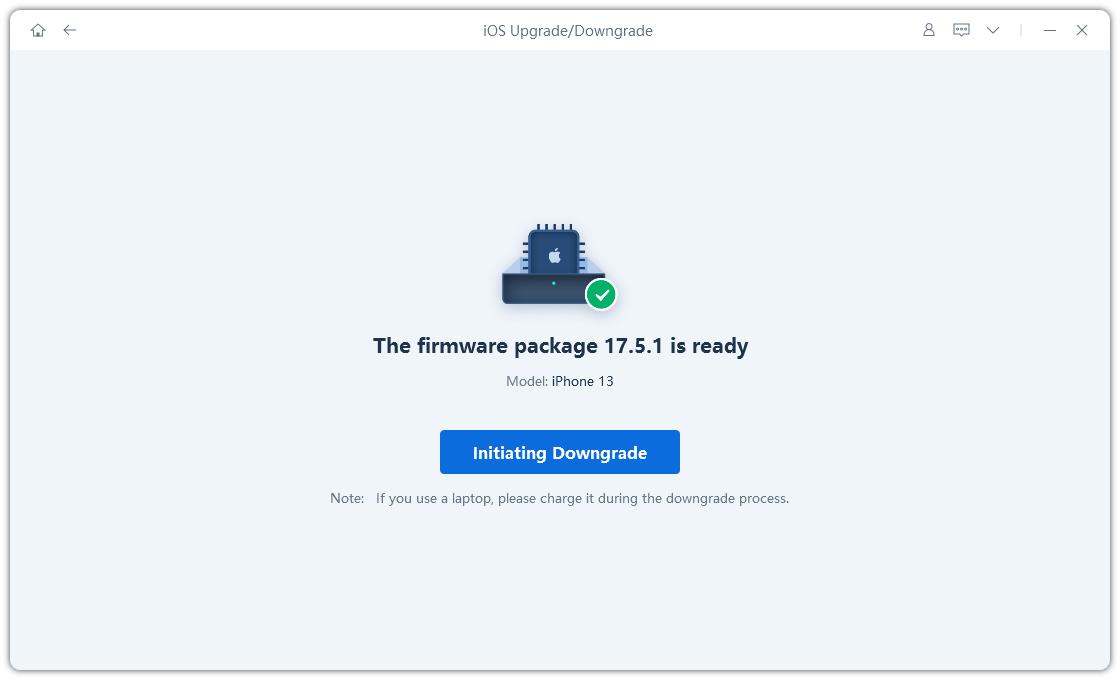
Wait for the download to complete. It may take a while depending on your internet speed. When it’s done, hit the Initiate Downgrade button to install iOS 16.

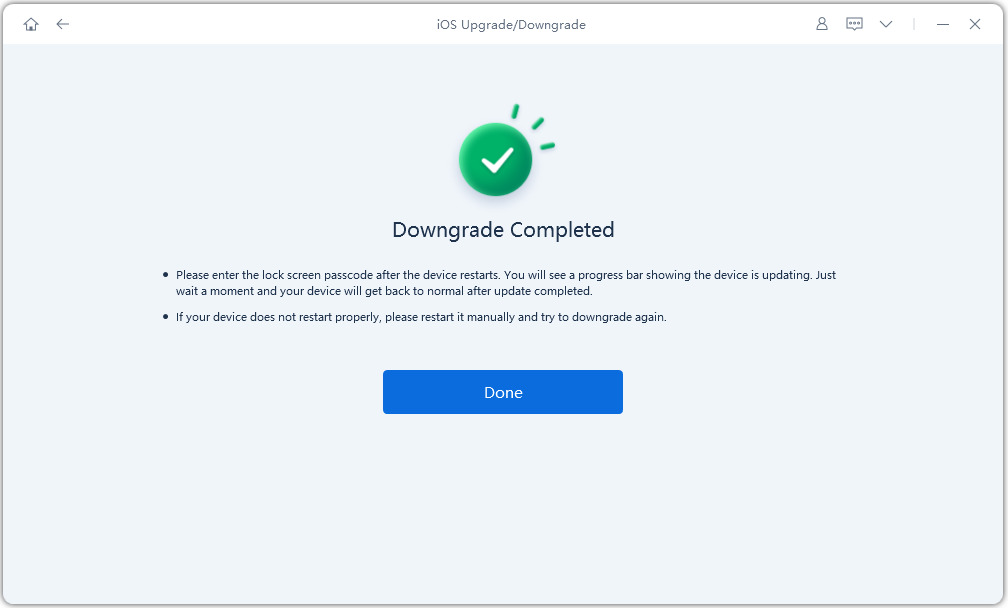
Wait for the process to complete, and you’re good to go!

And that’s it! You’ve successfully downgraded to iOS 16.
Related read Back Up iPhone Before Upgrading to iOS 17.
The Bottom Line
Auto-Delete Verification Codes is a nice feature in iOS 17 that automatically deletes your OTP codes after you’ve used them.
If the feature hasn’t been working well for you, you can use the tips mentioned above to fix it.
Alternatively, you can downgrade to iOS 16 using ReiBoot and wait for the stable version of iOS 17.
Speak Your Mind
Leave a Comment
Create your review for Tenorshare articles
