Downgrade macOS Sequoia to Sonoma, 2025 Best Guide Here!
Downgrading macOS can seem daunting. There’s no second thought to it! Especially when downgrading from the latest macOS Sequoia to the previous macOS Sonoma, it may seem overwhelming. Perhaps you've encountered unexpected bugs, compatibility issues, or simply prefer the stability and familiarity of Sonoma.
Whatever your reasons, understanding the process and knowing the steps involved can make downgrading straightforward and stress-free. In this comprehensive guide, we will provide you with everything you need to know to successfully downgrade macOS Sequoia to Sonoma.
- Part 1. Is it OK to Downgrade macOS?
- Part 2. How to Downgrade MacOS Sequoia to Sonoma in One-Click?
- Part 3. How to Downgrade MacOS Sequoia to Sonoma with Time Machine
- Part 4. How to Downgrade MacOS Sequoia to Sonoma without Time Machine
- Part 5. How to Downgrade MacOS Sequoia to Sonoma with USB Installer
- Part 6. FAQs about Downgrade MacOS Sequoia to Sonoma
Part 1. Is it OK to Downgrade macOS?
Downgrading from macOS Sequoia to Sonoma is perfectly acceptable, especially if you're experiencing significant issues that hinder your productivity. Before making the decision to downgrade, it is advisable to explore all options. Check if the software or hardware causing problems has any updates or patches available for macOS Sequoia. Often, developers release updates to ensure compatibility with the latest macOS versions, which can resolve many issues without the need to downgrade.
However, if the necessary updates are not available or your problems persist, downgrading to macOS Sonoma may be the best solution. Sonoma is known for its stability and reliability, which could provide a more seamless and familiar user experience. Always remember to back up your data before proceeding with a downgrade to prevent any potential data loss.
Part 2. How to Downgrade MacOS Sequoia to Sonoma in One-Click?
Now let us tell you the top method to downgrade Sequoia to Sonoma - Tenorshare ReiBoot. Known for its efficiency and reliability, ReiBoot provides a seamless one-click solution to downgrade to Sonoma from Sequoia.
Using ReiBoot comes with several advantages. First, it features an intuitive interface, making it accessible even for those who are not tech-savvy. The straightforward design ensures you can downgrade your macOS with no effort. Second, ReiBoot's one-click solution eliminates the need for complicated procedures and reduces the risk of errors. Third, the tool is designed to prioritize your data's integrity, meaning no data loss during the downgrade. Although it is still recommended to back up your data, this added layer of safety is great.
Follow these steps to downgrade macOS Sequoia to Sonoma using Tenorshare ReiBoot.
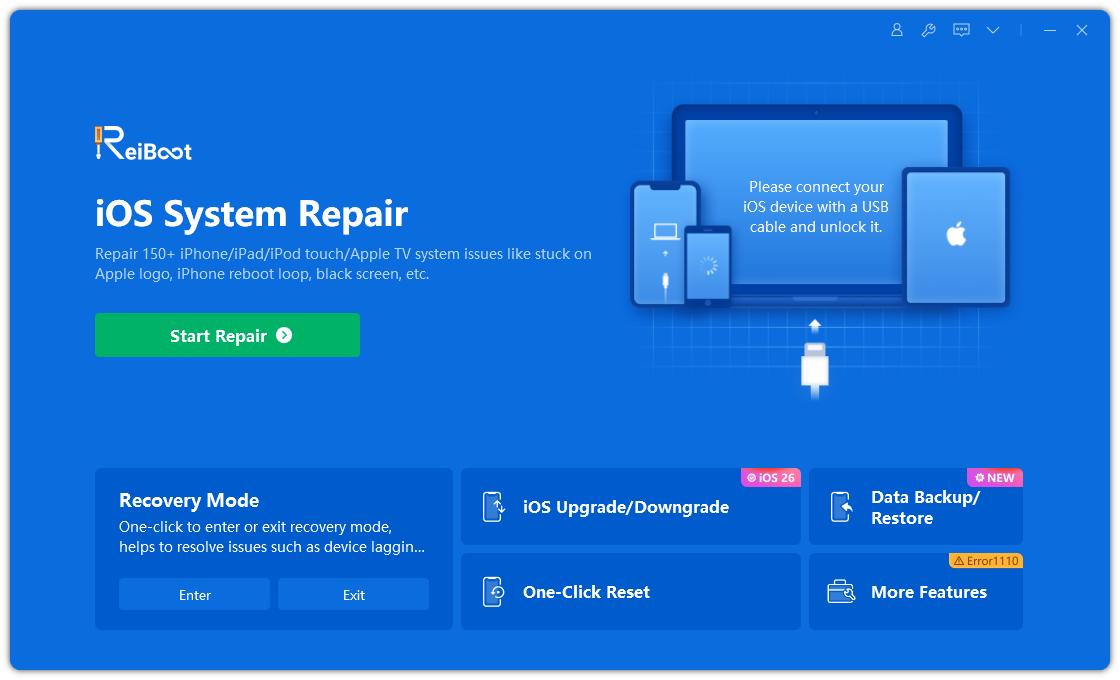
- Download and install Tenorshare ReiBoot on your Mac. Run the program and when it opens up, select “iOS Upgrade/Downgrade” from the options given.
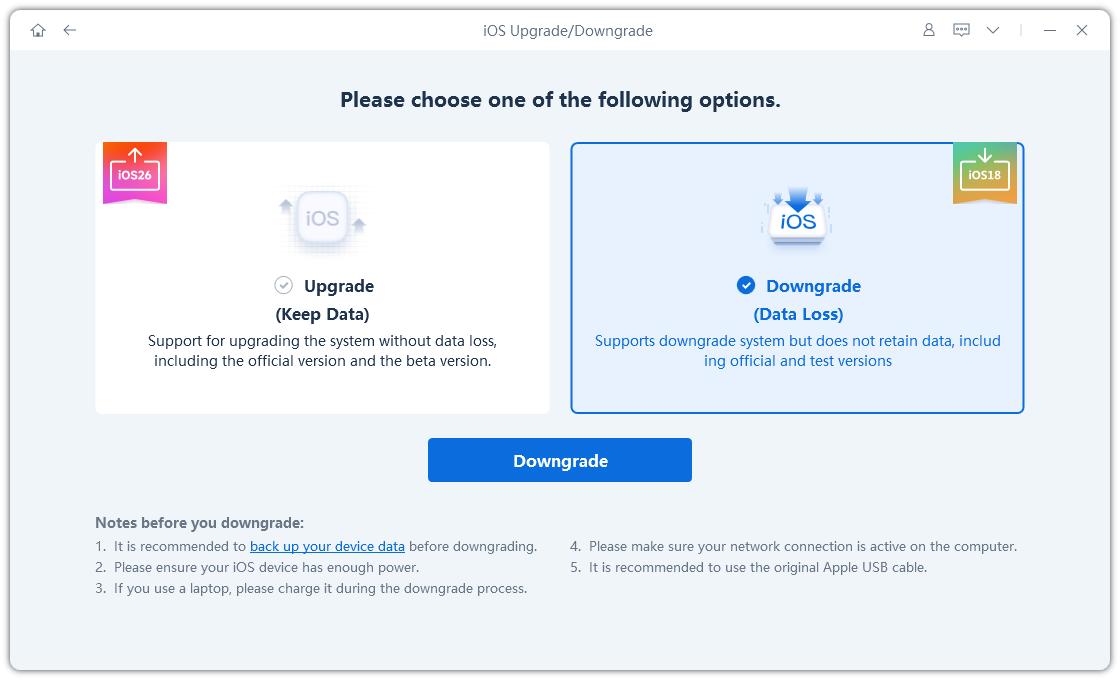
- Choose “Downgrade” and confirm.
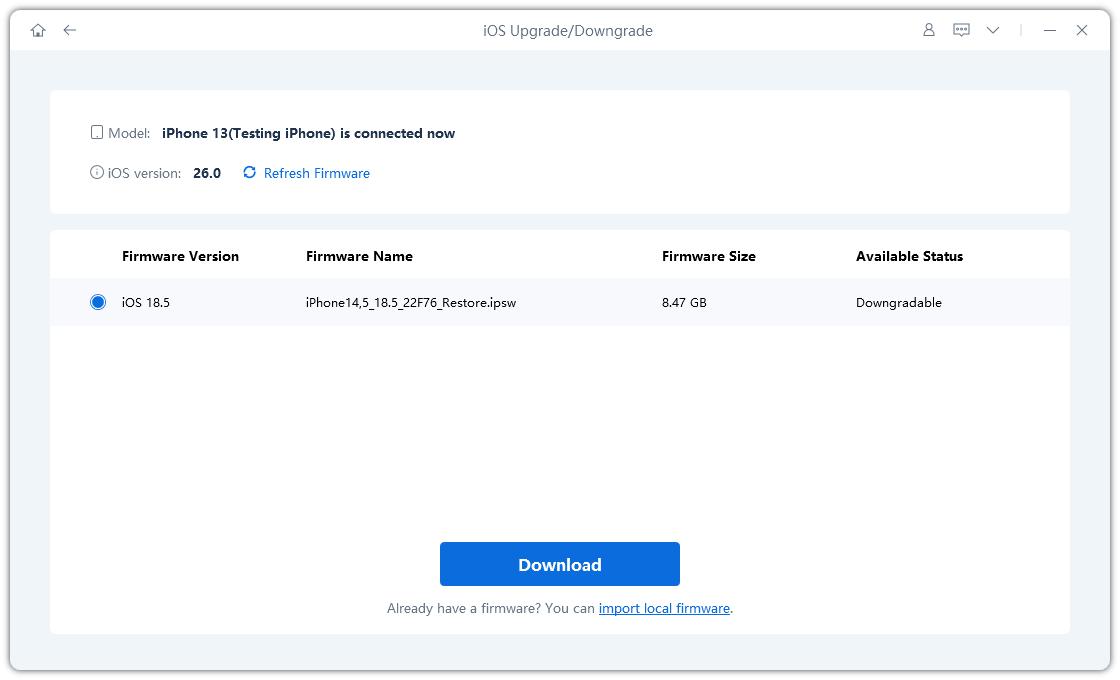
- Tenorshare ReiBoot will automatically find a firmware for your Mac. With that firmware chosen, click “Download” to start.
- After confirming, ReiBoot will begin the downgrade process. This step may take some time, so ensure your Mac remains connected to the internet and stays on.
- Click “Done” when finished.
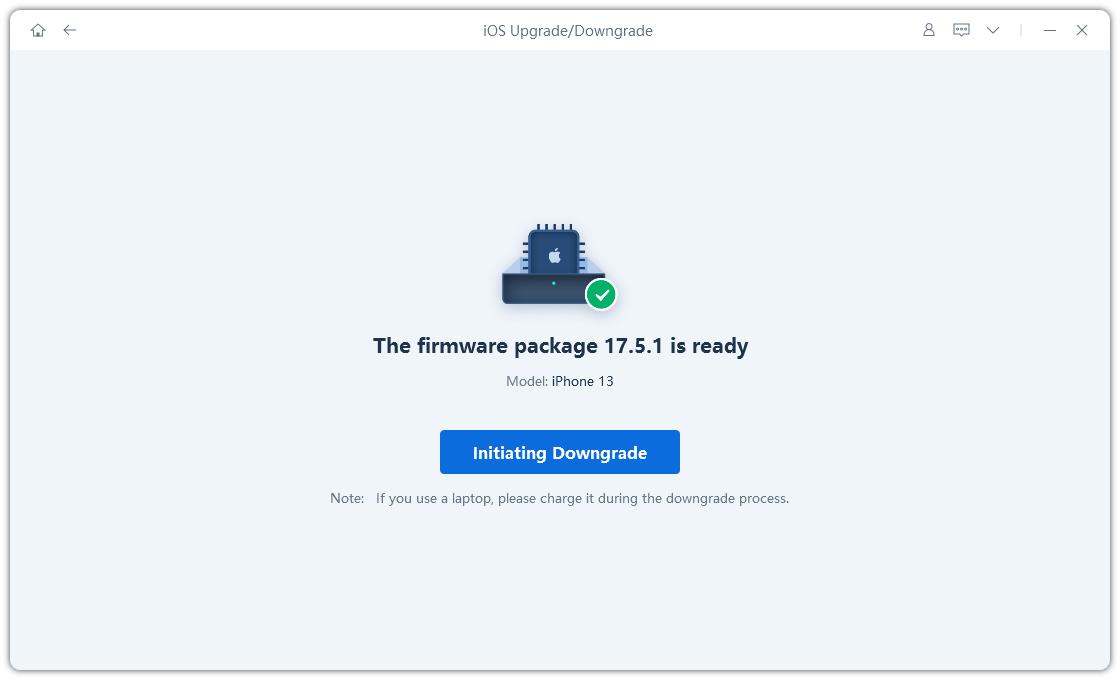
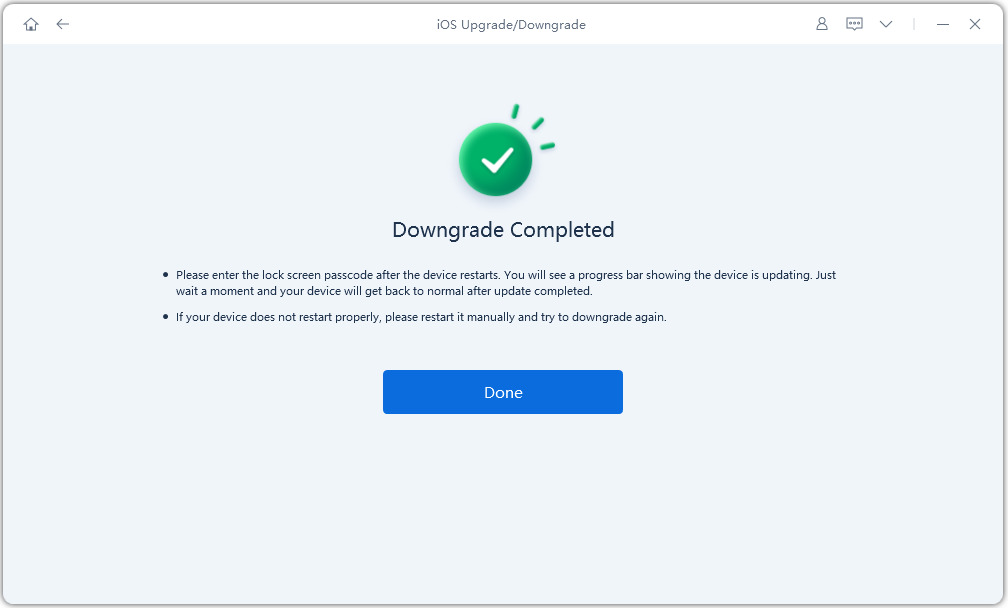
Once the process is complete, your Mac will reboot. You will now be running macOS Sonoma.
Part 3. How to Downgrade MacOS Sequoia to Sonoma with Time Machine
Warning: You should only proceed with this method if you had created a backup while running macOS Sonoma using Time Machine. Without a Sonoma backup, this process will not work, and you may risk losing important data.
If you are looking to perform a Sequoia downgrade to macOS Sonoma, utilizing a Time Machine backup is one of the most reliable methods. This approach ensures that you can go back to a previous state of your system, retaining all your applications, settings, and files as they were when you created the backup.
If you had previously created a backup while running macOS Sonoma, let’s see how to downgrade from Sequoia to Sonoma using Time Machine.
- Plug in the external drive that contains your Time Machine backup.
- Click on the Apple icon in the upper left corner of the screen, then choose “Restart.”
- Hold the power button when your Mac starts up. This will open up the Options Menu. Release the power button.
- Select “Options,” then “Continue.” Put your administrator ID and password and this will take you to Recovery Mode.
- From there, select “Restore from Time Machine Backup” and follow the instructions to continue Sequoia downgrade.
Part 4. How to Downgrade MacOS Sequoia to Sonoma without Time Machine
If you don't have a Time Machine backup and are wondering how to revert back to Sonoma from Sequoia, you can use macOS Recovery to reinstall the previous operating system version. Here’s what you need to do:
- Power off your Mac. Make sure it’s completely turned off.
- Turn on your Mac and immediately press and hold one of the following key combinations until the Apple logo appears:
- Command + R: Reinstalls the latest macOS version that was installed on your Mac.
- Option + Command + R: Upgrades to the latest macOS version compatible with your Mac.
- Shift + Option + Command + R: Reverts to the macOS version that originally came with your Mac, or the closest version still available.
- If prompted, enter your Apple ID credentials and click "Continue," then "Next."
- From the given options, choose "Reinstall macOS" and click "Continue."
By following these steps, you can successfully downgrade from macOS Sequoia to Sonoma without a Time Machine backup.
Part 5. How to Downgrade MacOS Sequoia to Sonoma with USB Installer
Creating a bootable USB installer allows you to perform a clean installation of macOS Sonoma. If you prefer to use a USB installer for your Sequoia downgrade to macOS Sonoma, here’s how to go back to Sonoma from Sequoia:
- Using another Mac, create a bootable USB installer containing macOS Sonoma.
- Connect the bootable USB installer to your Mac currently running macOS Sequoia.
- Click the Apple logo in the top-left corner of your screen and select "System Settings" to begin preparing your Mac for the downgrade.
- In the sidebar, go to "General" and then click on "Startup Disk." This is where you will select your bootable USB installer as the startup disk.
- Highlight the bootable macOS installer from the list of available disks and click "Restart." Your Mac will now reboot using the USB installer.
- Once your Mac boots into Recovery Mode from the USB installer, select "Reinstall macOS" to start the installation process.
- Click "Continue" and follow the on-screen instructions carefully. This will guide you through the process of installing macOS Sonoma, effectively replacing macOS Sequoia.
Part 6. FAQs about Downgrade MacOS Sequoia to Sonoma
Q1. Can I downgrade macOS without losing data?
Yes, it is possible to downgrade macOS without losing data, but it requires careful preparation. The best way to ensure data preservation is to use a Time Machine backup created while running the previous version of macOS (Sonoma).
Q2. Is macOS Sequoia better than Sonoma?
The choice between macOS Sequoia and Sonoma largely depends on your specific needs and preferences. macOS Sequoia, being the newer version, may offer enhanced features, improved security, and better performance optimizations. However, it might also come with compatibility issues or bugs that haven't been fully resolved yet. If you prefer the features present in Sonoma, this might be what you need.
Final Word
Downgrading from macOS Sequoia to Sonoma can be a smooth and hassle-free process if approached correctly. In this article, we told you the different methods you can use to downgrade macOS Sequoia to Sonoma. Always remember to back up your data beforehand to prevent any data loss.
For those looking for a simple and efficient solution, we highly recommend using Tenorshare ReiBoot. By choosing Tenorshare ReiBoot, you can enjoy the stability and familiarity of macOS Sonoma with minimal effort and maximum reliability.
Speak Your Mind
Leave a Comment
Create your review for Tenorshare articles
