How to Downgrade iPadOS 18 to 17 without Losing Data
The hype around the latest iPadOS update can make you eager to download it. But soon enough, you find your iPad lagging, apps crashing, and a number of other minor problems show up. This is when you start missing the stability of the previous iOS version, and you start wondering if it is even possible - let alone safe - to downgrade to a previous update.
Don’t worry! We have the answer for you! With the right approach, you can safely downgrade to iPadOS 17. In this article, we'll be providing you with 3 ways you can downgrade iPadOS 18 to 17, even if you don't have a computer handy.
- First Tip: Backup Your iPad before Downgrade iPadOS 18 to 17
- Part 1: How to Downgrade iPadOS 18 to 17 without Computer
- Part 2: How to Downgrade iPadOS 18 to 17 with iTunes
- Part 3: How to Downgrade iPadOS 18 to 17 without iTunes [One-Click Solution]
- Extra Tip: How to Restore iPad Backup after Downgrade iPadOS 18
First Tip: Backup Your iPad before Downgrade iPadOS 18 to 17
Creating a backup of your iPad before downgrading iPadOS 17 is crucial to ensure all your data is safe. Downgrading iPadOS erases your current data. A backup creates a complete copy of your iPad's data, including apps, contacts, photos, videos, documents, and settings.
Moreover, downgrading to a prior version of iPadOS can be risky due to incompatibility between the software and the apps. This incompatibility can lead to data loss or app crashes. If anything goes wrong during the downgrade process, you can restore your iPad from the backup and get all your information back.
Ensure your iPad is connected to a stable Wi-Fi network and follow these steps to backup your iPad before you downgrade iPadOS 18 to 17.
1. Open the Settings app on your iPad. Tap on your Apple ID at the top of the Settings menu.
2. From the list of options, tap on iCloud. Choose iCloud Backup and turn it on.
3. Tap on Back Up Now to initiate a manual backup to iCloud.
Your iPad will now start backing up its data to iCloud. The backup time may vary depending on the amount of data on your device. With your iPad successfully backed up, you can proceed with downgrading to iPadOS 17.
Part 1: How to Downgrade iPadOS 18 to 17 without Computer
There are situations where someone might prefer to downgrade from a version of iPadOS without a computer. Not everyone has easy access to a computer, making this method appealing for those who want to downgrade on the go. Moreover, downgrading through a developer profile can potentially be faster than using a computer, especially if your internet connection is slow.
The good news is you can downgrade iPadOS 18 to 17 without computer. This process involves removing the iPadOS 18 profile from your iPad. Here’s how to downgrade iPadOS 18 to 17 without losing data.
Method 1: Removing the iPadOS 18 Profile
- Open the Settings app on your iPad. Tap on General.
- Select VPN & Device Management.
- You should see a profile named "iPadOS 18 Software Profile" or similar. Tap on it.
- Tap on Remove Profile. You might be prompted to enter your passcode for confirmation. After that, restart your iPad.
Method 2: Turn Off Updates
Once you've removed the profile, you need to ensure your iPad prioritizes stable updates over ones. Here's how:
- Open the Settings app again.
- Tap on General and then Software Update.
- There should be an option for Updates. Tap on it and turn it off.
Part 2: How to Downgrade iPadOS 18 to 17 with iTunes
Downgrading an iPad's operating system using iTunes is a more complex process compared to removing a profile. It's important to understand that this method will most likely erase all your data on the iPad. Make sure you have a recent backup before proceeding, as downgrading won't restore your iPad from a backup created on a newer iPadOS version.
Here’s how to downgrade iPadOS 18 to 17 using iTunes.
Step 1. Visit https://ipsw.me/ in a web browser on your computer.
Step 2. Select your exact iPad model from the provided list so you don’t end up downloading a wrong firmware.
Step 3. Once you've identified your model, locate the iPadOS 17 version you want (e.g., iPadOS 17.3.1). Click on Download to save the IPSW file on your computer.
Step 4. On your iPad, go to Settings > Apple ID > Find My and turn off Find My iPad. This is crucial for the downgrade process to work.
Step 5. Connect your iPad to your computer using a compatible USB cable and launch iTunes on the computer.
Step 6. Hold down the Shift key on your keyboard and click Restore iPad.
Step 7. Now find the downloaded file and open it. Click Restore to proceed with downgrading your iPad to iPadOS 17.
iTunes will erase your iPad and install the iPadOS 17 firmware. Once complete, you can set up your iPad as a new device or restore it from backup.
Part 3: How to Downgrade iPadOS 18 to 17 without iTunes [One-Click Solution]
While ITunes offers a way to downgrade iPadOS, it comes with certain risks - and the most significant one of them is data loss. If you don’t have a recent backup, you will lose all your data and settings. Plus, who wants to be navigating complicated menus within iTunes, right?
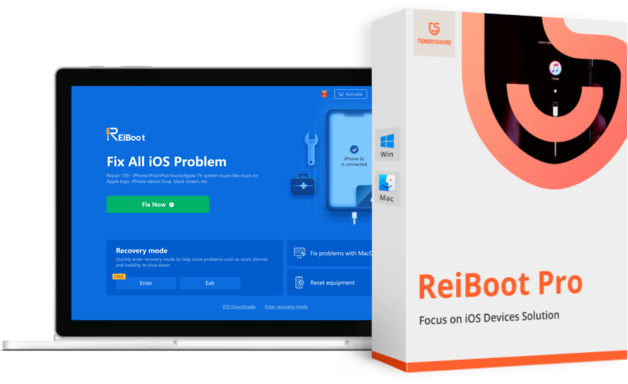
If that’s you, let us tell you a safer, easier, and more effective solution: Tenorshare ReiBoot. Unlike iTunes, it doesn’t require your iPad to be put in recovery mode - making it a safer solution.
Tenorshare ReiBoot aims to simplify the downgrade process. So here are the simple and easy steps you’ll need to follow to downgrade iPadOS 18 to 17:
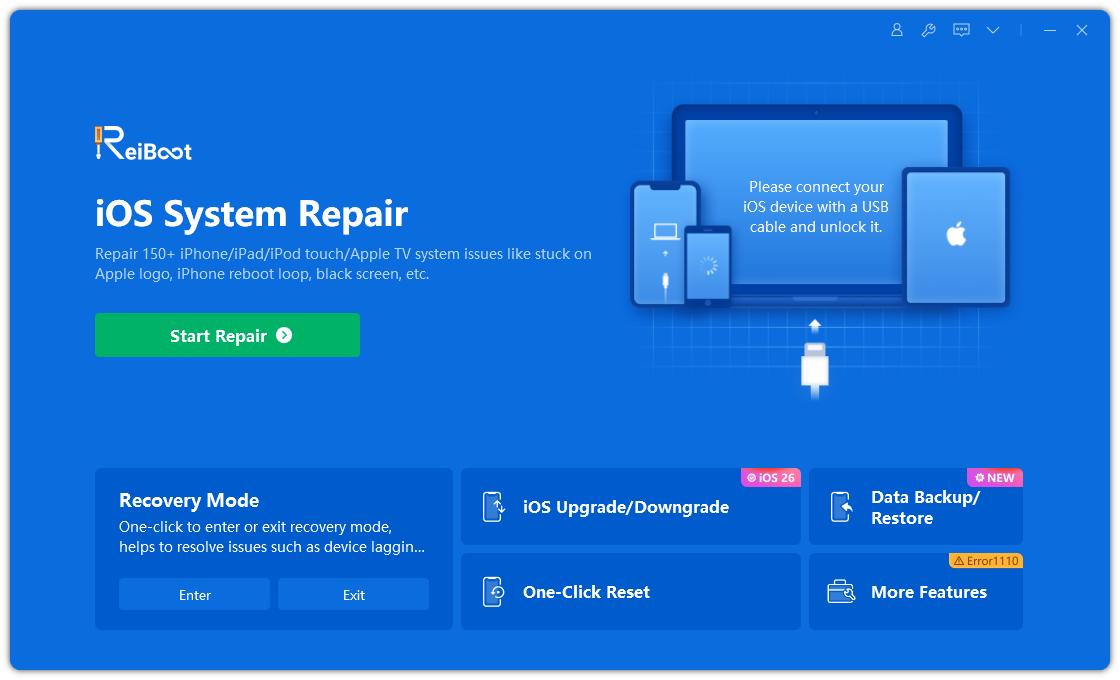
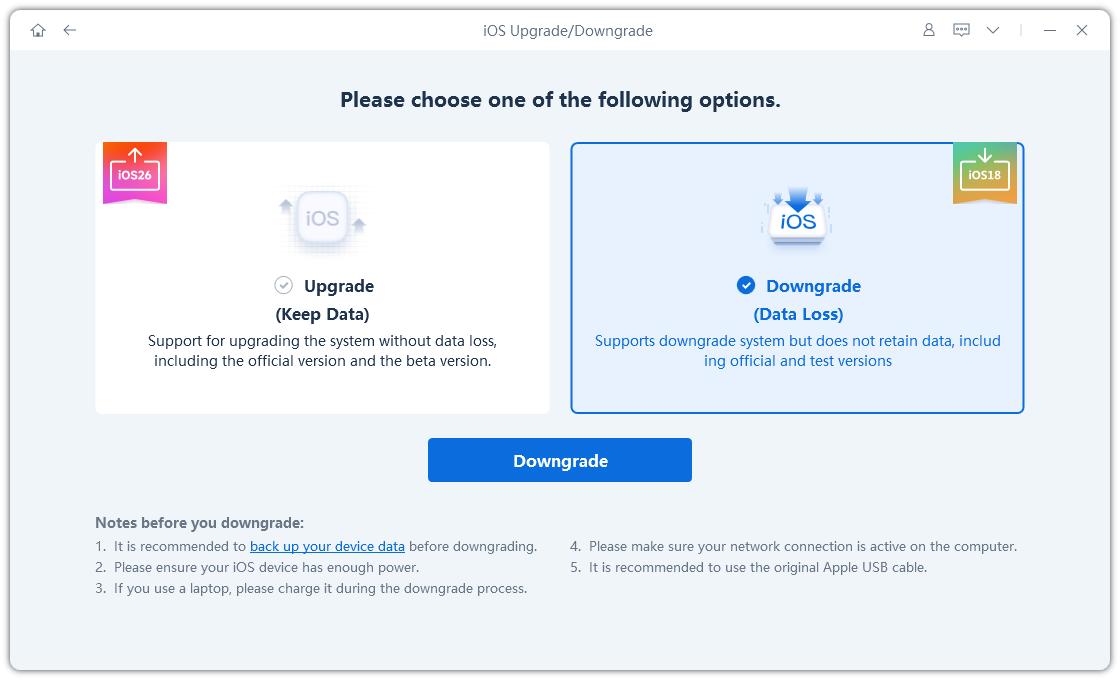
Download and install Tenorshare ReiBoot on your computer. Connect your iPhone to the computer. Click the “iOS Upgrade/Downgrade” option.

Click on "Downgrade" to start the process.

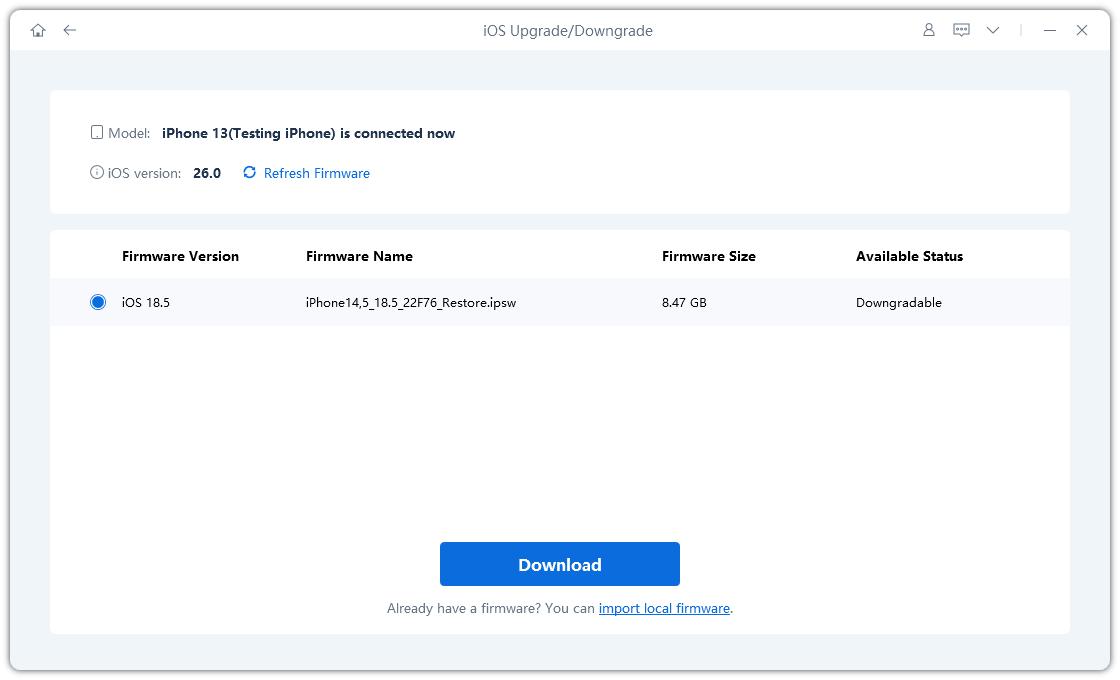
Choose a firmware version you want to downgrade to.

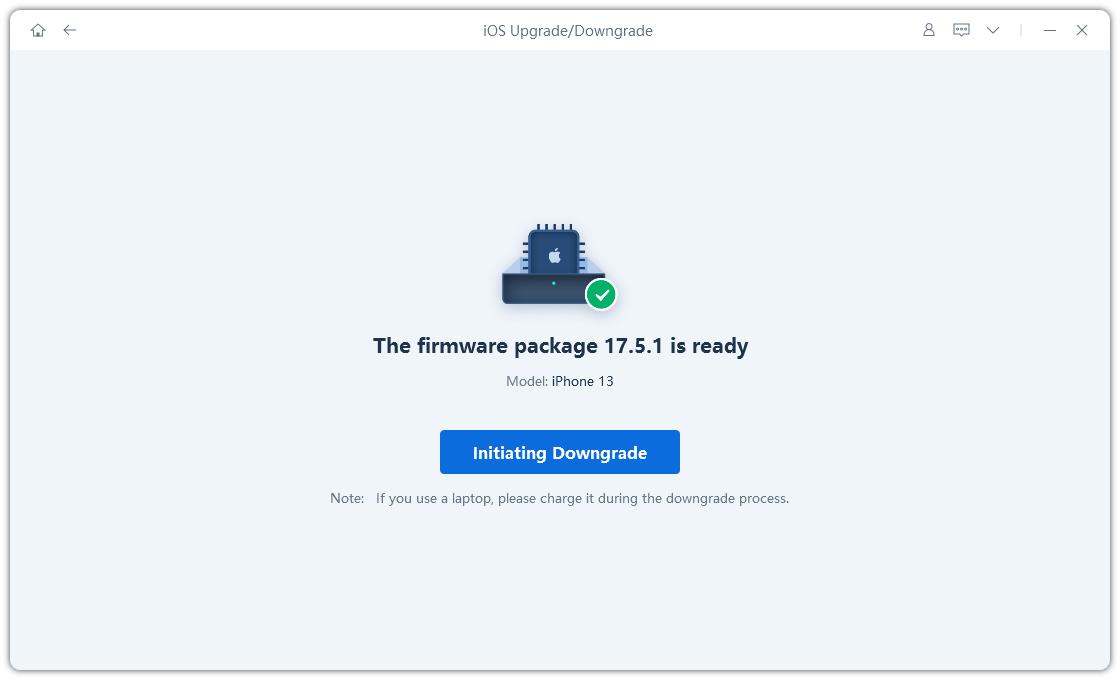
Tap "Initiating downgrade" and wait for a few seconds.

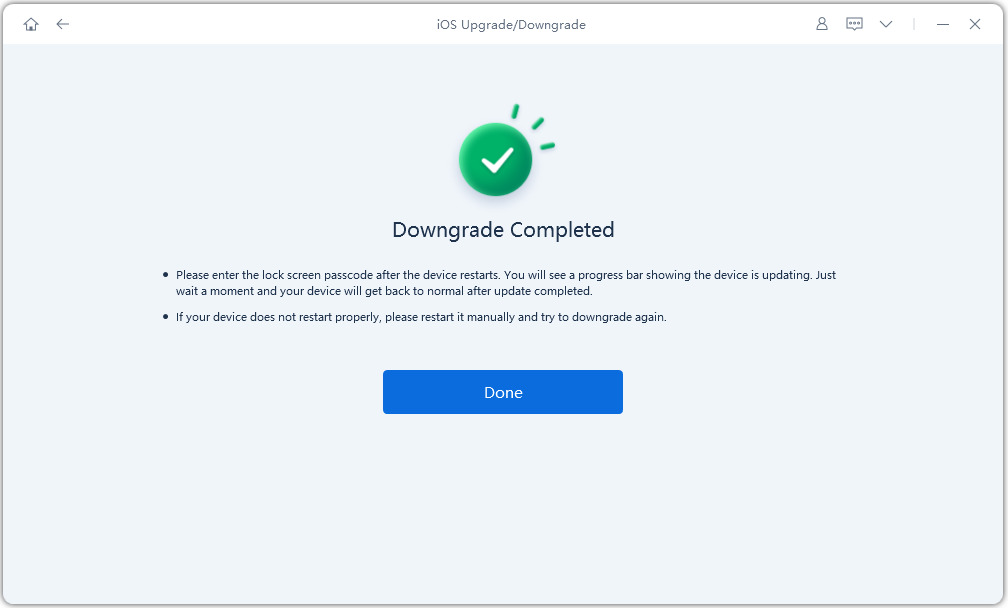
ReiBoot will automatically remove the iPadOS 18 and install the stable iPadOS version on your device. Click Done when finished.

Following these steps, you can remove the iPadOS 18 from your iPhone or iPad without iTunes or jailbreak.
Extra Tip: How to Restore iPad Backup after Downgrade iPadOS 18
Downgrading your iPad from the iPadOS 18 to a stable version (like iPadOS 17) can be helpful if you're experiencing bugs or compatibility issues. However, downgrading wipes your data. Here's what you need to do to restore your data using a backup you created earlier:
1. Verify that your backup was created on a compatible iPadOS version. You cannot restore a backup made on a newer iPadOS version (like iPadOS 18) to an older version.
2. After downgrading, you’ll need to set up your iPad as new.
3. During the setup process, you'll have the option to restore your iPad. Select Restore from iCloud Backup.
Conclusion
Downgrading iPadOS 18 to 17 can feel like a risky task. However with the solutions mentioned above, you can go back to a stable iPadOS version without a problem. In this article, we discussed how you can prepare your iPad before downgrading and the three different methods to downgrade.
If you’re still thinking of data loss, try Tenorshare ReiBoot for a safe downgrade. But that’s not all. Tenorshare ReiBoot goes beyond downgrading! You can fix your iPad’s software whenever you run into a problem. So your future needs are also covered!
- Downgrade iOS 18 to iOS 17 ;
- Fix iPhone won't restore in recovery mode, my iPhone is stuck on the Apple Logo,iPhone black screen of death, iOS downgrade stuck, iPhone update stuck, etc.
- Support all iPhone models and the latest iOS 18 and earlier.
Speak Your Mind
Leave a Comment
Create your review for Tenorshare articles
