How to Transfer Photos from iPhone to SD Card
Either you need to copy iPhone pictures to an SD card for backup purpose, or you just want to move photos to SD card to free up more space in your iPhone, here I introduce an easy way to use Tenorshare iCareFone to transfer iPhone Photos to SD card with a simple click.
- Part 1: The Most Effective Way to Transfer Photos from iPhone to SD Card - Tenorshare iCareFone
- Part 2: Other 3 Methods to Transfer Photos from iPhone to SD Card
- Part 3: FAQs
Part 1: The Most Effective Way to Transfer Photos from iPhone to SD Card - Tenorshare iCareFone
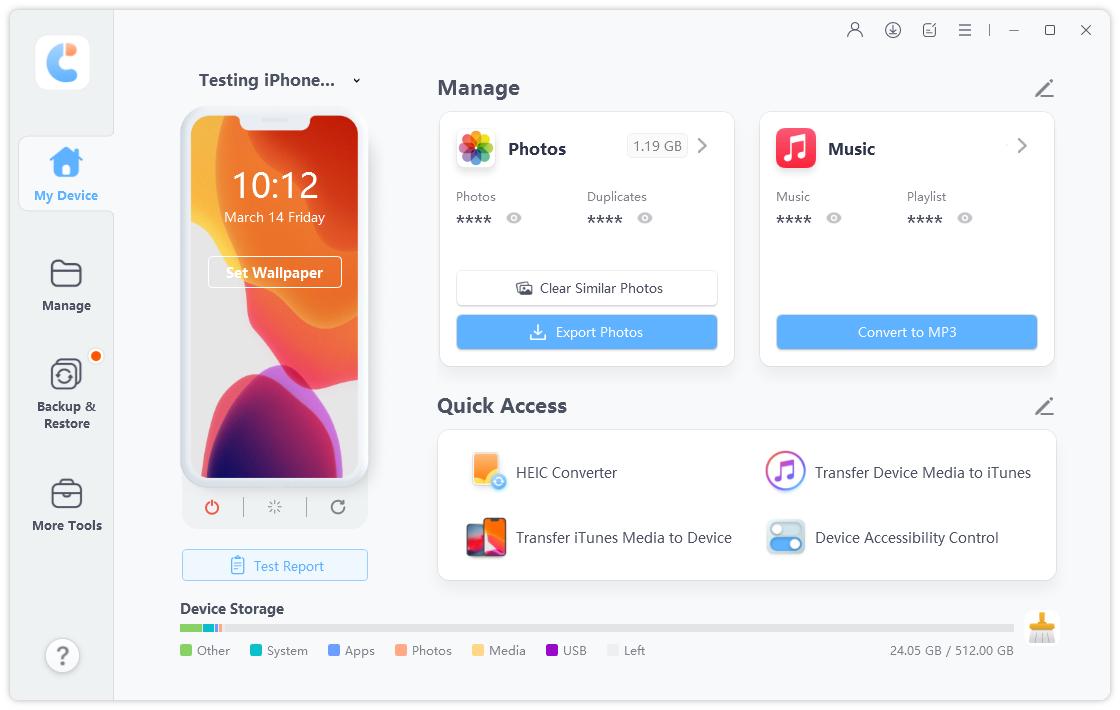
As one of the best iOS files manager software, Tenorshare iCareFone allows us to transfer photos from iPhone to SD card with handy steps. We can directly preview all the photos before transferring and we can easily select multiple photos or all pictures from Camera Roll, Photo Stream, and Photo Library for transferring. The whole transferring process will take no more than 10 minutes.
Now let's download this iPhone Photos to SD card transfer and get started to transferring pictures.
Before getting started, please connect your iPhone 14/13/12/11/XS/XS Max/XR/X/8/7/6/5 to computer via USB cable. Also, you need to connect the SD card that you want to put photos onto to computer. You can put your SD card to SD card reader, and then plug it in computer.
Step 1. Launch Tenorshare iCareFone and choose File Manager in the function zone.

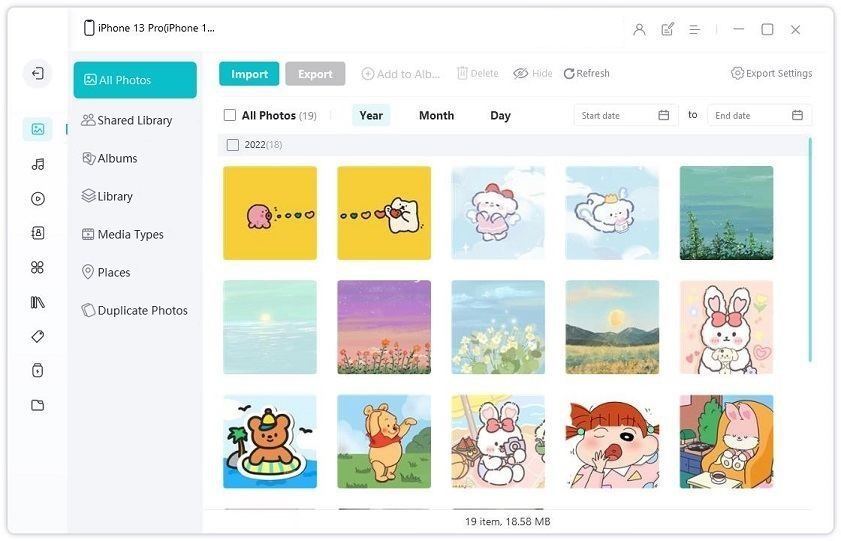
Step 2. Then select Photos in the file type list. Tenorshare iCareFone will load and list all albums in Photos app, including Camera Roll, Photo Stream, Photo Library, and other albums. You can select an album and then all photos in this album are displayed. You can easily browse and preview pictures by dates.

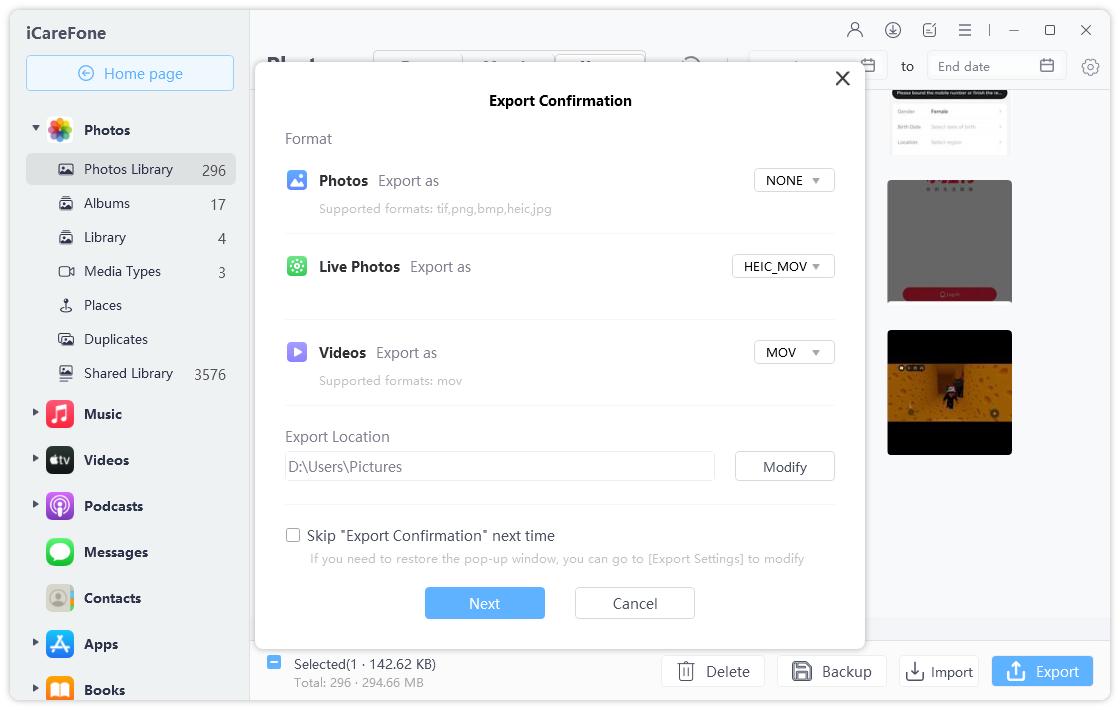
Step 3. Select all pictures or choose multiple photos in Tenorshare iCareFone, and click Export button. In the export window, select SD card as the target output folder. All selected photos will be copied to SD card successfully.

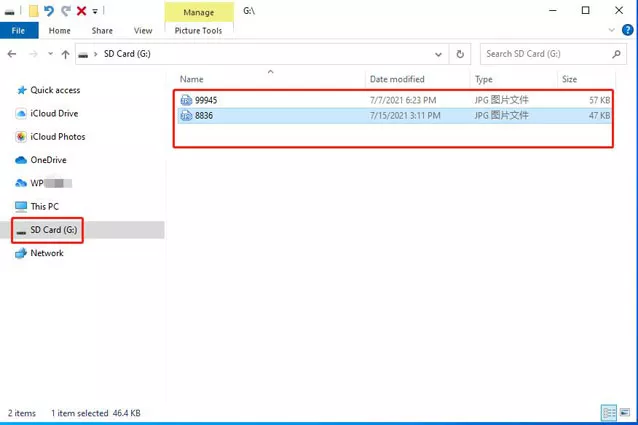
Step 4. Now you can open SD card folder and check the photos.

That is the easy method on how to transfer photos from iPhone to SD card and you can also use it to transfer photos from iPad to SD card. Not only exporting photos from an iOS device to computer and external drive, but this iPhone file transfer is also capable of importing photos from computer to your device. Just click Import button and select pictures on computer to add to iPhone.
Actually, Tenorshare iCareFone is an all-in-one iOS SystemCare and management software that features 6 big features. With this single software, you can clean up and speed up a slow iPhone, backup and restore iPhone data without iTunes, block ads in iOS app and Safari, as well as fix all iOS stuck and errors without data loss.
Part 2: Other 3 Methods to Transfer Photos from iPhone to SD Card
Method 1: Use Computer directly - Time Consuming
This method is known by most people and it’s surely the most direct way to transfer photos form iPhone to SD card. However, if you need to transfer thousands of photos it will be troublesome. All your photos may stored in different folders, so you need first to view many folders to find the photos manually and then copy them to SD card folder. So it needs careful operations and will cost much time.
So we recommend you skip to method 2 if you have a lot of photos, and you can also read the following steps if you only need to transfer several photos.
-
Connect your USB to computer with USB reader. And unlock your iPhone to trust this computer.

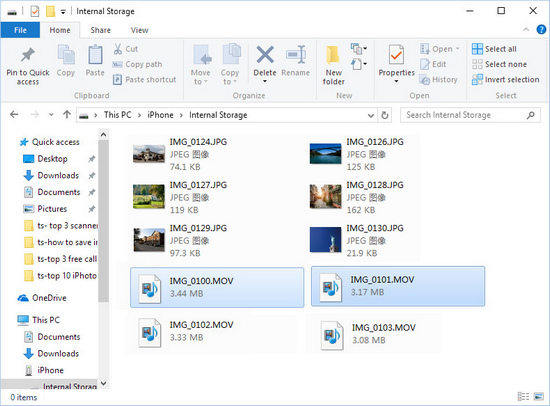
Open “This PC” on your computer, and find the iPhone folder in it.
Then click in the internal storage of your phone, find the photos’ folder and copy the photos you want to transfer.

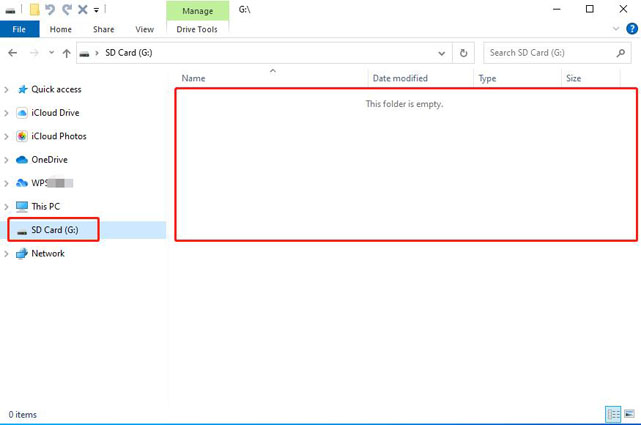
Click the SD Card folder in This Computer. Then paste those photos in it. Now you’ve successfully transfer photos from iPhone to SD card.

Method 2: Transfer Photos from iPhone to SD Card without SD Card Reader - Complex Operation
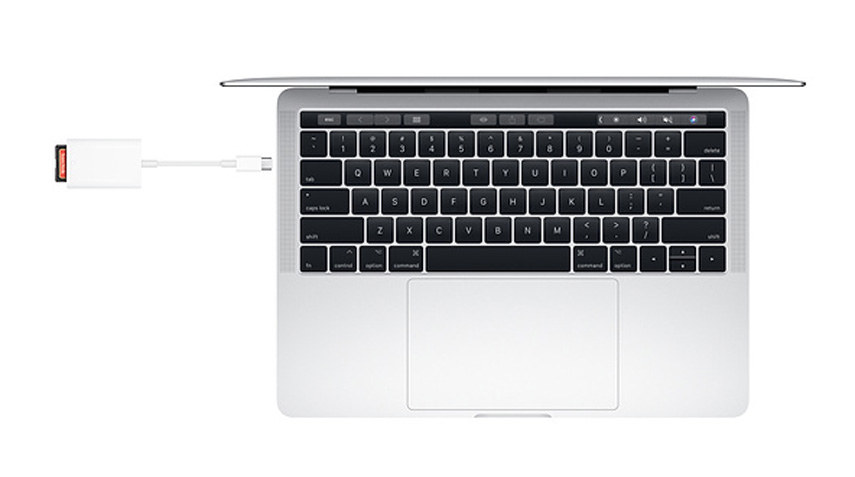
If you are using a Mac and your SD card model symbolizes the SD card slot on the Mac, then congratulations you don't have to spend money on SD card reader. But the operations are kind of complex. Here are the steps:
Connect iPhone to Mac and unlock your iPhone to trust this iPhone.
Open Photos App on mac and select the device’s photos that you want to transfer and then click import to import them to Library Photos.

Then go to the Photos under Library and insert your SD Card. When you insert SD card, the SD card folder will pomp up on Mac.
Now ou have 2 choices: copy those photos to SD card or just drag them to SD card folder. Then your photos are successfully transferred to SD card from iPhone.

Method 3: Use USB reader on iPhone Directly - Costly
It’s the method to transfer photos from iPhone to SD card without computer. Some readers only support import photos from SD card to iPhone, so you need to buy a reliable one from so many SD card readers. Here are the general steps:(There will be some differences in the operation steps of different brands of SD card reader)
Insert SD card to SD card reader, and then insert reader to iPhone.
Then open your camera roll and select the photos you want to transfer.
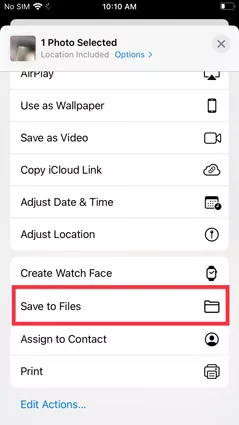
Then tap send button, and choose Save to Files. And then choose SD Card folder.

Part 3: FAQs
How do I move storage from iPhone to SD card?
Can I use camera SD card adapter to transfer photos from iPhone to my camera sd card?
How do I copy all my photos to to my SD card?
You can move some storage-occupied data such as photos and videos to SD card by using the above several tips.
The answer is ‘NO’. Camera SD card adapter only support to import photos from SD card to iPhone. You need to use other SD card reader to do this.
We recommend you iCareFone, which can help you copy all your photos to SD card with only one-click.
Conclusion
We offered 3 methods on How to transfer photos from iPhone to SD card. But we recommend you the most iCareFone, cause method 1 is time-consuming and method 2 is costly and risky sometimes. Hope this article will help you solve the problem!
Speak Your Mind
Leave a Comment
Create your review for Tenorshare articles

Tenorshare iCareFone
Best Free iPhone Transfer & iOS Backup Tool
Easily, without iTunes


