How to Freely Transfer Photos from iPhone to MacBook without iPhoto
Is there a way on Mac/Lion to import pictures to my iPhone without using iPhoto? In windows, you can just drag and drop them where you like. I wanna that same functionality with my Mac.
- Tina from America
The iPhone has a megapixel camera, so that most users love to take pictures with iPhone. But is your iPhone keeping telling you that there is not enough available storage to take another photo or download another app? iPhoto enable you to transfer iPhone photos to Mac to save your storage space, but it does cost.
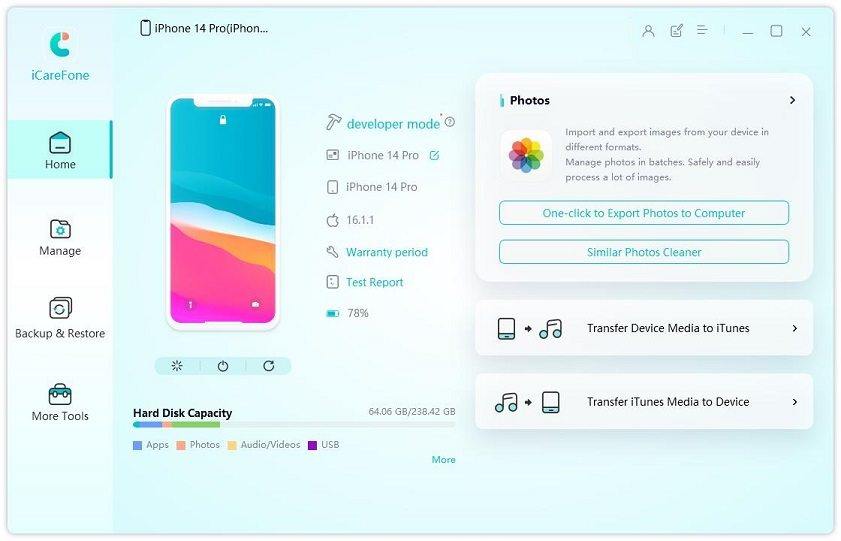
Here we strongly recommend Tenorshare iPhone Care Pro for Mac, a free tool to transfer the photos off your iPhone to your Mac without needing to use iPhoto or iTunes. Unlike those two build-in apps, iPhone Care Pro loads quickly and operate easily.


The key features of iPhone Care Pro:
- Be able to transfer 8 types of files with 1 click: Photos, Music, Notes, Contacts and so on
- Sync not only iPhone Camera Roll but also Photo Library and Photo Stream
- No need to purchase and use iPhoto
- Supports all iOS devices: iPhone 6+/6/5s/5c/5/4s/4, iPad, iPod
- Export photos in the various forms: JPG, PNG, BMP, etc
How to Transfer Photos from iPhone to MacBook Air/MacBook Pro/iMac/Mac mini without iPhoto?
You are supposed to download iPhone Care Pro for free from its Home page before you are going to sync pictures from iPhone to Mac. Then install and launch the program.
Step1. Connect your iPhone to the MacBook, and click “Trust” option on your iPhone.
Step2. Select “Files Manager” and click on “Photo’ option.

Step3. Click “Add” to select the photos you want to transfer. Then click “Export to” on the menu and wait a moment to finish syncing.
You can purchase the software on the Mac APP Store for $14.99. If you are a professional photographer and an Apple user, iPhoto is highly recommended.
Step1. Connect iPhone to your Mac with its USB cabel. Then wait a moment for your Mac to be recognized.
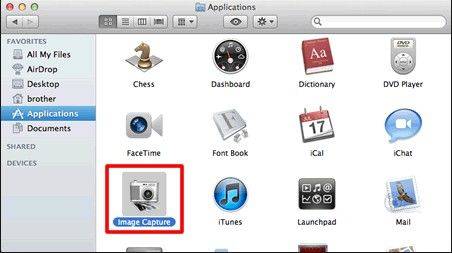
Step2. Tap the “Finder” in the Dock and click the “Applications” folder in the left pane. Scroll and Double-click “Image Capture” to open it.

Step3. Select a location on your Mac to save your iPhone pictures. If you want to delete the pictures from your iPhone, you can click “Options” and select “Delete Items from Camera after Downloading”.
Step4. Click the “OK” button and the click the “Download All” button to transfer the photos. Once it is finished, you can disconnect your iPhone from your Mac.
Is there any question about this post? Please leave your comment.


Speak Your Mind
Leave a Comment
Create your review for Tenorshare articles

Tenorshare iCareFone
Best Free iPhone Transfer & iOS Backup Tool
Easily, without iTunes


