How to Transfer Photos from iPhone to Mac [2025 Full Guide]
“How do I transfer pics from iPhone to Mac? I've been struggling with this and need an easy guide. I've tried numerous methods but don't know how to transfer photos from iPhone to Mac. Has anyone else dealt with this and knows how to transfer pics from iPhone to Mac?”
- from Apple Discussions
Transferring photos from your iPhone to your Mac can be frustrating, but it doesn't have to be. Whether you're looking for an answer on how to move photos from iPhone to MacBook or how to import photos from iPhone to Mac. No need to get frustrated more. In this guide, you'll learn how to transfer photos from iPhone to Mac, confirming your precious memories are safely backed up and easily reachable.
- Part 1. Best Tool to Transfer Photos from iPhone to Mac [Safe & Easy]
- Part 2. How to Put Photos from iPhone to Mac - Photos App
- Part 3. How to Transfer Photo from iPhone to Macbook Without USB - iCloud
- Part 4. How to Transfer Pics from iPhone to Mac Wirelessly - Airdrop
- Part 5. How to Export Photos from iPhone to Mac - Image Capture
- Part 6. How to Import Photos from iPhone to Mac - Email or Message
- Part 7. Which Is the Best Way to Transfer Photos from iPhone to Mac
Part 1. Best Tool to Transfer Photos from iPhone to Mac [Safe & Easy]
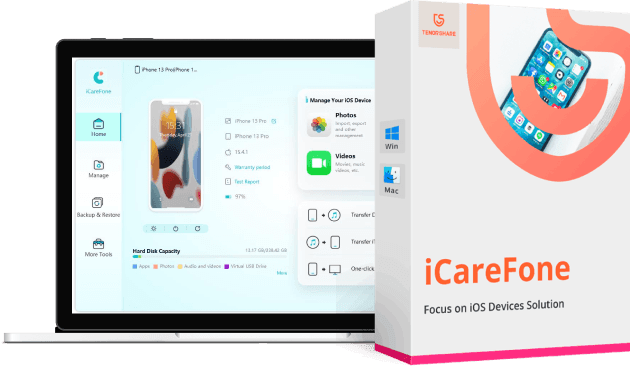
Introducing Tenorshare iCareFone, the vital solution for transferring photos from iPhone to Mac securely and proficiently. iCareFone has powerful features that make it the best choice to control your iOS data. With this tool, you can effortlessly transfer photos, videos, and other media files from iPhone to PC/Mac without losing quality.
Advantages of Tenorshare iCareFone:
- One-Click Transfer: Rapidly transfer photos with a single click.
- High Compatibility: Supports all iPhone models and various macOS versions.
- Selective Backup: Choose specific photos or entire albums to transfer.
- Free Up Space: Easily manage and delete duplicate images to save storage.
Steps to Transfer Photos from iPhone to Mac
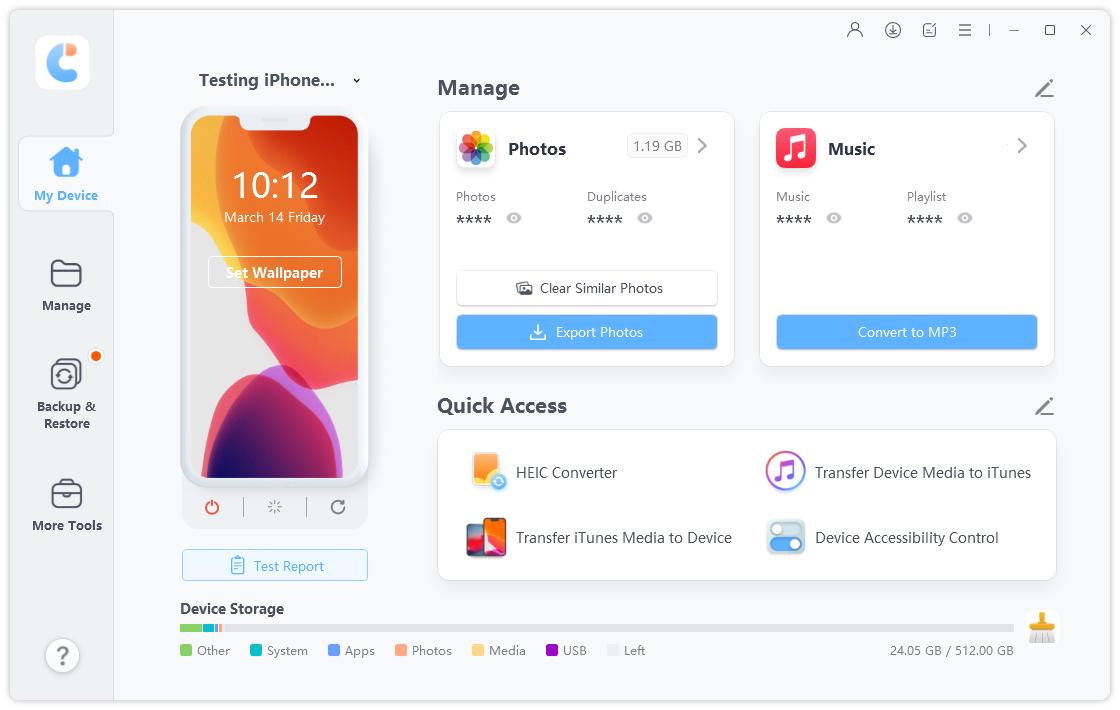
After downloading and installing Tenorshare iCareFone on your personal Mac, you will need to connect your device to the software.

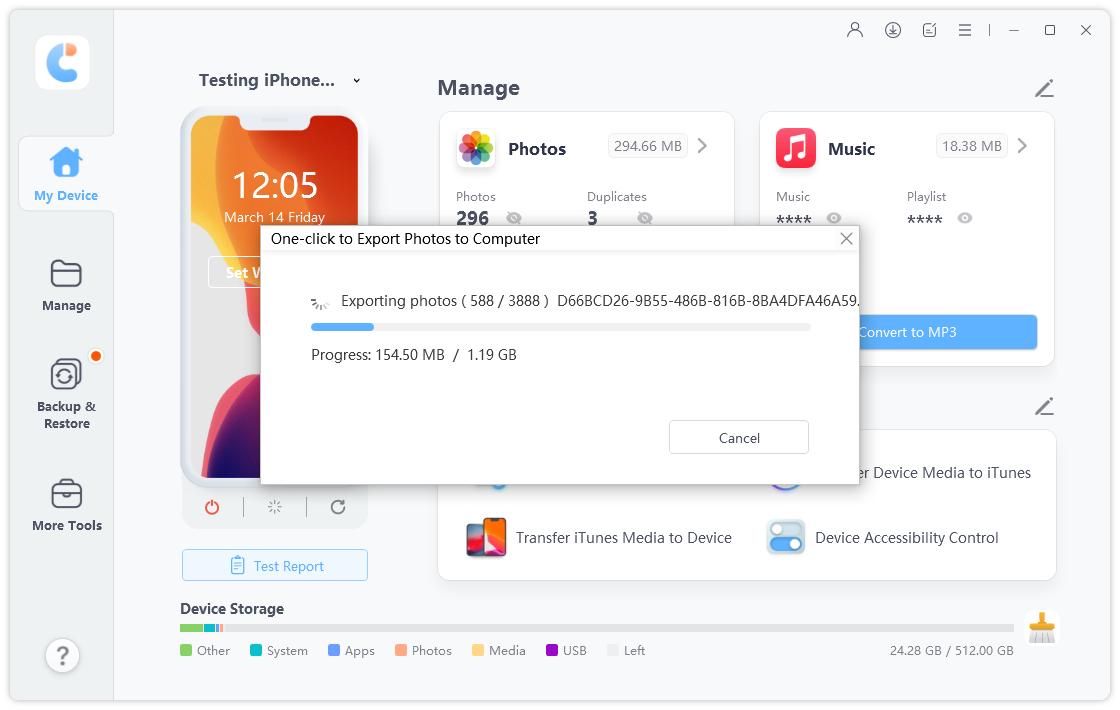
Once the device has been properly connected, go to the main interface and choose "One-click Export Photos to PC" for a speedy beginning.

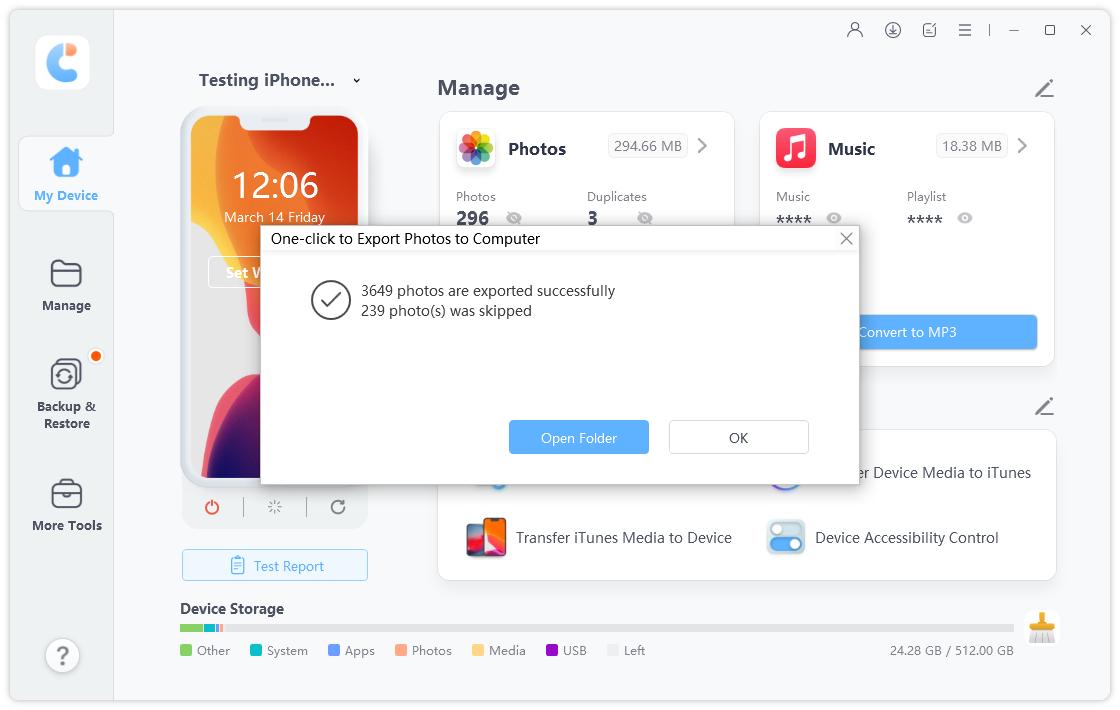
Once you begin the exporting process, all of your photos, whether they were taken by your device or acquired from the internet, will be transferred to your Mac computer automatically.

Part 2. How to Put Photos from iPhone to Mac - Photos App
The photos app is a straight method of transferring photos from your iPhone to your Mac. It permits you to easily manage and unify your images without third-party software. Here's how to put photos from iPhone to Mac using the Photos app:
Advantages:
- Native to macOS, no additional software is needed.
- Instinctive and user-friendly interface.
- Allows selective import of photos.
Disadvantages:
- Requires a USB connection.
- It can be slower for large volumes of photos.
Steps:
- Connect your iPhone to your Mac with a USB cable. Open the Photo app on your Mac.
- The Photos app will show an Import screen with all the photos and videos on your iPhone. If it doesn't, click your device's name on the Photos sidebar.
- Unlock your iPhone and tap "Trust" if prompted.
- Choose where to import photos (existing album or create a new one).
- Select the photos and click "Import Selected" or "Import All New Photos".
- Wait for the process to complete, and then disconnect your iPhone.

Part 3. How to Transfer Photo from iPhone to Macbook Without USB - iCloud
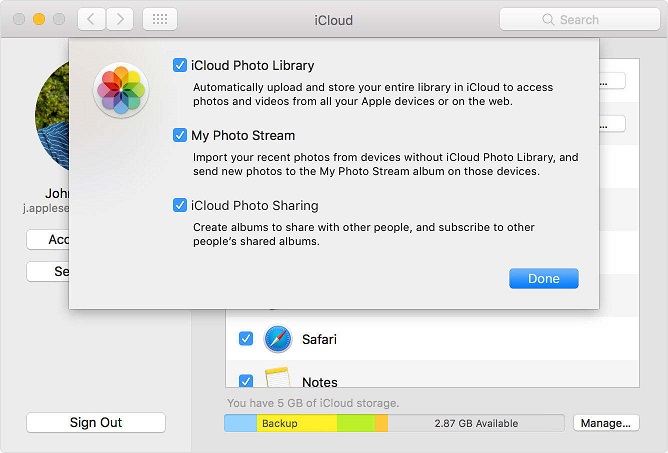
Using iCloud to transfer photos from your iPhone to your Mac is a unified and wireless option. It lets you approach your photos on all your Apple devices without requiring a USB connection. Here's how to transfer photos from iPhone to Mac using iCloud:
Advantages:
- Wireless and automatic synchronization.
- Access photos on all Apple devices.
- There is no need for cables or physical connections.
Disadvantages:
- Requires sufficient iCloud storage.
- Dependent on internet connectivity.
Steps:
- Navigate to Settings on your iPhone. Then, tap on your name, followed by iCloud. Within iCloud, select Photos.
- Tie on iCloud Photos to allow synchronization.
- Open System Preferences. Click on your name at the top of the sidebar (or "Sign in with your Apple ID" if you don't see your name). Select "iCloud."
- Beside "Photos," click the checkbox to turn on iCloud Photos.
- Open the Photos app on your Mac to check and view your synced photos.

Part 4. How to Transfer Pics from iPhone to Mac Wirelessly - Airdrop
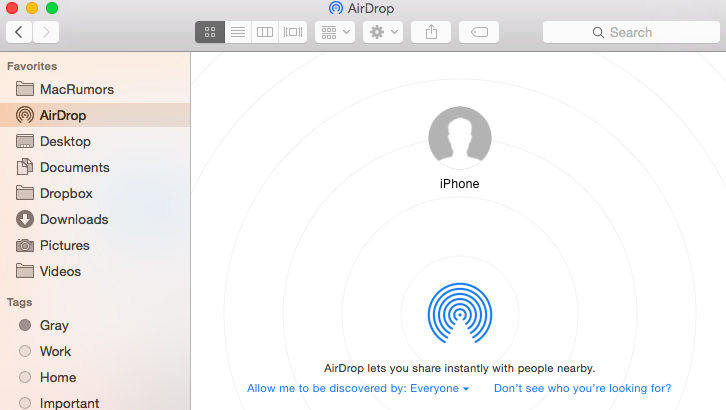
AirDrop provides a fast and cellular method for transferring photos from your iPhone to your Mac. This method uses Wi-Fi and Bluetooth to create a straightforward connection between devices. Here's how to transfer photos from iPhone to MacBook using AirDrop:
Advantages:
- There is no need for any cables or an internet connection.
- Fast and direct transfer.
- Simple and intuitive interface.
Disadvantages:
- Both devices must be within proximity.
- We need Wi-Fi and Bluetooth to be connected to both devices.
Steps:
- Confirm that the Wi-Fi and Bluetooth are on for iPhone and Mac.
- In your iPhone Photos app, select the pictures you want to transfer.
- Click on the Import button >select AirDrop.
- Choose your Mac's profile picture from the AirDrop menu.
- On your Mac, click Accept to receive the photos.

Part 5. How to Export Photos from iPhone to Mac - Image Capture
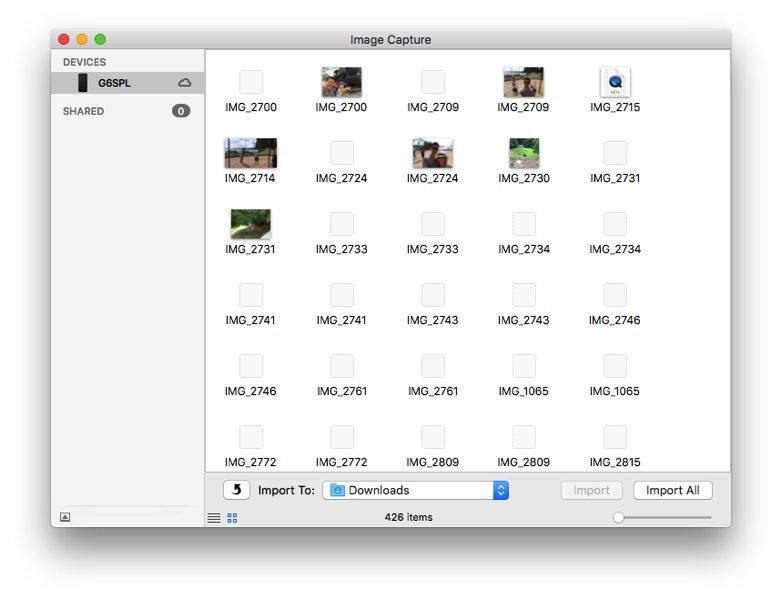
Image capture is a straightforward method of transferring photos from iPhone to Mac. This built-in macOS app is handy for selectively importing photos. Here's how to transfer photos from iPhone to MacBook using Image Capture:
Advantages:
- Allows selective photo transfer.
- No need for additional software.
- Fast and efficient.
Disadvantages:
- Requires a USB connection.
- Limited to Photo and video transfer.
Steps:
- With a USB cable, Link your iPhone to your Mac.
- Open your iPhone and tap "Trust" on the computer.
- Open Image Capture from the Launchpad or Applications folder on your Mac.
- Wait for the app to detect your iPhone and load the photos. Click "Import All" to transfer all photos.
- Choose the purpose folder for your photos and then click "Import."

Part 6. How to Import Photos from iPhone to Mac - Email or Message
Using Email or Message to transfer photos from your iPhone to your Mac is convenient and straightforward. It's specifically applicable when you need to transfer a few photos rapidly. Here's how to transfer photos from iPhone to MacBook using email or Message:
Advantages:
- Easy to use with minimal setup.
- There is no need for cables or additional software.
- It can be done from anywhere with internet access.
Disadvantages:
- It could be better for large photo transfers.
- Dependent on internet connectivity.
Steps:
1.Email:
- Open the Photos app on your iPhone and select the photos you want to share.
- Click on the Share button and choose Mail.
- Enter your email address in the "To" section and send the email.
- Open the Mail app on your Mac, search the email, and drag the photos to the Photos app.
2.Message:
- Open the Photos app on your iPhone and select the photos you want to share.
- Tap the Share button and choose Message.
- Send the photos to your number or Apple ID.
- Open Messages on your Mac and save the photos to the Photos app.

Part 7. Which Is the Best Way to Transfer Photos from iPhone to Mac
Transferring photos from iPhone to Mac can be done using various methods. Here's a comparison of 6 popular techniques on how to transfer photo from iPhone to MacBook:
| Method | Wireless | Speed | Ease of Use | Bulk Transfer | Requires Extra Software | Rank |
|---|---|---|---|---|---|---|
| Photos App | No | Medium | Easy | Yes | Yes | 3 stars |
| iCloud | Yes | Medium | Easy | Yes | No | 4 stars |
| AirDrop | Yes | Fast | Very Easy | No | No | 3 stars |
| Image Capture | No | Fast | Moderate | Yes | No | 3 stars |
| Yes | Slow | Easy | No | No | 2 stars | |
| Tenorshare iCareFone | No | Fast | Very Easy | Yes | Yes | 5 stars |
Final Thoughts
There are various methods to transfer photos from your iPhone to your Mac, each offering unique advantages. Whether you opt for iCloud, AirDrop, or prefer Image Capture to import photos, you have plenty of options. These methods are also available for those wondering about sending photos from iPhone to Mac via Email or Message, although they may be slower alternatives.
However, if you're looking for the most effective solution for how to transfer photos from iPhone to Mac, then Tenorshare iCareFone is highly recommended. It bests in speed, supports majority transfers, and is accessible, making it the best choice for you if you want to know how to copy pictures from iPhone to Mac or how do I transfer pics from iPhone to Mac. Look no further than Tenorshare iCareFone.
- Free backup everything you need on iPhone/iPad/iPod
- Transfer music, photos, videos, contacts, SMS without limitation
- Selectively restore files without erasing current data
- 1-Click to transfer photos from iPhone to PC/Mac
- Sopport the latest iOS 18 and iPhone 16
Speak Your Mind
Leave a Comment
Create your review for Tenorshare articles

Tenorshare iCareFone
Best Free iPhone Transfer & iOS Backup Tool
Easily, without iTunes


