[Easy & Quick] Fix iPad Black Screen Spinning Wheel
While you are using your iPad, the screen of the device may suddenly go black and display a spinning wheel. After a few seconds, the iPad will return to the lock screen unfortunately, this problem will continue happening even after hard resetting your device. In such a case, you need to look for a reliable way to fix the iPad black screen spinning wheel.

Here, we will show you three well-known ways to fix an iPad stuck on a black screen with a spinning wheel.
Part 1. What Cause iPad Spinning Wheel Black Screen
Some of the possible causes of iPad spinning wheel black screen are:
- A software problem that could occur when you are trying to restore or update the software of your iPad.
- A black screen with a spinning wheel could occur because of a hardware problem.
- Jailbreaking could make your iPad to be stuck on a black screen with a spinning wheel.
Part 2. 3 Easy Ways to Fix iPad Stuck on Black Screen with Spinning Wheel
Are you ready to fix the iPad stuck on a black screen with a spinning wheel? If yes, you should consider these three easy ways.
Way 1. Force Restart iPad When iPad Stuck on Loading Circle
The first method for fixing the iPad that is stuck on the loading circle is to force restart it. You should do the following things:
Just press and hold the “Home” and “Power” buttons at the same time. Don’t release the buttons until your iPad has restarted itself.

This will make the screen of your iPad turn black. After some seconds, the Apple logo will appear on the screen, and the problem may be gone. However, if this method doesn’t solve the problem, we have other more reliable solutions you can use.
Way 2. Put iPad in Recovery Mode to Fix iPad Stuck on Spinning Wheel
In most situations, force starting your iPad cannot get rid of the issue. Therefore, you have to look for other methods which usually involve putting your device in Recovery Mode. Two methods for putting an iPad in Recovery Mode will be described before.
2.1 The Simplest Way to Enter Recovery Mode
The simplest and most reliable way to put your iPad in Recovery Mode involves using Tenorshare ReiBoot. This program performs various functions and can be used for different Apple mobile devices. The most amazing thing about Tenorshare ReiBoot is that you can use the Recovery Mode function without paying anything. In other words, using this function is totally FREE. It supports the newest iPadOS 17/18 beta version.
The step-by-step guide for putting your iPad in Recovery Mode with ReiBoot is explained below:
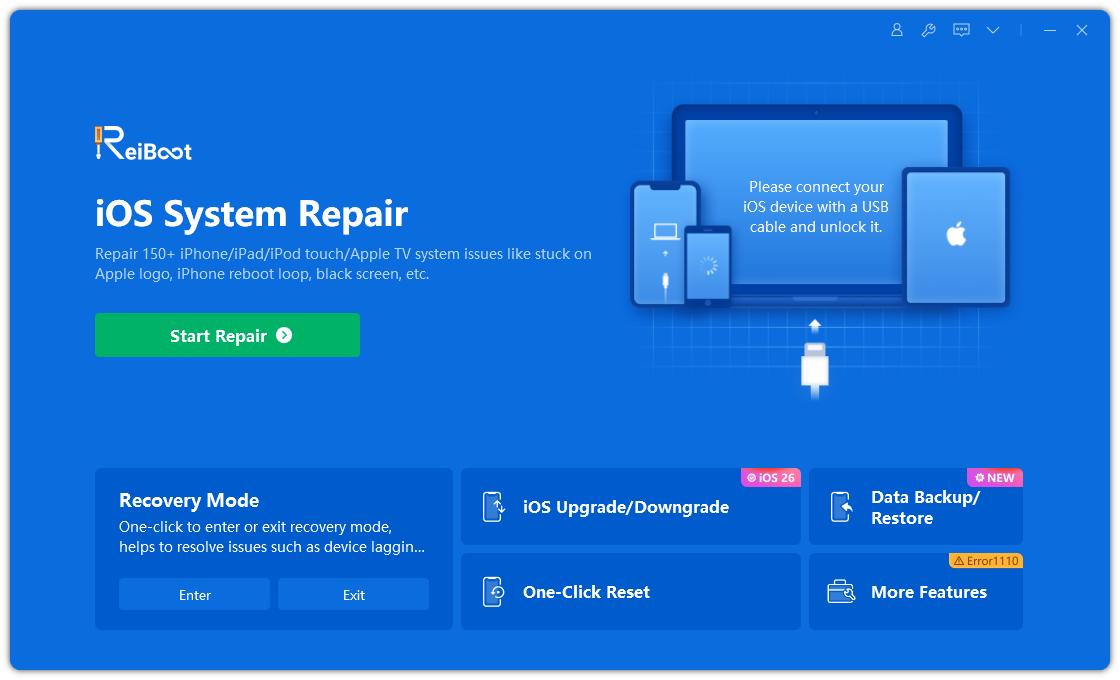
Download Tenorshare ReiBoot on your Mac or Windows PC. Install the program and utilize an Apple original USB cable to connect your iPhone to the computer to start the process.

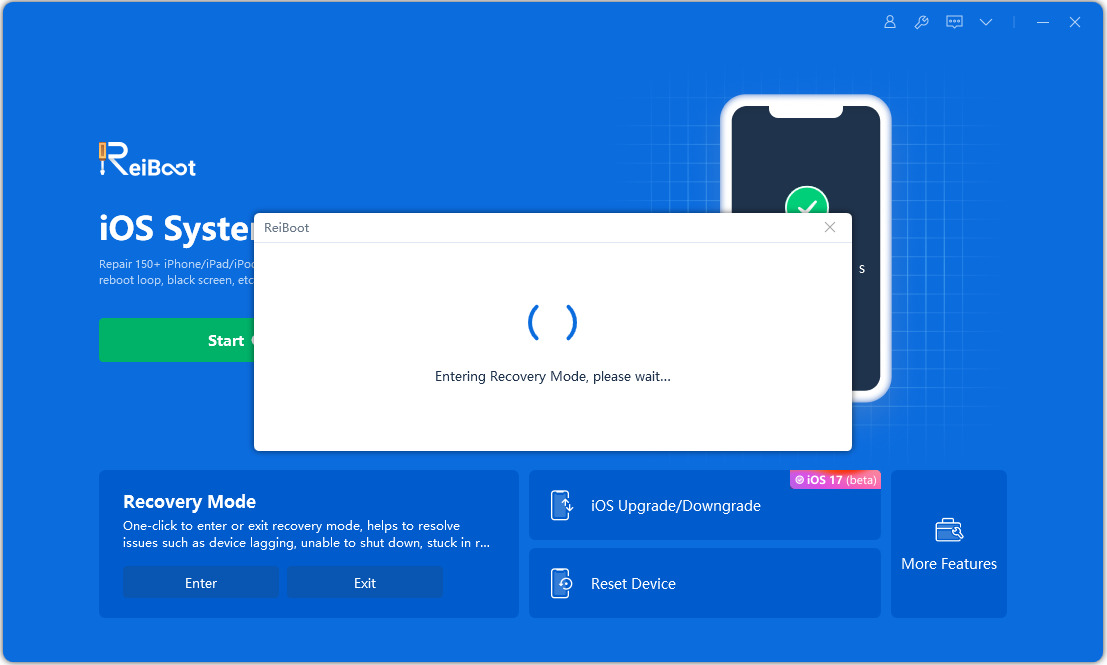
Tap ‘Enter Recovery Mode’ function on Tenorshare ReiBoot. Afterward, the program will put your device in the mode.

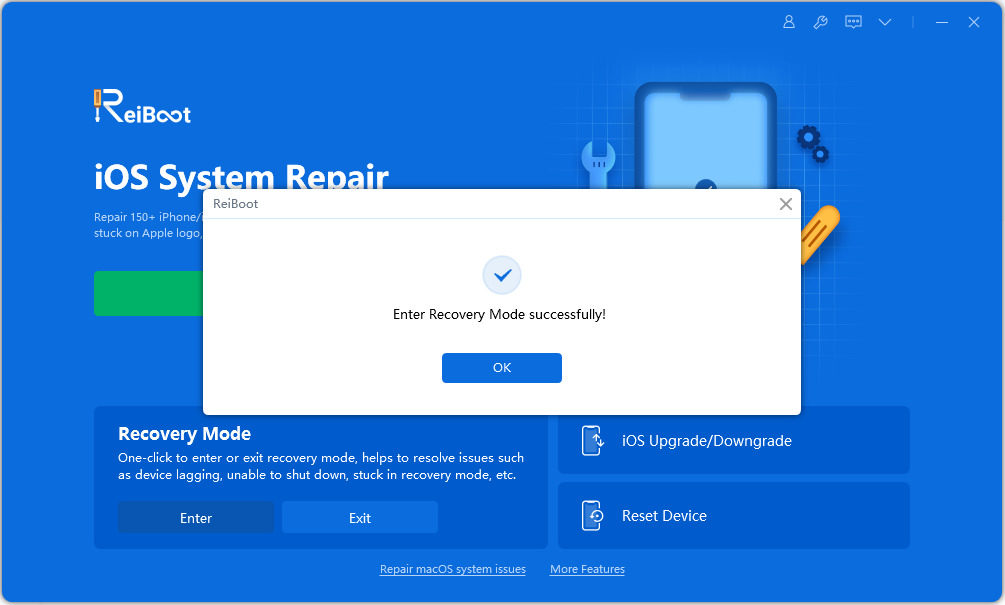
Some seconds later, your iPad will be in Recovery Mode. On the iPad’s screen, you will see the “Connect to iTunes or Computer” logo.

Congratulations! Your iPad is now in the Recovery Mode. In most situations, this mode would have removed the black screen with a spinning wheel from the screen of your device.
2.2 Manually Put iPad in Recovery Mode
If you don’t want to use Tenorshare ReiBoot to put your iPad in Recovery Mode, you can do it manually by following these steps.
For iPad Pro with Face ID:
- Start by pressing and holding the ”Sleep/Wake” button of your iPad Pro. This button is at the top of the device. At the same time, you should hold down the “Volume Down” and “Volume Up” buttons.
- A notification that says “Slide to Power Off” will show up on your iPad’s screen. You need to drag the slider on the screen to the right. This will turn off your device.
- Use a USB cable to connect your iPad Pro to a computer. Continue holding the “Sleep/Wake” button as you do all these things.
- Hold the button until the recovery mode screen appears on the screen.
For iPad with a Home button
- Turn off your iPad. Press and hold down the “On/Off” button. This is found on the top of your device. The button should be held down for 3 seconds.
- You will see the “Slide to Power Off” notification on the screen. This should be slid to the right side of the screen.
- Use a USB cable to connect your iPad Pro to a computer. Continue holding the “Sleep/Wake” button as you do all these things.
- Now, press and hold the “Home” button of the device.
- Run the latest version of iTunes on your computer. Use a USB cable to connect your iPad and the PC.
- When “Connect to iTunes” appears on the screen, release the “Home” button.
- iTunes will let you know your iPad is in recovery. This should fix your device.
Way 3. What to Do iPad Black Screen Spinning Wheel Still Show Up
Unluckily, the two methods above may not solve the problem. Don’t worry as Tenorshare ReiBoot has an advanced function that allows you to fix serious issues with your iPad system. This system is for fixing the iOS system that may be responsible for the persistent iPad black screen spinning wheel you are experiencing. Here is a video guide for your reference.
Get 5% off the 1-month license through this coupon code: KEY-MON-5OFF"
Conclusion
With the detailed information above, you now understand everything you need to do to fix your iPad whenever it is stuck on a black screen with a spinning wheel. Overall, Tenorshare ReiBoot is the best program you can always count on to solve this problem.
- Downgrade iOS 18 to iOS 17 ;
- Fix iPhone won't restore in recovery mode, my iPhone is stuck on the Apple Logo,iPhone black screen of death, iOS downgrade stuck, iPhone update stuck, etc.
- Support all iPhone models and the latest iOS 18 and earlier.
Speak Your Mind
Leave a Comment
Create your review for Tenorshare articles
