How to Delete History on iPad 2025: A Step-by-Step Guide
Hi, I’d like to know how to clear search history on iPad on Safari and Google app. I’m trying to find the option, but aren’t able to. Could you help me out? Thanks.”
Many people want to keep their browsing history clean, but it could be hard to do so, especially if you use various devices and browsers.
Luckily, Apple users have to clear up their history from only one of their products, and it gets removed from all the devices at once. However, iPad users can’t seem to find where this option is located on iPadOS.
We know you also want to know how to delete history on your iPad — and that’s what this article is all about!
In the following sections, you will learn how to clear your Safari search history, as well as your Google history from your iPad.
- Part 1: Things You Should Know Beforehand
- Part 2: How to Clear Browsing History on iPad
- Extra Tip: Clear iPad System Cache Data Safely and Efficiently
Part 1: Things You Should Know Beforehand
Before we tell you how to delete search history on iPad, there are some things you must know.
Let’s walk you through them one by one.
- Clearing your browsing history will remove all information about websites you've visited, including cookies, cached data, and any saved login information.
- Clearing your browsing history may log you out of any websites you are currently signed in to. You will need to re-enter your login information the next time you visit these sites.
- Clearing your browsing history may make it more difficult to revisit websites you have previously visited. You will need to remember the website URL or perform a new search to find the site again.
- Clearing your browsing history may improve your device's performance by freeing up storage space and reducing the amount of data that needs to be processed by the browser.
- Clearing your history on the iPad will also clear it from all the other Apple devices you have logged in to the same Apple ID.
Overall, clearing your Safari browsing history can be a useful tool for maintaining privacy and improving performance, but it is important to be aware of the potential consequences before proceeding.
Part 2: How to Clear Browsing History on iPad
There are a few ways you can handle the situation. Let’s look at each one by one.
1. Clear History from the Settings App
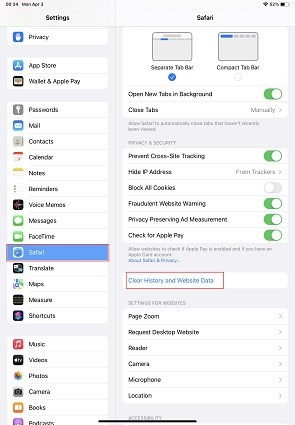
To clear your Safari browsing history on an iPad all at once, you can follow these steps:/p>
- Open the "Settings" app on your iPad.
- Scroll down and tap on "Safari".
Scroll down to the "Privacy & Security" section and tap on "Clear History and Website Data".

- Confirm that you want to clear your history and data by tapping on "Clear History and Data" again.
Wait for the process to complete, which may take a few seconds or longer depending on how much data you have.
And that’s how to clear history iPad.
Note: This method also removes all of your cache and cookie data. So, if you wanted to know how to clear Safari cache on iPad, there you go.
2. Clear History from the Safari App Itself
You can also clear history on iPad from the Safari app itself. Simply follow the steps below.
- Open the Safari app on your iPad.
- Tap on the "book" icon in the toolbar at the bottom of the screen.
- Tap on the clock icon to access your browsing history.
- Scroll through your browsing history to find the items you want to delete.
Swipe left on each item and tap on the "Delete" button to remove it from your history.

- If you want to clear your entire browsing history at once, tap on the "Clear" button.
- Choose the time range for which you want to clear your history, such as "the last hour," "today," "today and yesterday," or "all time."
- Confirm that you want to clear your history by tapping on "Clear History".
Once the process is complete, your Safari browsing history will be cleared from within the Safari app on your iPad. Please note that this method will only clear your browsing history and will not remove any other stored data, such as cookies or cached files. To clear all stored data, you should follow the steps in the previous section.
3. Clear History in the Google App
Lastly, if you want to know how to clear Google history on iPad, here’s how.
- Open the Google app on your iPad.
- Tap on your profile picture in the top-right corner of the screen.
Tap on "Manage your Google Account".

- Tap on "Data & privacy" tab.
- Under "History settings", tap on "My Activity".
- You will see a list of your recent Google activity, including your search history. Tap on “Delete”.
- Choose the time range for which you want to delete your search history, such as "Last hour," "Last day," "All time," or a custom range.
- Tap on "Delete" and then confirm that you want to delete your activity.
Be noted that doing this will remove the selected history from your Google account, and hence it will be removed from any device you’ve logged in to.
Related read How to Delete Safari History on Mac.
Extra Tip: Clear iPad System Cache Data Safely and Efficiently
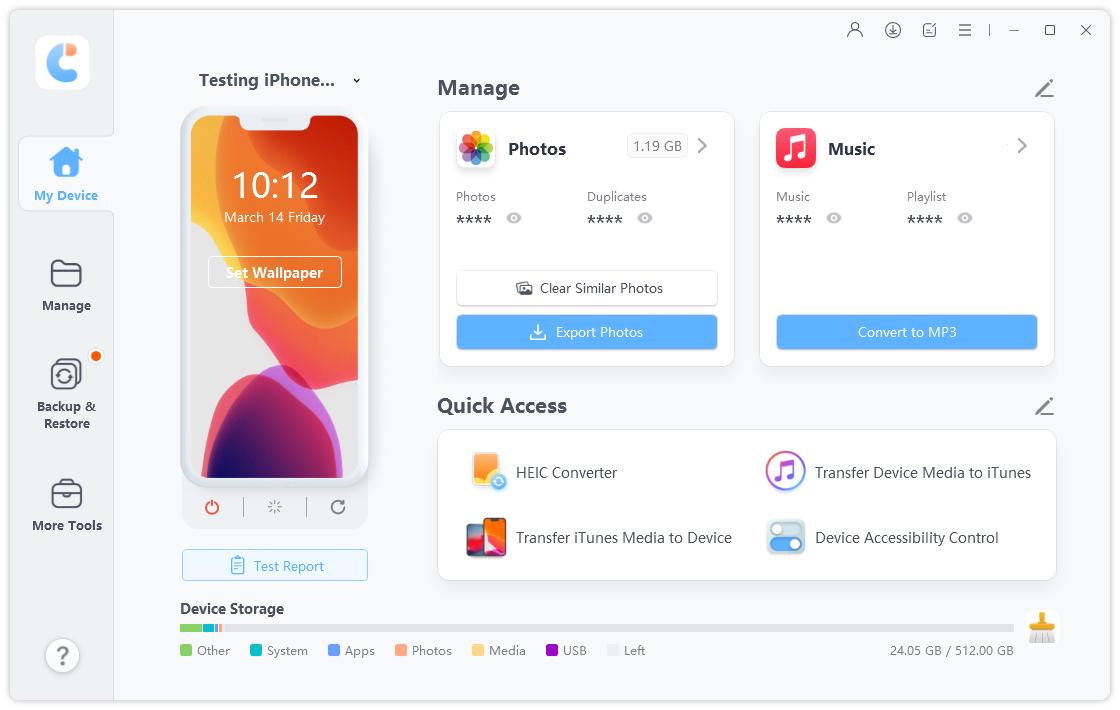
If you're looking for a safe and easy way to clear cache data on your iPadOS/ iOS devices, iCareFone is an excellent choice.
With iCareFone, you can quickly and efficiently scan your device for unnecessary cache files, including those in the audio, video, and photo databases. By deleting these files, you can free up valuable storage space and improve the overall performance of your device.
Besides, you can also use iCareFone to export your photos or videos to computer within several minutes. This can be particularly useful if you have a lot of photos/videos taking up space on your device.
See how to use iCareFone to clear your iPad cache data:
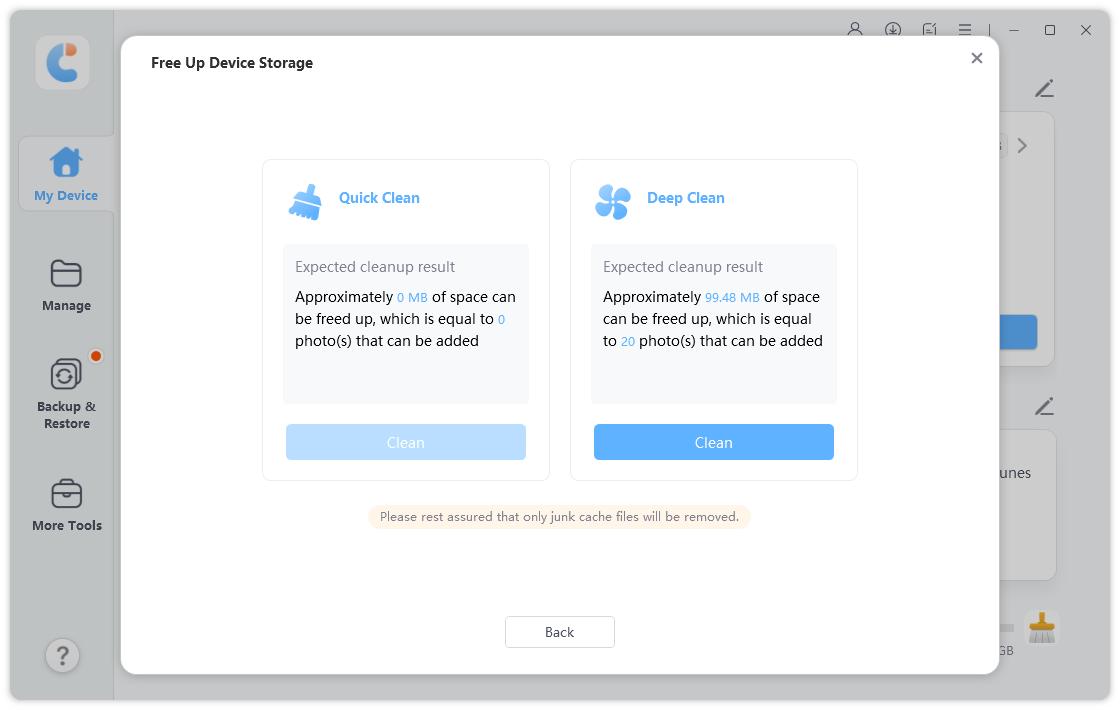
Open iCareFone on your computer and connect your iPad. Trust your computer on your iPad when prompted. Click "Free up Device Storage."

iCareFone will scan your iPad for cache and log files. Click "Clean" to proceed.

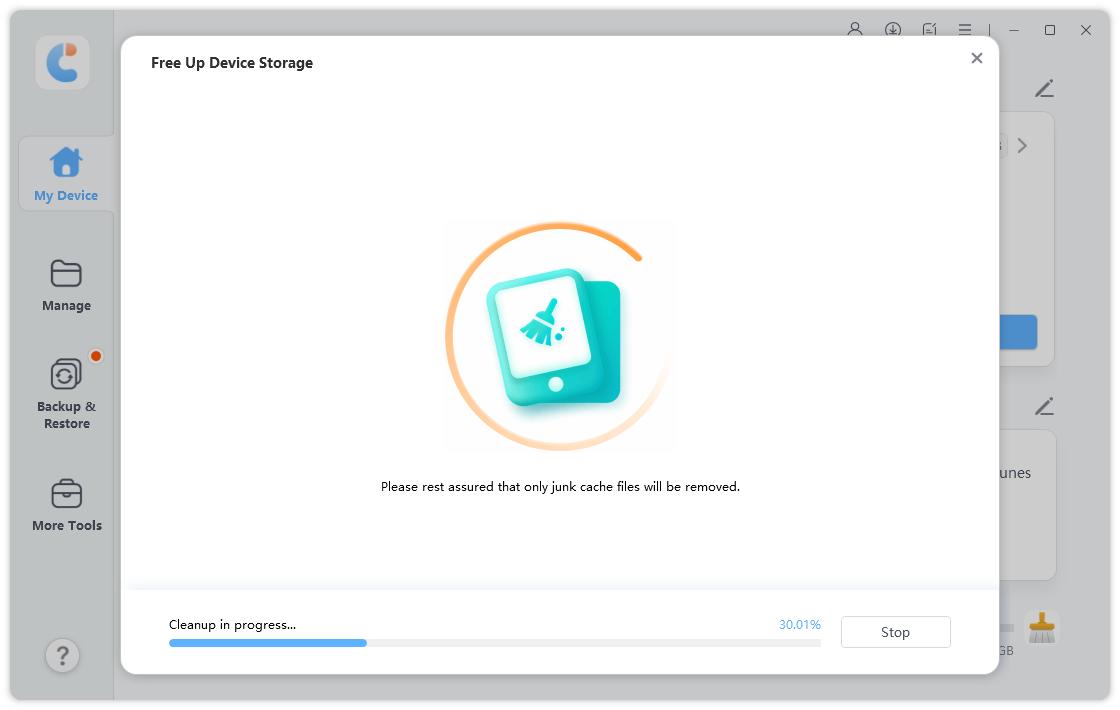
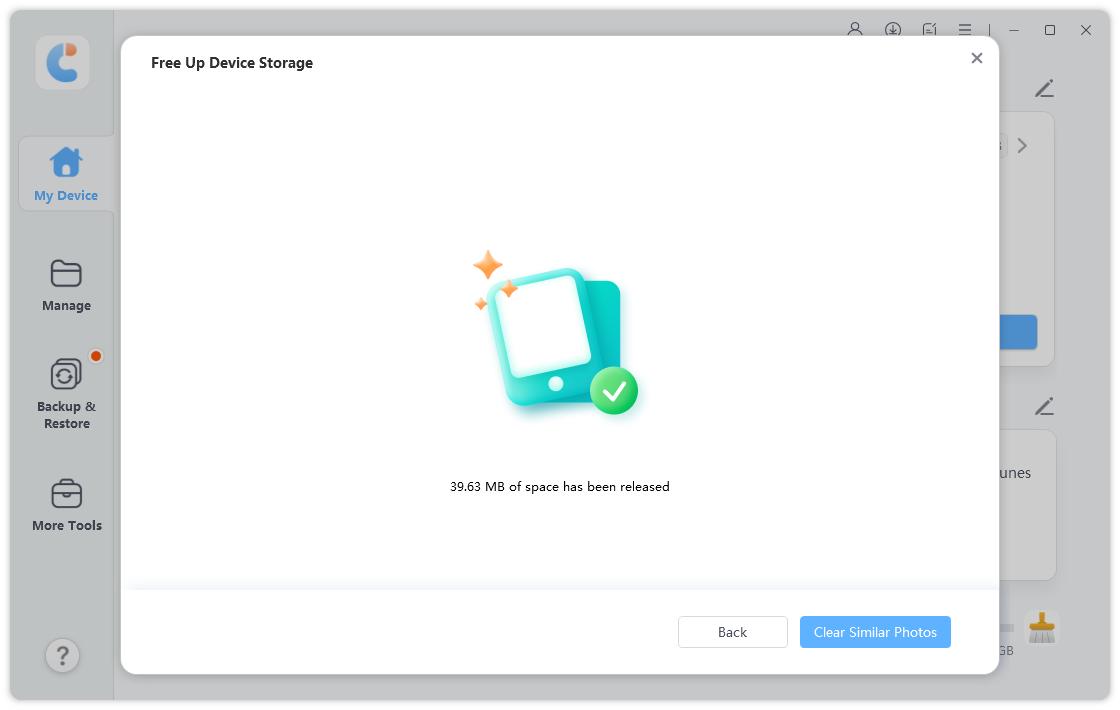
Wait for cleanup to finish. Only unnecessary cache files will be deleted.

System cache data will be removed in a few seconds, leaving more storage space for your files and apps.

The Bottom Line
And that’s how to clear Safari history on iPad!
If you want to delete all cached data, cookies, and history at once, use the first method from the Settings app. If you’d like to delete some parts of the history, use the second method. And iCareFone is your best choice to delete your device system cache!
Speak Your Mind
Leave a Comment
Create your review for Tenorshare articles

Tenorshare iCareFone
Best Free iPhone Transfer & iOS Backup Tool
Easily, without iTunes
