How to Fix Broken AirPlay on an iPad Running iPadOS 16
"Since updating to iPadOS 16 AirPlay doesn't work on my iPad. I can only get sound thrIough the Apple TV. How can I fix it?"
iPadOS has brought along some really useful features to help the users of this device get the most out of their iPads. On the other hand, it has brought some issues as well. Many users who have updated their iPad to the latest iOS version complain that AirPlay not working after iPadOS 16 update. If you are also facing the issue on your device and you are unable to get AirPlay to work, the following guide will help you out.
You are not the only user facing the issue as mentioned above. A number of users are being affected by this issue and they get clueless as to what to do about it. Fortunately, there are multiple ways to get around the issue and make AirPlay work on your iPad.
- Part 1. Common AirPlay Problems after iPadOS Update
- Part 2. 10 Basic Tips to Fix AirPlay Not Working after iPadOS Update
- Part 3. One Click to Fix AirPlay Not Working after iPadOS Update Due to System Error
Part 1. Common AirPlay Problems after iPadOS Update
Before you jump onto the solutions for AirPlay not working on iPad, you might be interested in finding out what are the possible issues that could occur after an iPadOS update. The following are some of the common issues being faced by the latest iPadOS users.
1. Can't Stream Content from iPad to TV
One of the main issues users are facing is that they are unable to stream content from their iPad over to their TV. This makes AirPlay useless as after all, streaming is what it is used for and you are not able to do it.
2. Not Seeing AirPlay in Control Centre
Another issue you might face is your AirPlay receivers are not shown in Control Center on your iPad. This occurs for various reasons but iPadOS users are seeing it the most.
3. AirPlay Sound Not Working
Some users have been lucky enough to connect to an AirPlay receiver but sound not working on iPad AirPlay.
4. AirPlay Video and Sound aren't in Sync
For some users, both audio and video work but they are not in sync. Either the sound is way ahead than the video or vice versa.
5. AirPlay Lagging, Freezing, or Not Working at all
Those who have been able to get AirPlay to work to some extent are facing an issue where AirPlay either gets frozen or sometimes just stops working at all.
Part 2. 10 Basic Tips to Fix AirPlay Not Working after iPadOS Update
Now that you are aware of the common issues, let us check out the fixes for the AirPlay on iPad Air not working issue.
1. Check all the Devices are on the Same Wi-Fi Network
Ensure all of the devices you are trying to connect to are on the same WiFi network. If they are not, connect them to a single WiFi network.
2. Make sure your Apple TV or AirPlay Device is Powered on and Awake
Your Apple TV or any other device that you use as an AirPlay receiver must be turned on and awake. If it is sleeping or is off, you will have issues connecting to it.
3. Turn Off and On Bluetooth on iPad
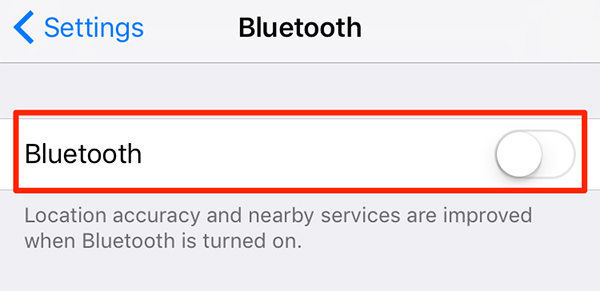
Toggling Bluetooth has proven to be a working method to fix the AirPlay issue. Simply launch the Settings app and turn Bluetooth off. Wait for a minute or so and then turn it on.
4. Turn Off and On Wi-Fi on iPad
You can toggle WiFi as well and this should fix the issue you are facing on your device.
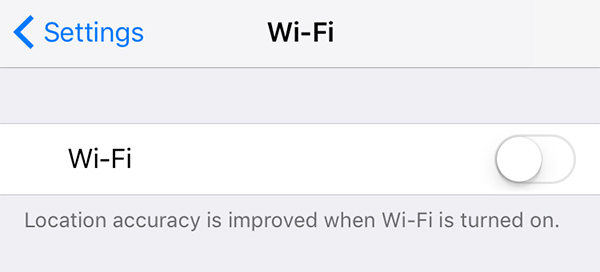
Launch the Settings app and turn Wi-Fi off. Wait a minute and then turn it back on.
5. Update your Wi-Fi Router's Firmware
Just like your iPad, your router should also be regularly updated to latest firmware versions. If yours is running on an old firmware, get it upgraded to the latest one.
6. Update your Apple TV to the Latest Software
If you are using an Apple TV as an AirPlay receiver, ensure that it is running the latest version of the software available.
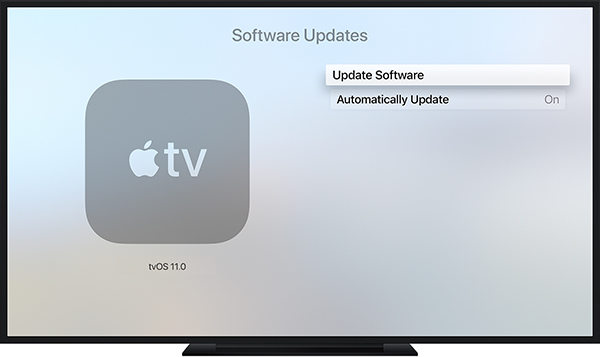
Head to Settings > System > Software Updates and select Update Software to update your Apple TV.
7. Reboot your Wi-Fi Router
Restart your router several times if required as this may also be causing an issue with AirPlay.
8. Restart your iPad or Apple TV
Reboot both your Apple TV and iPad a few times to ensure minor glitches are fixed.
9. Turn Off Restrictions on iPad
Restrictions disable many of the features on your iPad, and since you are facing issues with AirPlay, you may want to turn the Restrictions feature off to be on the safe side.
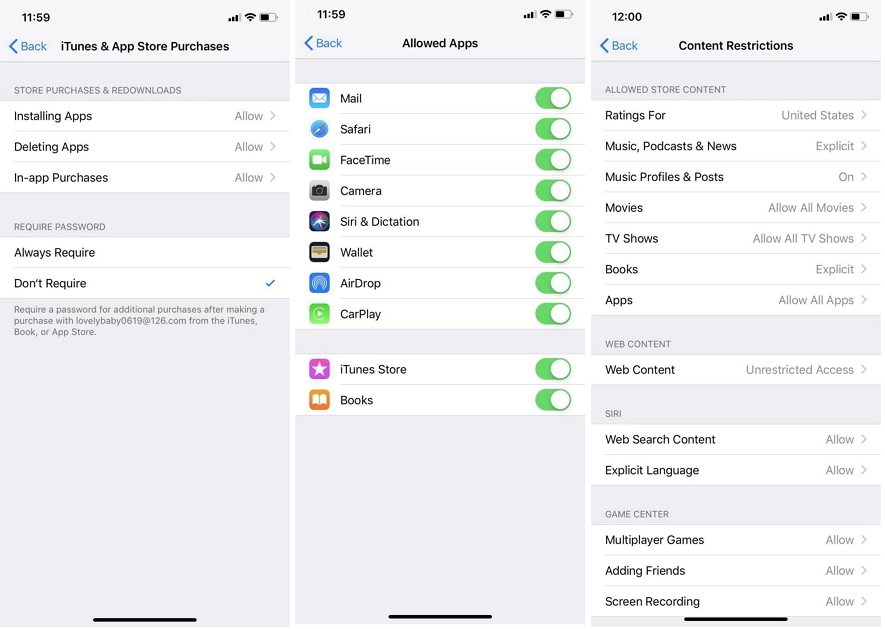
Go to Settings > Screen Time> Screen Time. From the Screen Time interface, select Content & Privacy Restrictions, enter a passcode, and Content & Privacy Restrictions.
10. Reset Network Settings on iPad
Since AirPlay utilizes your network settings, you want to make sure the settings are properly defined. If you are not sure, you can set them to the defaults on your iPad.
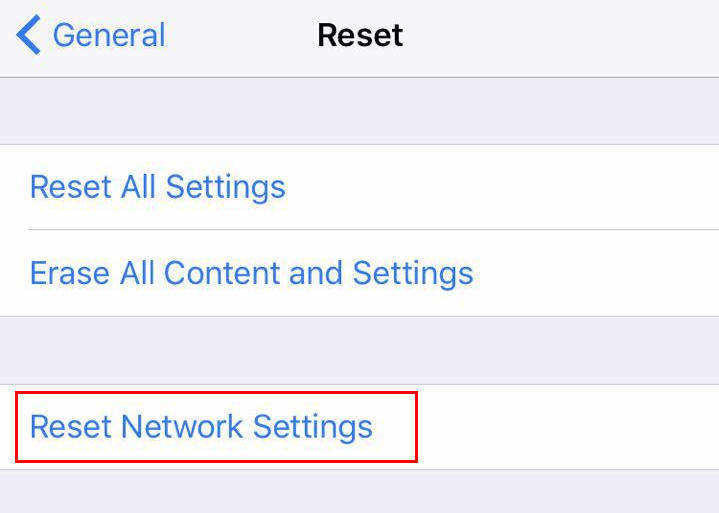
Head into Settings > General > Reset and tap on Reset Network Settings.
Part 3. One Click to Fix AirPlay Not Working after iPadOS Update Due to System Error
If you still cannot get AirPlay to work on your iPad, your last resort is to use a third-party repair software to repair your device.
Tenorshare ReiBoot, is one of the best software you can use to repair the operating system of your iPad. It fixes even the most core system issues on any iOS device and lets you use all the features without any issues on your devices.
Step 1 Download, install, and launch the software. Connect your iPad to your computer and click on Repair Operating System in the software.
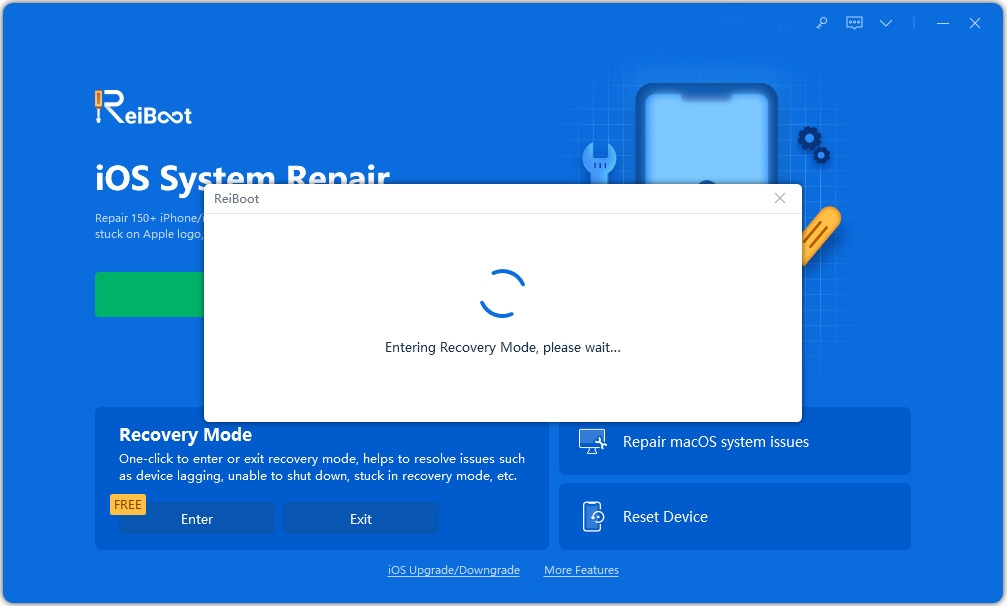
Step 2 Click on Fix Now on the following screen.
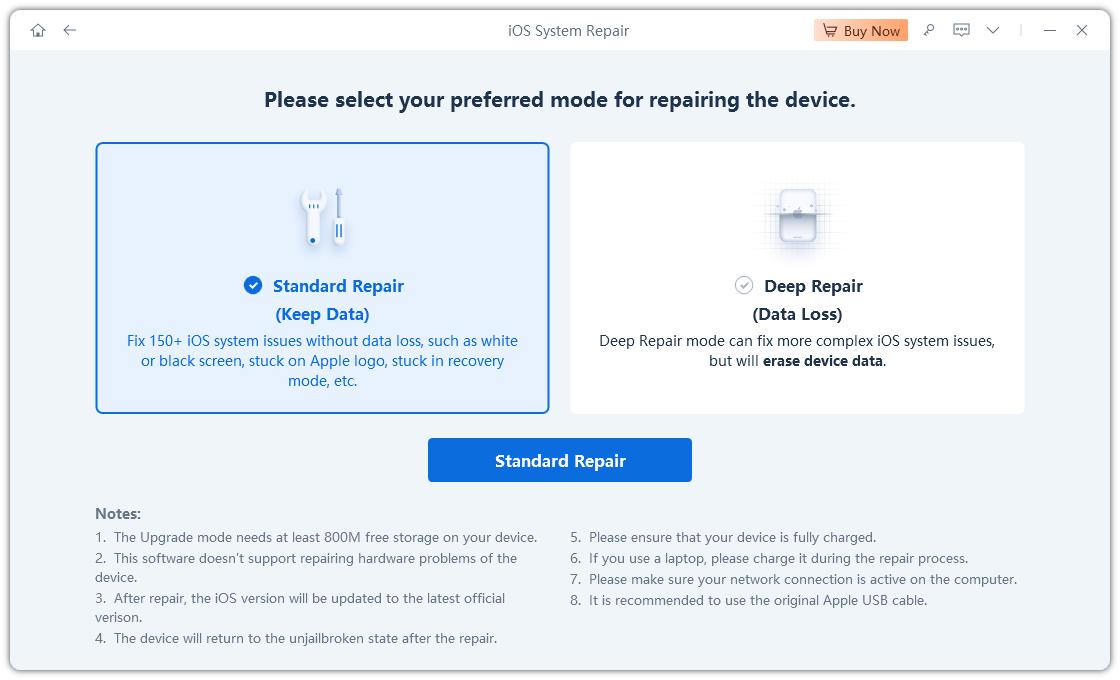
Step 3 Download the firmware for your iPad by clicking on Download.
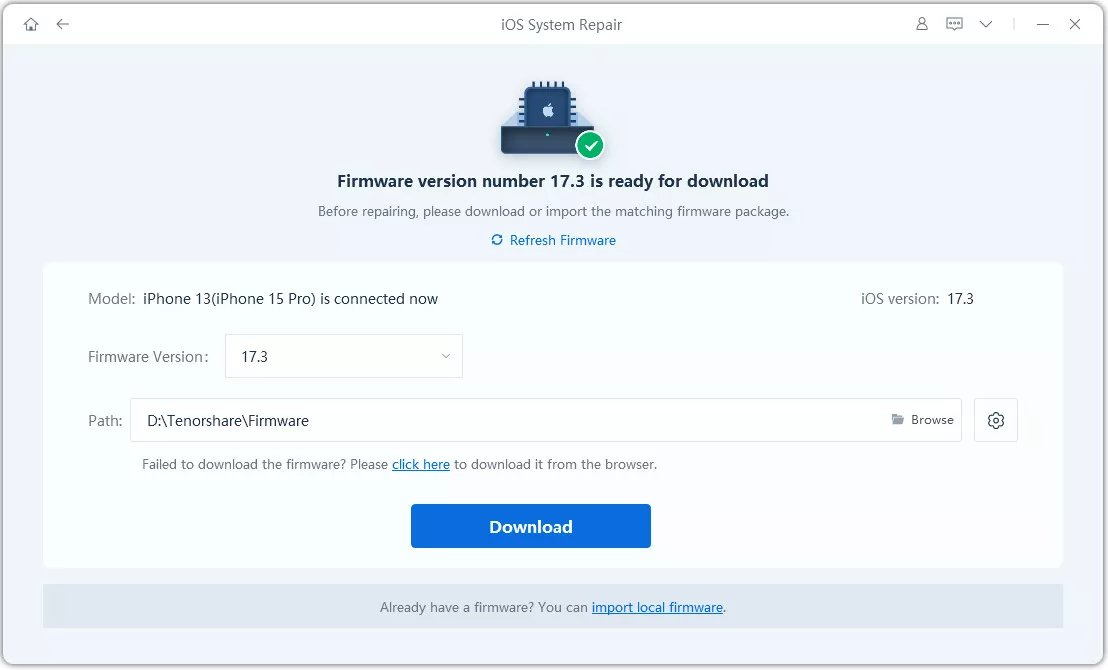
Step 4 It will start fixing the device when firmware is downloaded.
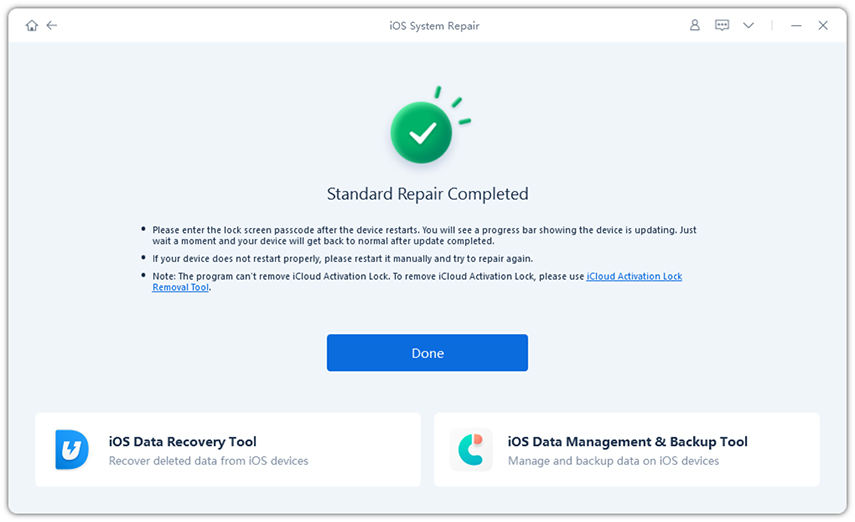
It will let you know when your iPad is fixed.
Conclusion
For many users, AirPlay not working after update on their iPads but there are a few ways to fix the issue and get the feature to work on your device as shown above. The most certain way to fix the issue is to use Tenorshare ReiBoot. But if you are looking for other fixes, then they are also available but there is no guarantee of success with them.
Speak Your Mind
Leave a Comment
Create your review for Tenorshare articles
