iPhone 14 Won't Turn On After Data Transfer? 4 Ways to Fix It
While transferring data to a new iPhone 14 Pro or Pro Max, some users are facing an issue that makes their phone unresponsive right after the transfer is completed. The screen simply turns off and there’s no touch response.
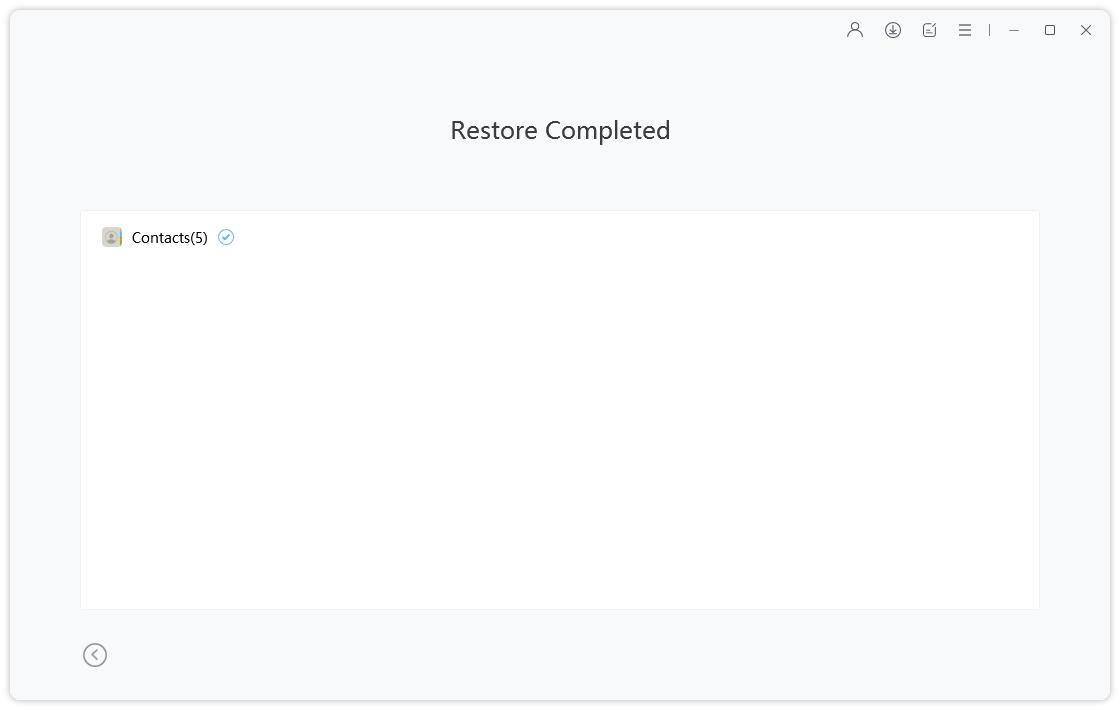
If you’re facing a similar problem and your iPhone 14 Pro not turning on after data transfer, this article has got you covered. Here’s everything you need to know to get yourself out of this tricky situation.
- Part 1: Fix iPhone 14 Won't Turn On After Transferring Data
- Part 2: Will I Lose My Transferred Data if my iPhone won't Turn on?
- Part 3: How to Transfer Old iPhone Data to New iPhone without Quick Start
Part 1: Fix iPhone 14 Won't Turn On After Transferring Data
If your iPhone 14 won’t turn on after transfer, here are the top methods you must practice.
Way 1: Charge New iPhone 14 (Plus/Pro/Pro Max) for 5-10 Minutes
While the problem seems inherently large, it may not be. There could be a simple problem that your iPhone 14 (Plus/Pro/Pro Max) is simply not charged enough. In such a case, your phone might turn off after iPhone transfer to new phone.
To sort this out, plug your phone into a charger for at least 5-10 minutes and see if it turns on. If it does, good. If it doesn’t, follow the next methods.
Way 2: Force Restart New iPhone 14 (Plus/Pro/Pro Max)
Apple has officially suggested force restarting your new iPhone 14 (Plus/Pro/Pro Max) if you’re facing problems with it during the setup process.
If you don’t know how to force restart iPhone 14 Plus/Pro/Pro Max, follow the steps below.
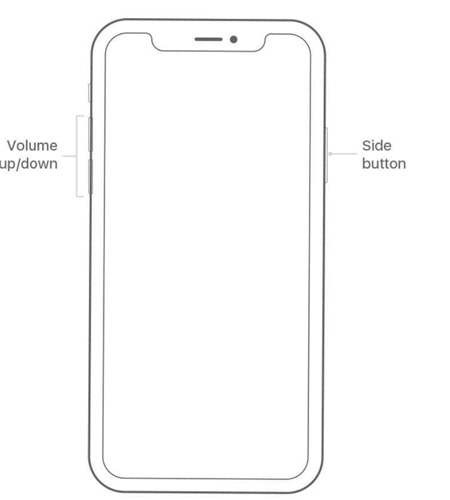
- Press and quickly release the volume up button.
- Press and quickly release the volume down button.
- Press and hold the side button until you see the Apple logo.
Way 3: Restore iPhone with iTunes (Data Loss)
If you’re fine with losing your data which has just been transferred to the new iPhone, you could also use iTunes on Windows or Finder on Mac to restore your iPhone. This will reinstall the iOS system in your iPhone, which should resolve the issues with it.
But — be noted that this will erase your data. You can skip to Way 4 if you do not want to lose your device data.
If you’re okay with it, here’s how to restore the iPhone using this method.
Firstly, put your iPhone into recovery mode.
Press and quickly release the volume up button. Press and quickly release the volume down button. Then press and hold the side button until you see the iPhone recovery mode screen. (You can also use ReiBoot to enter recovery mode with one click.)
- Connect your iPhone to the PC with iTunes or Mac.
- Open iTunes/Finder and find your device.
You will see a Restore option, select it.

- Wait for the program to download and install the latest version of iOS to your system. And you’re good to go.
Way 4: Repair iPhone 14 (Plus/Pro/Pro max) with ReiBoot (No Data Loss)
While iTunes/ReiBoot restore wipes your data and you lose everything, Tenorshare ReiBoot doesn’t. It will reinstall your iOS operating system, but you won’t lose any of your data. See what ReiBoot can do for you:
- Repair more than 150 iOS/iPad OS problems
- Enter/Exit iPhone recovery mode with only one-click
- Downgrade iOS to the older version
- No device data will be erased
- 100% safe
Here's video guide for you:
Here’s how to use it:
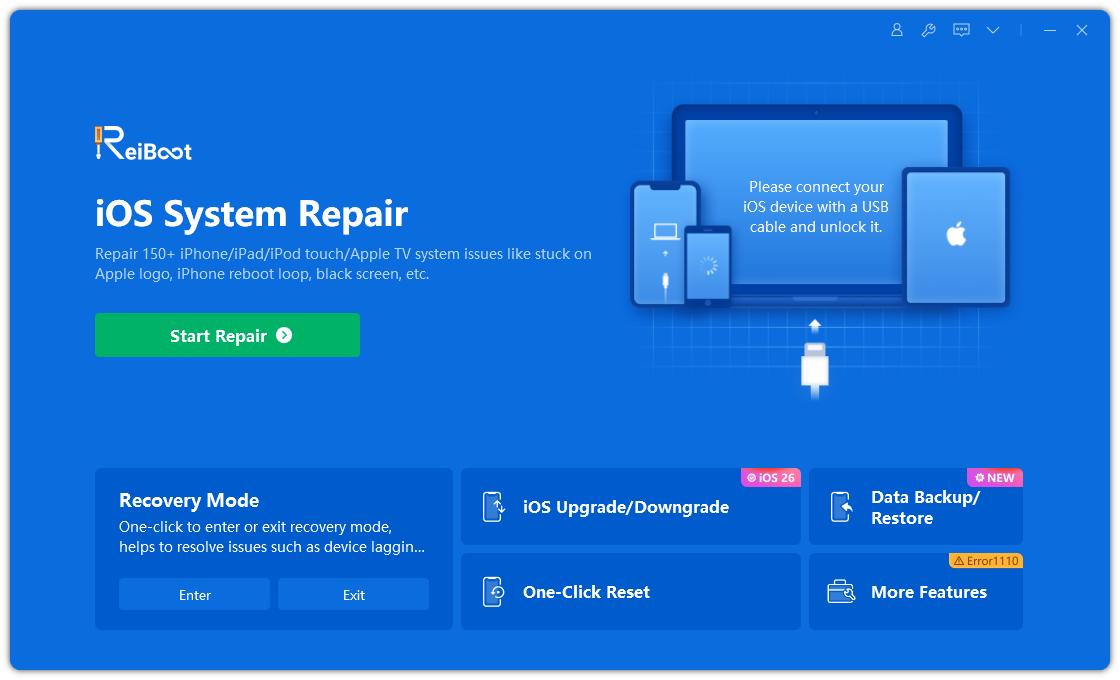
Download and install ReiBoot from the above button. Connect your iPhone to the computer and select “Trust This Computer” if prompted on the screen. Hit “Start”.
(Since your iPhone wont turn on, so your iPhone may need to enter recovery mode to be detected by the program.)

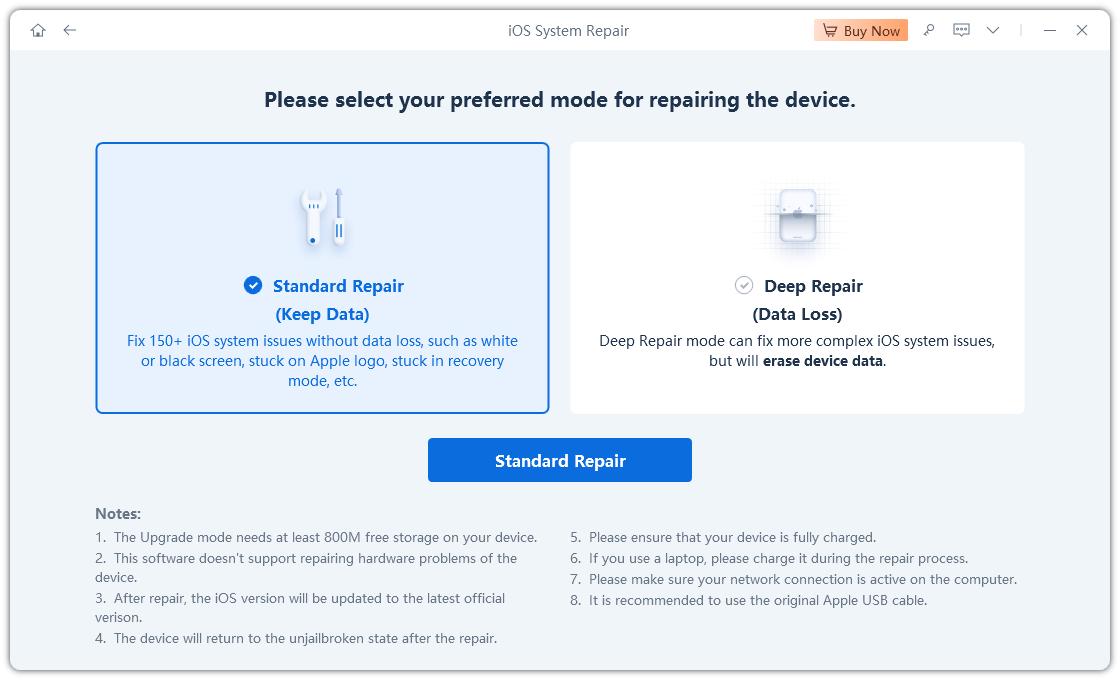
On the following page, select “Standard Repair”. Make sure to read all the instructions to avoid any problems.

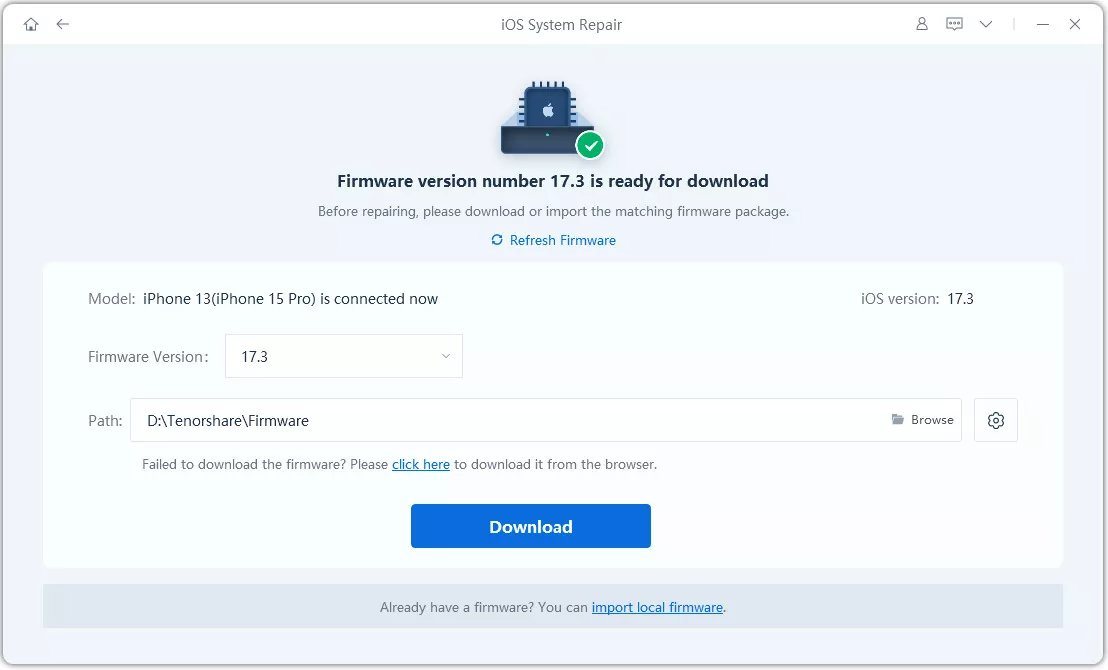
The system will prompt you to download the latest firmware, click “Download”.

When the download is done, hit “Start Standard Repair”.

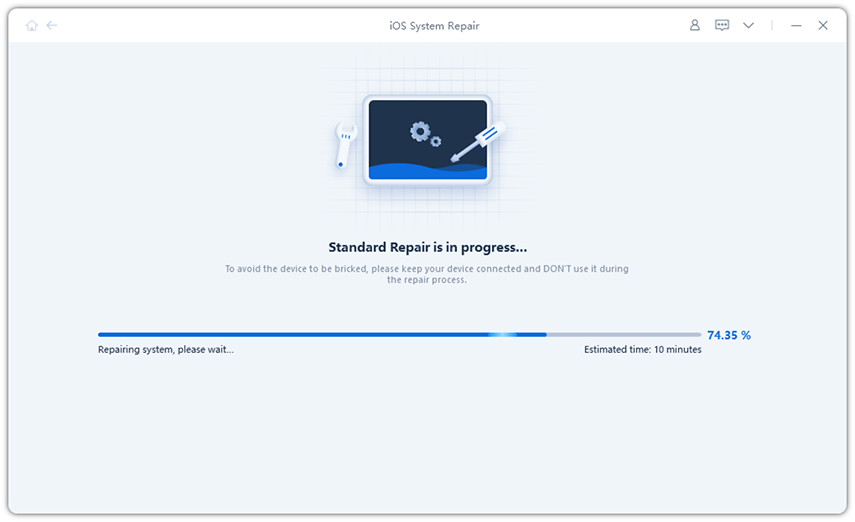
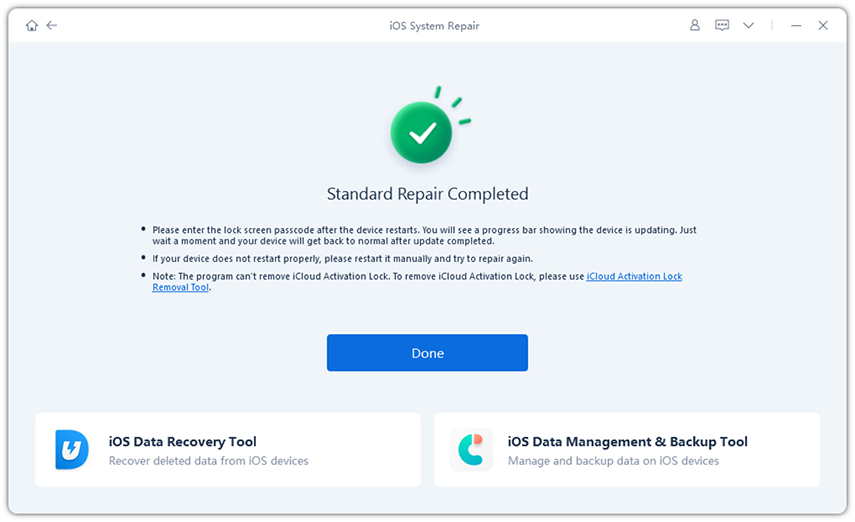
Wait for the process to complete, and you’re all set! Your iPhone will restart automatically when the repair process is finished.

Part 2: Will I Lose My Transferred Data if my iPhone won't Turn on?
If you’re wondering whether you will lose your data if the iPhone transfer to new phone is interrupted and your new device shuts off, this section has got you covered.
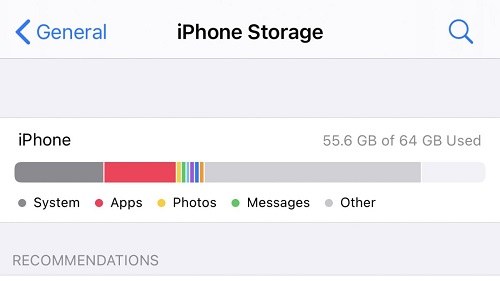
Well, no definite answer to this question. After you’ve successfully turned on your device using ReiBoot, force restart, or any other method, you should check your storage.
You can check the storage of your new iPhone to see if the storage is occupied by the transferred data.
Or you can also open your Photos app and see if your media is there. Then, open your contacts and messaging app and see if they’ve successfully been transferred or not. If not, then proceed to the next part to move your data from the old iPhone to the new one again.
Part 3: How to Transfer Old iPhone Data to New iPhone without Quick Start
Choose 1: iCloud Backup (Not Recommended)
One of the proprietary methods how to transfer everything from one iPhone to another is to use the iCloud backup feature. But do we recommend it? Not really.
- Firstly, you will need to upload all of your data from the old iPhone to cloud, which can take a lot of time depending on how much data you have and what’s your internet speed.
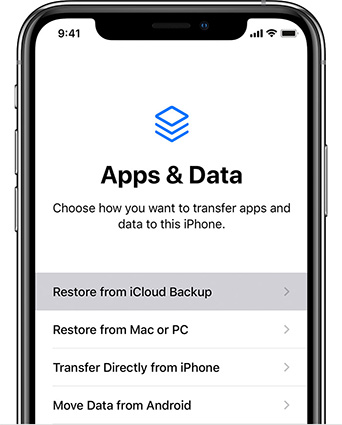
- Furthermore, If you’ve finished setup, you will need to reset your new iPhone again to access the “Restore from iCloud” option during the setup process.
If you’re fine with that, follow the steps.
- On your old iPhone, go to Settings > Apple ID > iCloud Backup, and make a new backup.
Set up your new iPhone. Select “Restore from iCloud” during the setup process (You will need to reset your iPhone if you’ve already finished the setup process.).

- Select the latest backup you took and wait for it to be restored.
Choose 2: Back Up iPhone to Computer and Restore the Backup to New iPhone
But literally, the best method how to transfer data from one iPhone to another after setup is Tenorshare iCareFone.
iCareFone doesn’t rely on any kind of backup files to restore your data. Instead, it manually backs up your data from the old device to your computer, then manually restores it to the new phone.
This method is very risk-free, and you don’t even have to reset your iPhone to proceed with the steps.
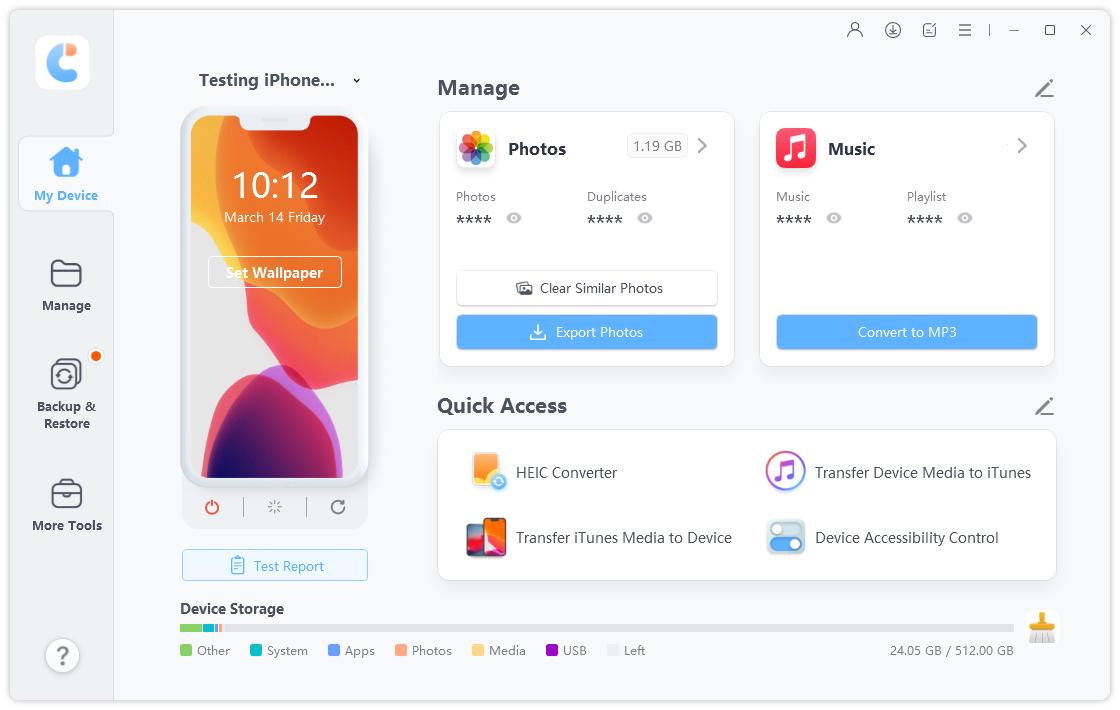
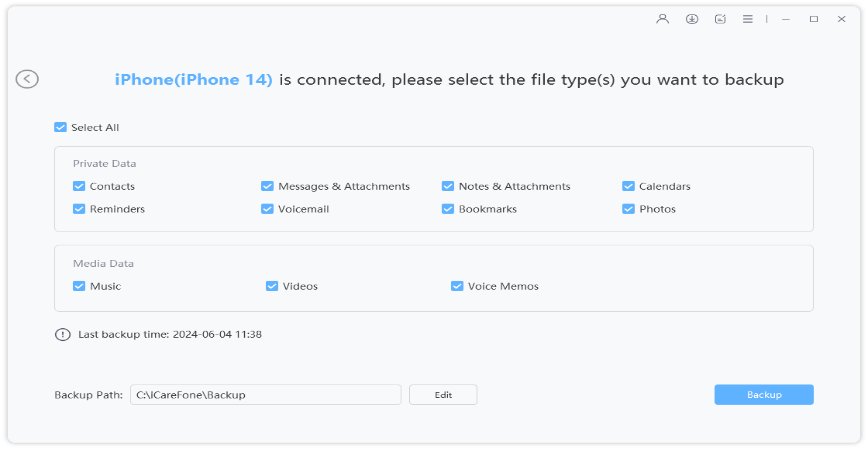
Download and install Tenorshare iCareFone on your computer. Connect your old iPhone to the computer, then click “Backup & Restore” in the menu. Select the files you want to move, then proceed.


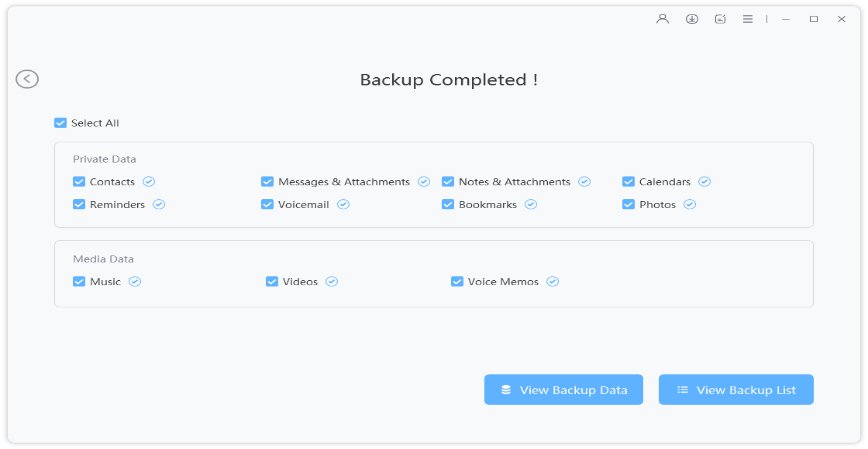
Wait for the backup to conclude.

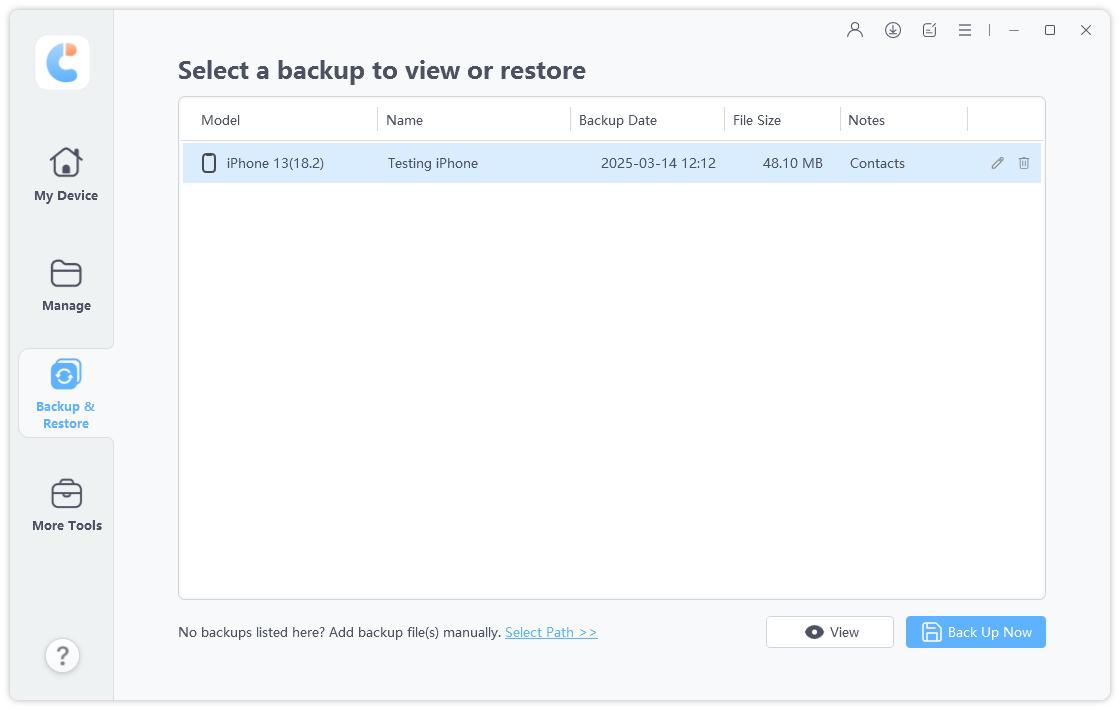
Connect your new iPhone 14 Pro to the computer and select the Backup & Restore tab.

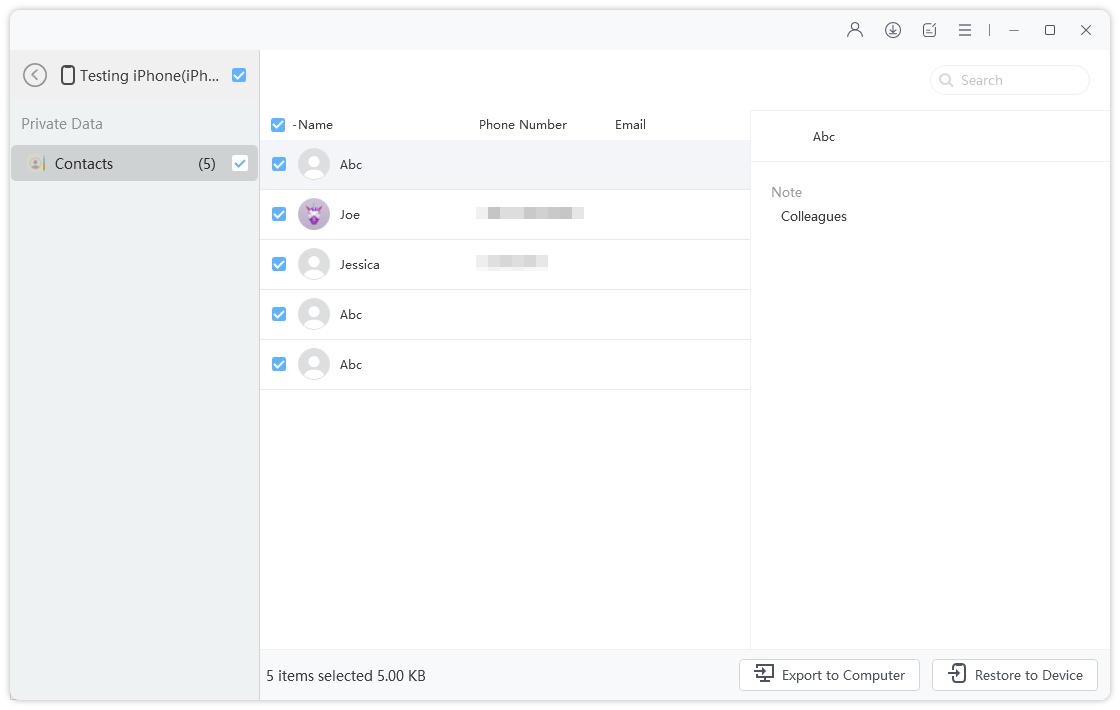
On the Restore page, select all the files you previously backed up, then hit “Restore to Device”.

Wait for the process to complete. Now your old iPhone data has been transferred to your new iPhone 14 successfully.

The Bottom Line
And there you go — that’s how you proceed if your iPhone 14 won’t turn on after transfer.
If your phone is stuck with a black screen, use Tenorshare ReiBoot to turn it on without losing your data. If you still need to move data from the old phone to the new one after setup, use Tenorshare iCareFone and it will do that without you having to reset your phone.
Speak Your Mind
Leave a Comment
Create your review for Tenorshare articles
