How to Fix iPhone 14 Pro/Pro Max Camera Shaking or Vibrating Here
It has been reported by iPhone 14 Pro users that when they open applications like Snapchat, Instagram and TikTok to take pictures, the iPhone camera starts shaking, vibrating and making physical noises. It seems that this brand new iPhone's camera has not been fully compatible with many apps. This topic goes viral on social media, causing many people complaint and worry.
- Part 1: iPhone 14 Pro/Pro Max Camera Shaking and Vibrating? Apple's Answer
- Part 2: 5 Common Ways to Fix iPhone 14 Pro/Pro Max Camera Shaking
Part 1: iPhone 14 Pro/Pro Max Camera Shaking and Vibrating? Apple's Answer
As users upload videos of this buzzing noise and shaking to TikTok or Twitter, Apple took notice of it. They have acknowledged the problem and would soon release an update to fix iPhone 14 Pro camera shake issue that impacts some third-party apps to use the camera.
So we have to wait for several days to update the software. Before that, it is better not to take pictures or videos within apps to avoid camera rattling. The regular Camera app works fine.
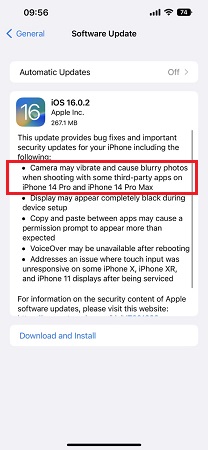
Update on Sept. 23th. The latest iOS 16.0.2 update fixes the camera shaking on iPhone 14 Pro and 14 Pro Max. You can update the software on your device now!
Part 2: 5 Common Ways to Fix iPhone 14/14 Pro Camera Shaking
As this problem does exist within iOS 16 or within third-party apps’ compatibility with iOS 16, besides the new software update, we can try 5 possible methods to stop camera from shaking. And later the camera problem happens again on iPhone 14 or other iPhones, you can still use the following ways.
1. Use ReiBoot to Repair in 1 Click
The first fix for iPhone 14 Pro camera shaking and rattling here, which has the highest chance of working is to repair the iOS system with Tenorshare ReiBoot. Using the standard repair, you do not even lose your data.
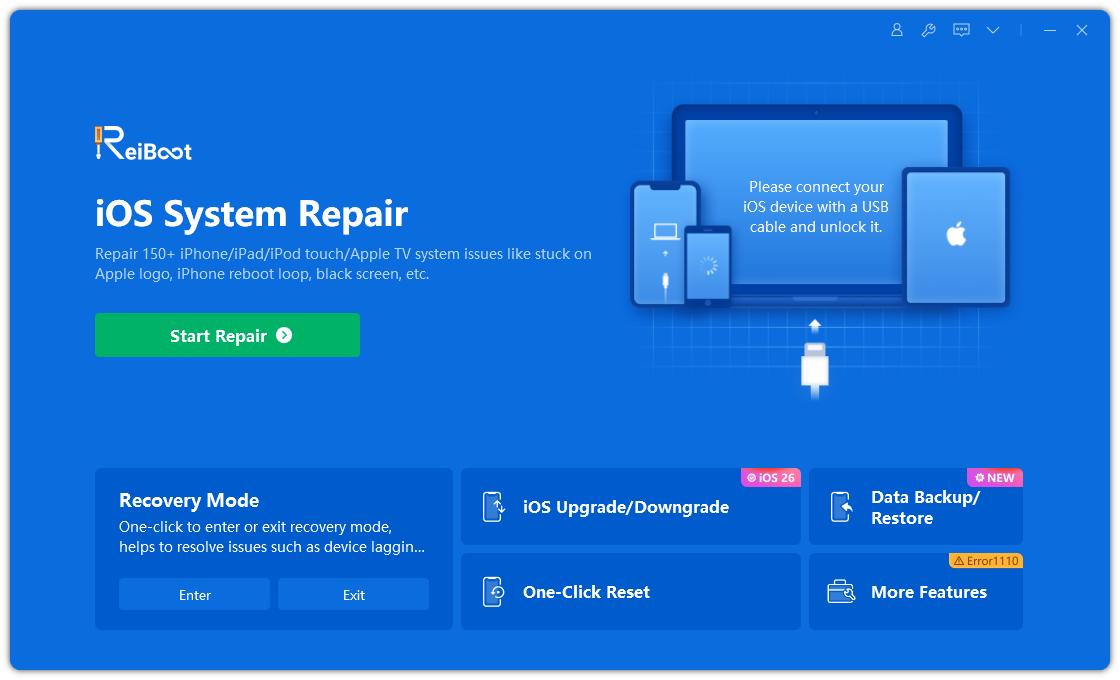
Download and launch ReiBoot on your computer. Click Start to begin.

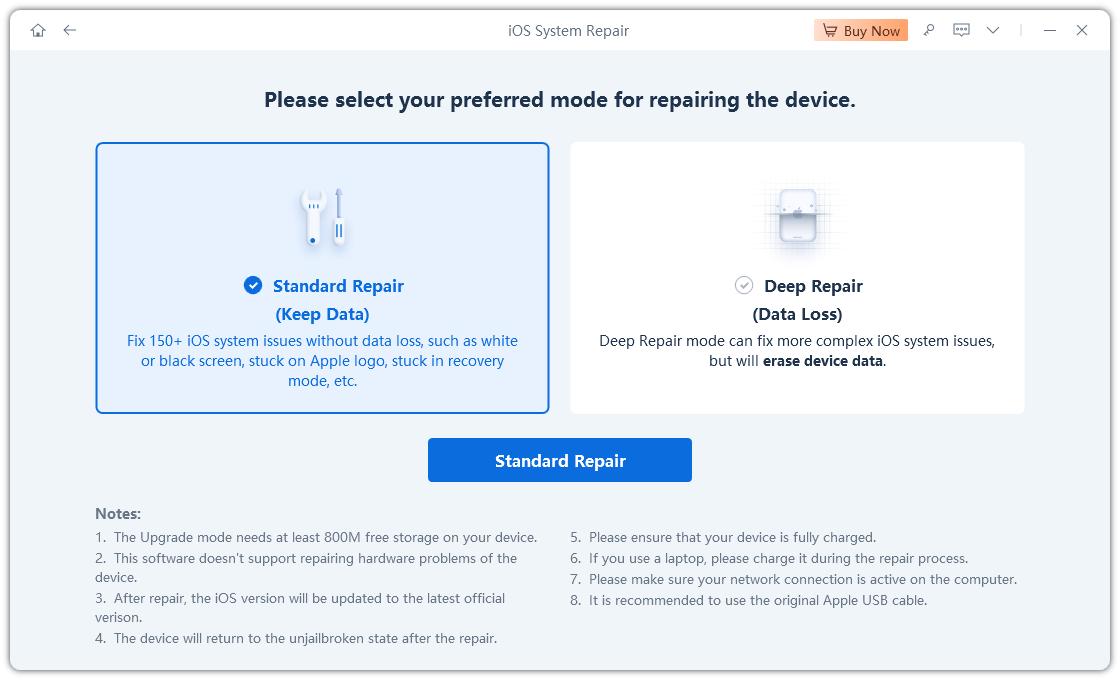
Connect your iPhone to the PC via a USB cable. Then read the notes and select Standard Repair.

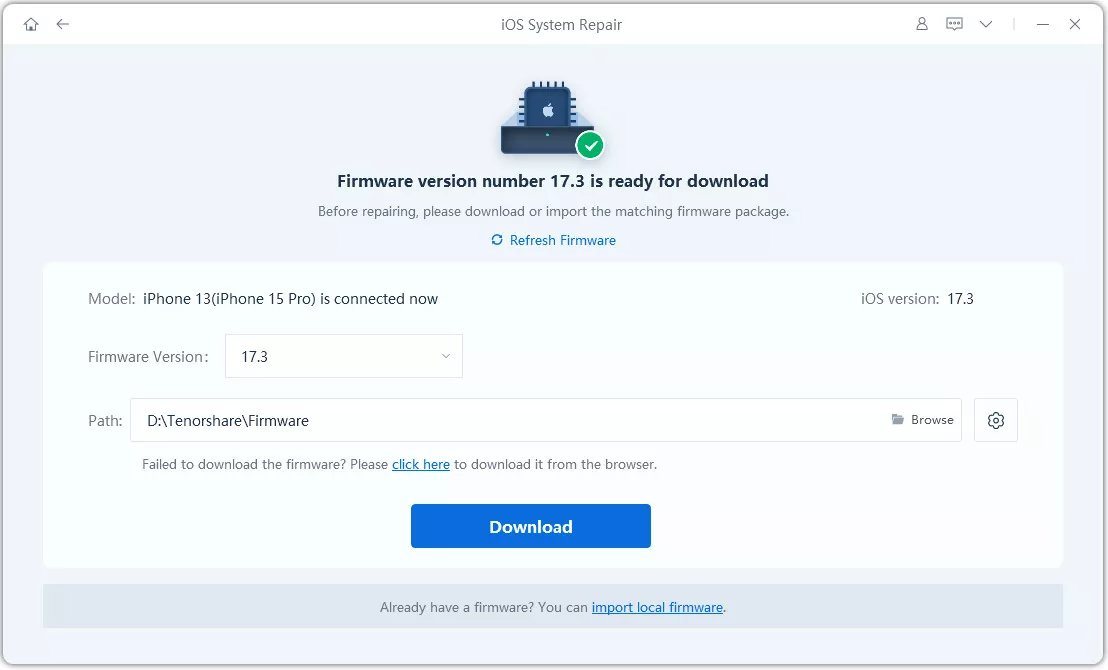
Click Download to download the latest iOS 16 firmware package.

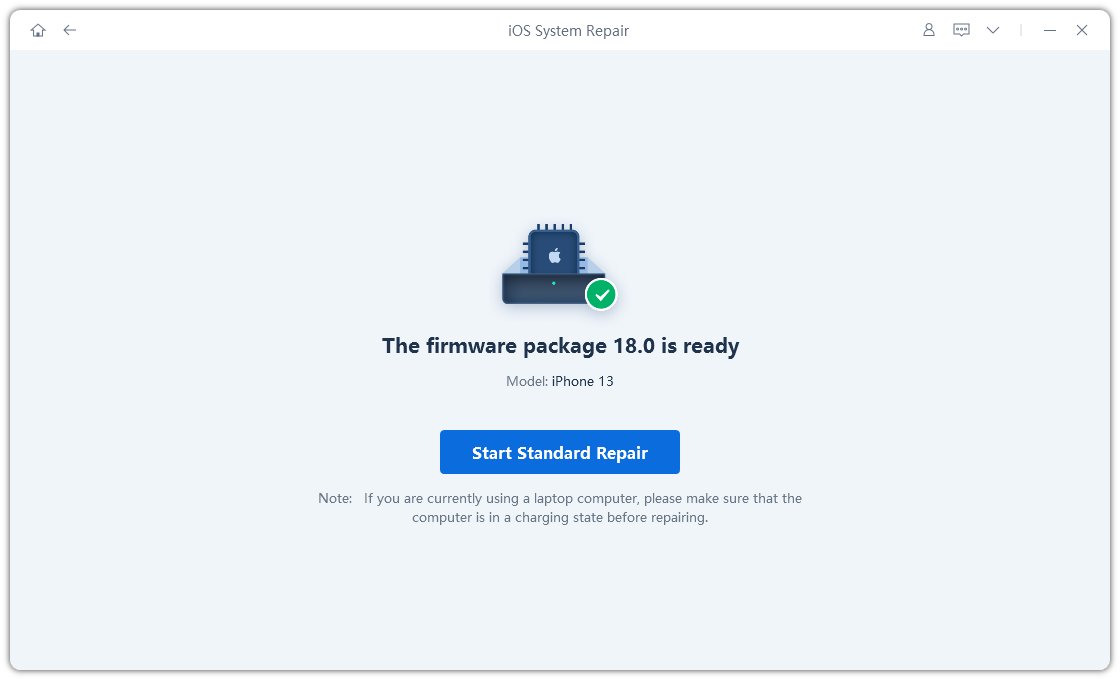
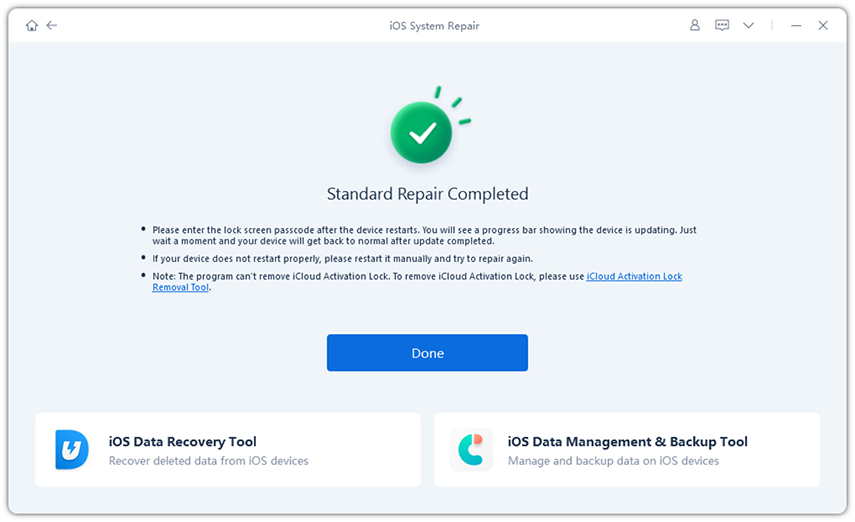
After that, click the Start Standard Repair button. The program will fix the software and camera issues on your iPhone 14.


2. Restart iPhone & Reset iPhone Settings
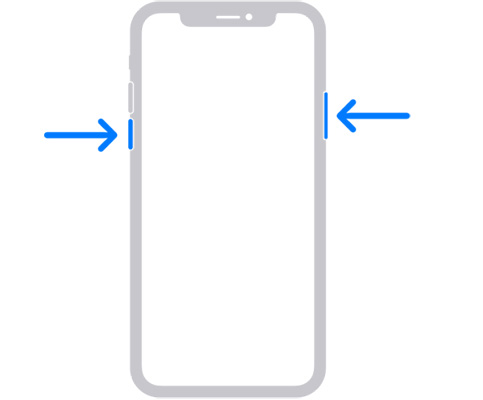
Restarting an iPhone allows us to fix many of the problems occurring. And for iPhone 14 Pro camera shaking, there is a chance that the problem will go away once you restart it. In order to restart your iPhone 14:
- Quickly press and release the volume up button, then the volume down button.
Press the power button and hold it until the Apple logo appears.

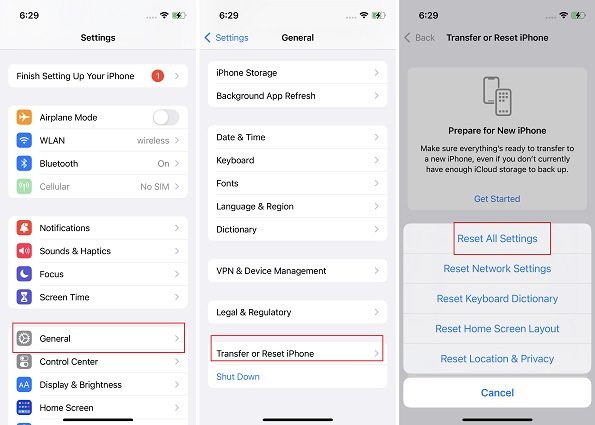
You can also reset your iPhone settings, which put all the Camera settings to default. Open Settings and go to General > Transfer or Reset Settings > Reset > Reset All Settings.
3. Update/Reinstall Apps that Cause Camera Shaking
The camera is shaking and rattling when it is opened by third-party apps, thus updating the apps or reinstalling them can be a way to fix your problem. Go to App Store to check if there is any update. Or reinstall these apps like TikTok and Snapchat.
4. Restore iPhone
The fourth method that may work but is not recommeded to fix iPhone 14 Pro or Pro Max camera shaking problem is restoring your iPhone 14 Pro. All the data, contents and settings will be restored to factory settings, and the problems might also be erased in the process. Anyway, if you do not worry about the data losing or have a backup, you can have a try.
5. Ask for Apple Help
In case the problem has not yet been fixed by software update or repairing, and your iPhone camera still shakes or vibrates. This makes it impossible to capture focused photos, and may damage the hardware. Go to an Apple Store or contact Apple through email. It is hard to solve by ourselves if there is a hardware glitch.
Conclusion
Many users have been facing iPhone 14 Pro and Pro Max camera shaking and rattling. Apple resolves this software related issue by an update. Later facing the same camera problem, you can try using the methods told above like restarting or using Tenorshare ReiBoot to fix.
Speak Your Mind
Leave a Comment
Create your review for Tenorshare articles
