Fixed! Office 365 iPhone Unable to Verify Account Information [2025]
“Hello Folks! There’s an issue, and now I’m unable to verify account information iPhone exchange Office 365. You see, I recently found that my Email failed to sync to my iOS mail app. Although, I have used it for a couple of years since I moved all my emails to Office 365. The last sync date was months before. At first, I tried to refresh it but got no success. What’s the solution?”
So, here’s the deal, there might be many reasons why your Office 365 iPhone cannot verify account information. We made a detailed blog below to make a better understanding of it. The solution is written down here, so have a look.
- Part 1: Why Office 365 iPhone Unable to Verify Account Information?
- Part 2: How to Fix Office 365 iPhone Unable to Verify Account Information?
- FAQs about Microsoft 365 iPhone
- Extra Tip: If Your iPhone Went Wrong, How to Fix iOS System?
Part 1: Why Office 365 iPhone Unable to Verify Account Information?
There could be many reasons why your Office 365 iPhone is unable to verify account information. You need to check your cellular data settings as changing a network can cause this issue.
You can also check your internet environment and try to reset your network settings. Sometimes, it can be a minor glitch, so you can restart your iPhone to see if it verifies the account information.
You can delete and reinstall Office 365 on your iPhone to check. Some tools can also help you get back the account information verification for your Office 365 on iPhone. Let’s take a look at all the methods.
Part 2: How to Fix Office 365 iPhone Unable to Verify Account Information?
Way 1. Check Your Cellular Data Settings
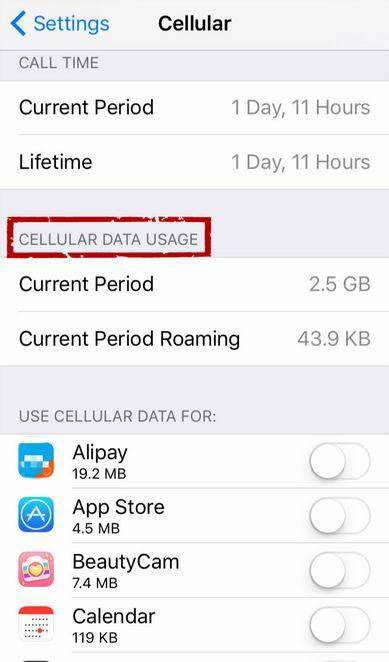
Why is Office 365 unable to verify account information? It might probably be due to your cellular data settings. To fix that, you need to go to your iPhone settings.
After that, navigate to the ‘Cellular Option and explore the ‘Use Cellular Data for’ setting. Please ensure that both ‘Mail’ and ‘Settings’ are enabled. It might fix your problem with account verification.
Way 2. Change Your Internet Environment on iPhone
Your internet environment might be the issue. Once you switch your data from personal to public or office Wi-Fi, sometimes, your iPhone might face trouble in syncing with apps. You can resolve this issue by switching back to your Home internet/ Private Network to get better results.
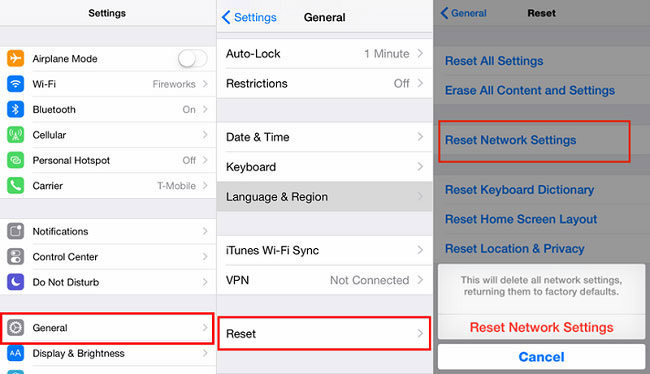
Way 3. Reset Network Settings
Sometimes our network settings could be the cause why our Office 365 is unable to sync and verify account information. Resetting the network settings might do the work.
- Go to the settings
- Select ‘General.’
- Tap on ‘Reset.’
Now select ‘Reset Network Settings.’

- Click on Reboot.
- Then try Exchange.
You don’t need to turn off your data. Reset your network settings and see what happens. Hopefully, it will solve the issue.
Way 4. Restart Your iPhone
Restart can help if your Office 365 iPhone’s unable to verify account information. You can restart your iPhone to check if the problem persists. Sometimes restarting wouldn’t help; you can force restart your iPhone.
Force restarting is easy:
- Long press volume up.
- Then long press volume down.
- Then press the side button.
- When the Apple logo appears, release it.
- Your iPhone will force restart.
Way 5. Delete Office 365 Account and Re-add Again
You can delete your Office 365 and reinstall it to check if your problem is solved.
- Delete the email account.
- Go to ‘Settings.’
- Tap on ‘Accounts.’
- Click on ‘Another Email Account.’
- Click on the outgoing mail server and tap on the Email you deleted.
- Delete the server too.
- Now re-add your email account and verify the server.
Way 6. Turn Off SSL to Check If the Problem Still Exists
Why is the Office 365 iPhone unable to verify account information? Well, you can try by turning off the SSL.
- Go to ‘Settings.’
- Explore the ‘Accounts & Passwords.’
- Open the ‘Accounts.’
- Open ‘Exchange Account.’
- Go to ‘Account’ and click ‘Advanced.’
- Turn off ‘Use SSL.’
Check if the problem persists. Turning off SSL might help.
Way 7. Disable Domain Name and Enable Again
Disabling and enabling the domain name might help. Find it in the network settings. A domain name is not necessary. You can leave it blank and re-try.
When adding the domain name again, make sure that your format is correct, which is “Domain name/username.”
Way 8. Use Microsoft Remote Connectivity Analyzer to Test
Another way is to try the Microsoft Remote Connectivity Analyzer. This test will help you see if your sync is working fine. Use this link, go to the site, enter your Domain name and other information to start the test.
FAQs about Microsoft 365 iPhone
Q1. How do I verify my Outlook account on my iPhone?
Open the Outlook app, select the Account and go to the settings gear icon. Select the verify account settings option. Verify your account.
Q2. How do I authenticate on an Exchange Account on My iPhone?
Use 2S verification. Go to Settings > Accounts & Passwords > Add Account > Exchange as account type > Enter the email address and connect to your account. Add manual authentication for more verification.
Q3. Why Can't I Add My Exchange Account to My iPhone?
You can try re-adding your account or try logging through your webmail.
Extra Tip: If Your iPhone Went Wrong, How to Fix iOS System?
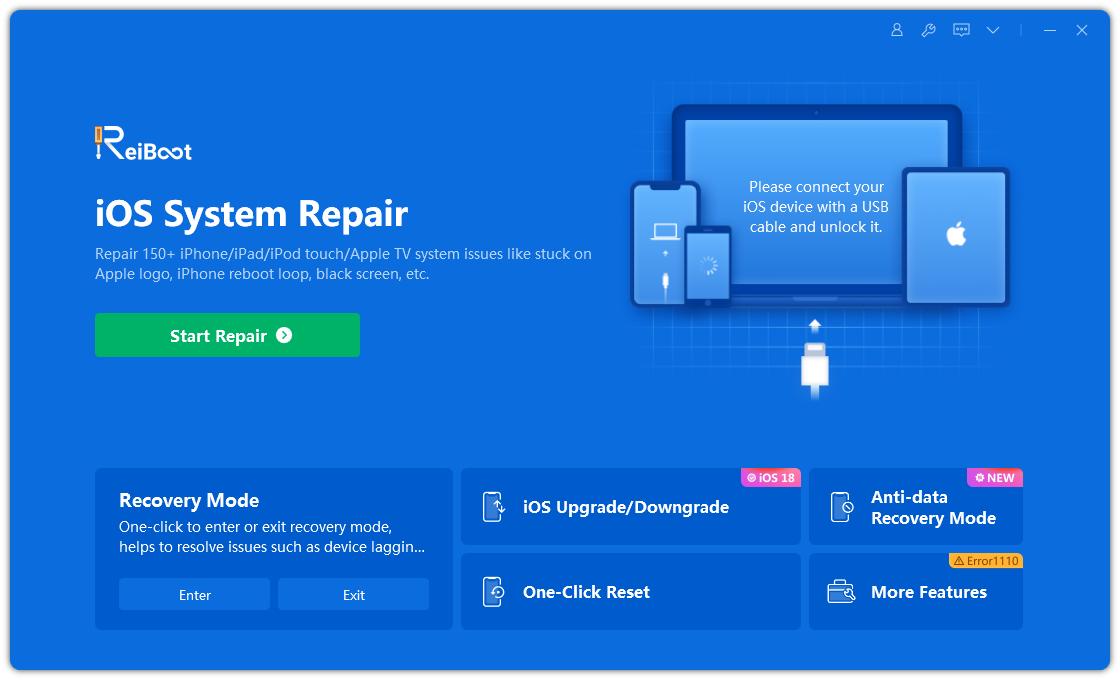
What if you have run into some other iOS issues like stuck on Apple logo, black screen, boot lop... Don't feel frustrated, there is one-stop solution for iOS system repair, Tenorshare ReiBoot. It's capable of fixing 150+ iOS/iPados/tvOS issues without any techniques.
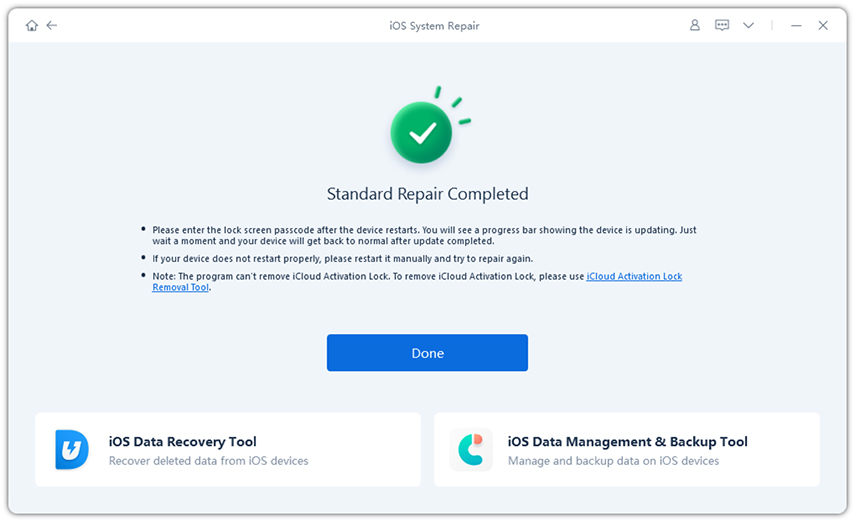
Download Reiboot and Launch it.Then click "Start" on the iOS system repair section.

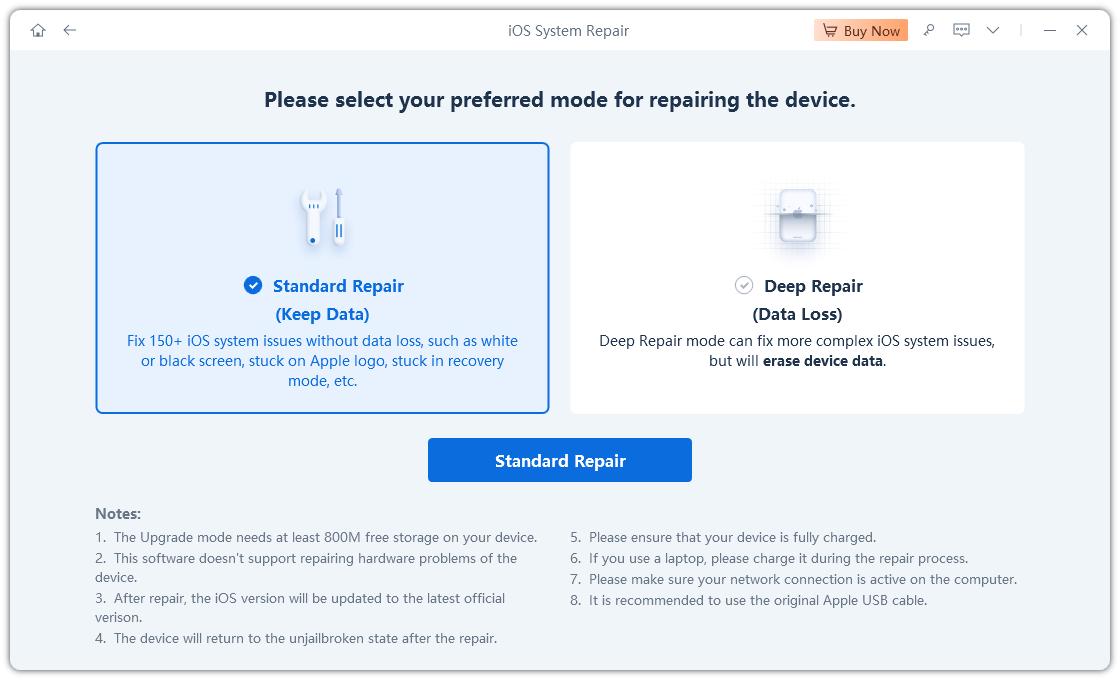
Connect your iPhone and choose "Standard Repair".

After that, the program starts downlaod firmware.

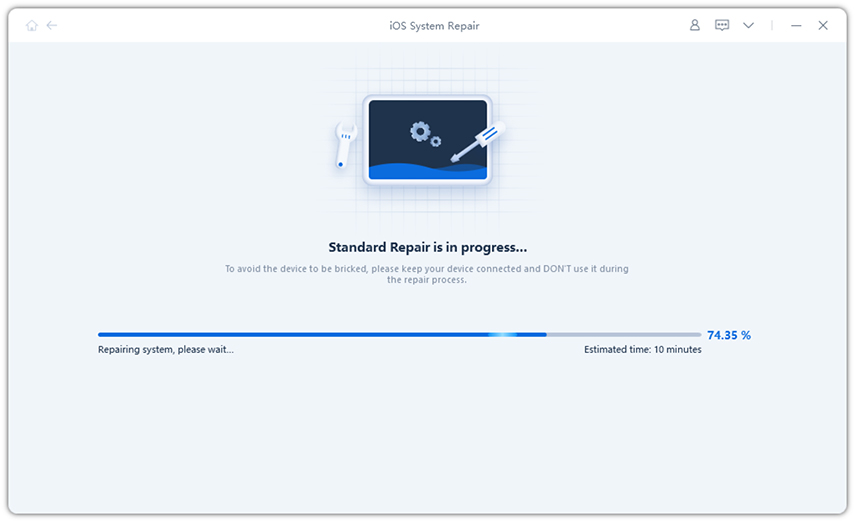
Then the repair progress gets started.

Your iPhone will get fixed in no time.

Conclusion
These fixes above will help your iOS, which is unable to verify account information iPhone Office 365. Moreover, Tenorshare Reiboot tool will help you fix issues in your iOS. Use it if none of the above methods work.
Speak Your Mind
Leave a Comment
Create your review for Tenorshare articles
