Quick Fix: Apple ID Verification Failed Unknown Error
When using your iPhone or iPad, you may get this error. This error often comes up whenever you are trying to connect to Apple Store, iTunes, iCloud, etc. from your device after updating it. Whenever you get the “Apple ID Verification Failed” error, you can be certain that you will not enjoy many of the services associated with using iPhone, iPad, and other Apple products.
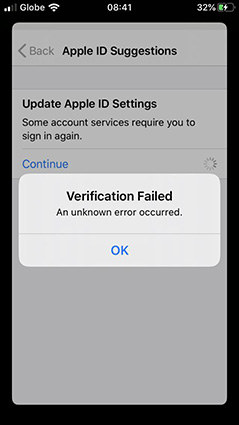
But you don’t have to get worked up over this error message because you can fix it with some easy-to-follow procedures. Therefore, we will now focus on the things you can do to fix verification failed on iPhone.
Why Does Apple ID Verification Failed
There are a few situations where the causes are known.
- Sometimes, you may be trying to connect to Apple service when the internet connection is poor. Unfortunately, you will get the “Apple Verification Failed” error. To fix this, just make sure the internet connection is good.
- In other cases, entering an incorrect Apple ID and password can also lead to this problem.
No matter the reason for this error, you can be certain that there are solutions to it.
How to Fix Verification Failed iPhone/iPad in 6 Ways
As stated above, a poor internet connection can make it difficult for you to verify your Apple ID. Therefore, before using any of the 6 methods below to fix the error, it is important to make sure that your iPhone or iPad is connected to stable internet.
1. Re-login Apple ID on Any Apple Service That You’re Using
The first thing you should do is to re-login your Apple ID on any of the Apple services that you often utilize. The services you can try include Apple Online Store, Apple Retail store services, iTunes, Apple TV, FaceTime, iCloud, Apple Support Communities, etc.
When trying to login again, you will be prompted to enter your Apple ID and password. If the internet connection is stable, you may be able to log in without any glitches.
2. Update iPhone/iPad to The Latest iOS Version
If your iPhone or iPad does not operate on the latest iOS version, you should consider updating it. To update to the latest iOS version, do the following:
- Open the “Settings” app on your device and hit “General”.
- Go to “Software Update” and hit the “Download and Install” button. Enter your passcode to continue.
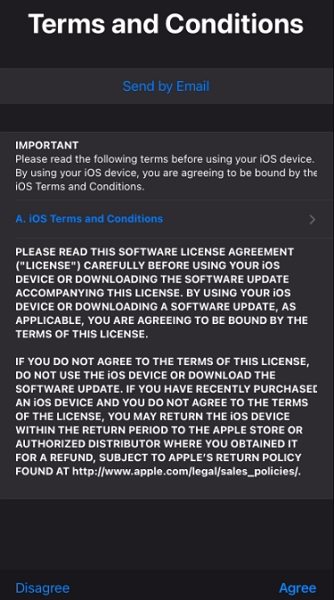
- Hit the “Agree” option once you are taken to the page of the Terms and Conditions.
Confirm your choice by clicking the “Agree” option again. You will be shown “Preparing to download” on the screen as the update continues. Be patient as this process will require a few minutes.

We recommend that you keep a recent iCloud backup before trying to update your iPad or iPhone.
4. Reset Network Settings
Another reliable solution to the problem is resetting network settings and re-logging into any service. To reset network settings, here are the things you should do:
- Get started by opening the “Settings” app on your phone. Then click “General”.
- Then, navigate down and select the “Reset” option to proceed.
- The next step is to click on the “Reset Network Settings” button. You will be prompted to input a passcode.
Lastly, you need to hit the “Reset Network Settings” option once again to confirm your choice. Now, the network settings will reset automatically. Try to log in to any Apple services to confirm if the problem has been fixed or not.

5. Force Restart If Apple Verification Failed Again
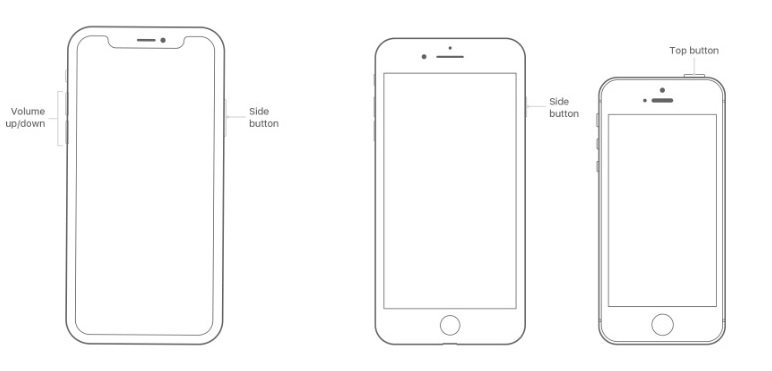
Because some iPhones have a Home key while others don’t have one, there are two ways to force restart your device to get rid of the "Apple Verification Failed” error.
iPhone 8 or later models
- Press the “Volume Up” button and release it quickly.
- Press the “Volume Down” button and release it quickly.
- Now, press and hold the “Side” button. Don’t release it until the Apple logo appears on the screen of your device.
iPhone 7 and older models
- Just press and hold the “Side” + “Volume Down” keys at the same time for around 10 seconds.
- When the Apple logo appears on the screen, release the buttons.
6. Contact Apple Support for Further Assistance
The 6th step involves getting in touch with Apple Support. You can get a wide range of assistance to solve Apple ID Verification failed unknown error.
Apple ID Tip: How to Remove Apple ID without Password
If the 6 methods highlighted above couldn’t solve the problem, it is recommended that you remove Apple ID by utilizing Tenorshare 4uKey. The program will remove Apple ID without a password, and the “Verification Failed there was an error connecting to the Apple ID server” notification will disappear on your iPhone or iPad.
Here are the steps to using Tenorshare 4uKey:
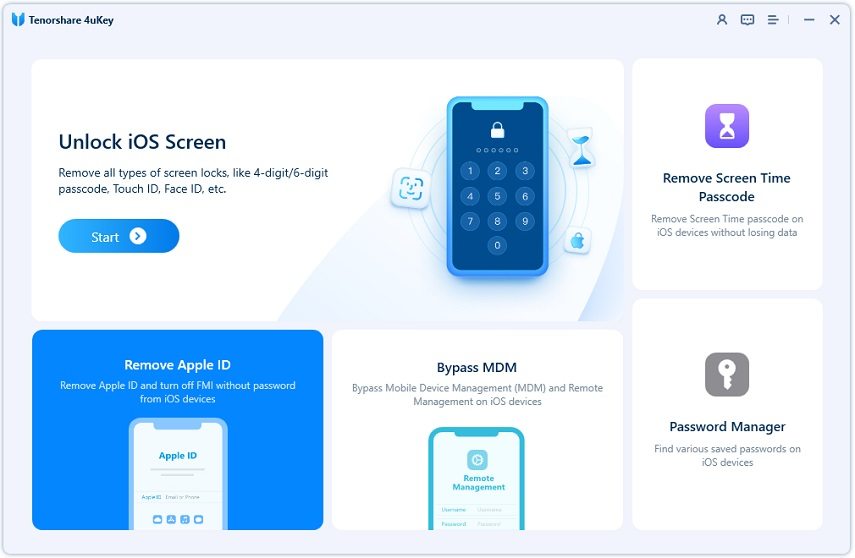
Install and launch the program. On the main interface of 4uKey, select “Unlock Apple ID”.

- Use a USB cable to connect your computer to your iPad or iPhone. Unlock your iOS device screen and click “Trust”.
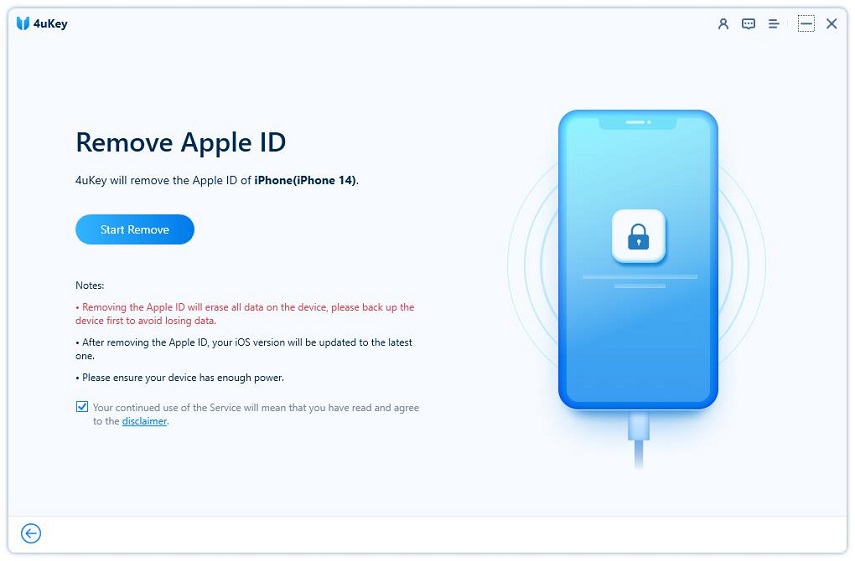
Tap “Start Removing” to get rid of the Apple ID and iCloud account that is associated with the iOS device you want to remove the Apple ID from.

Scenario 1: If Find My iPhone is turned off on your device
Once your device is detected, Tenorshare 4uKey will unlock it immediately without erasing your data.
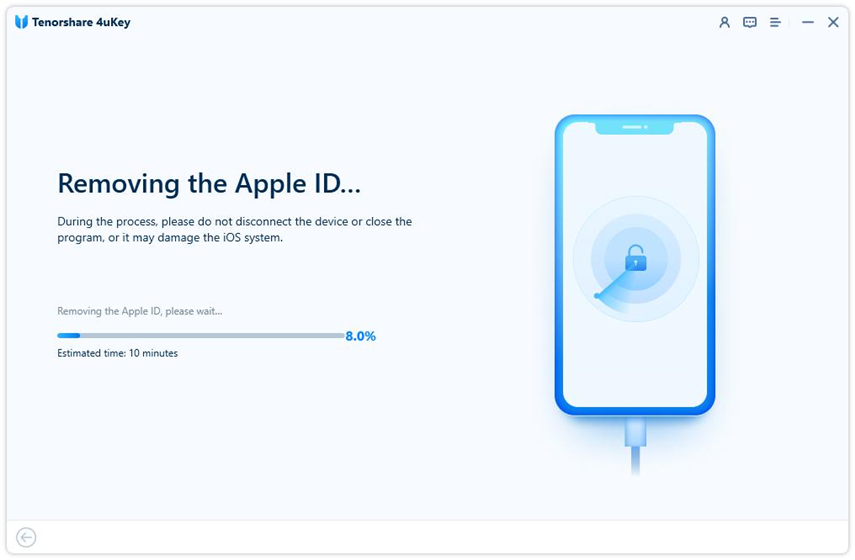
This will take some minutes. Then, you will see the next screen:
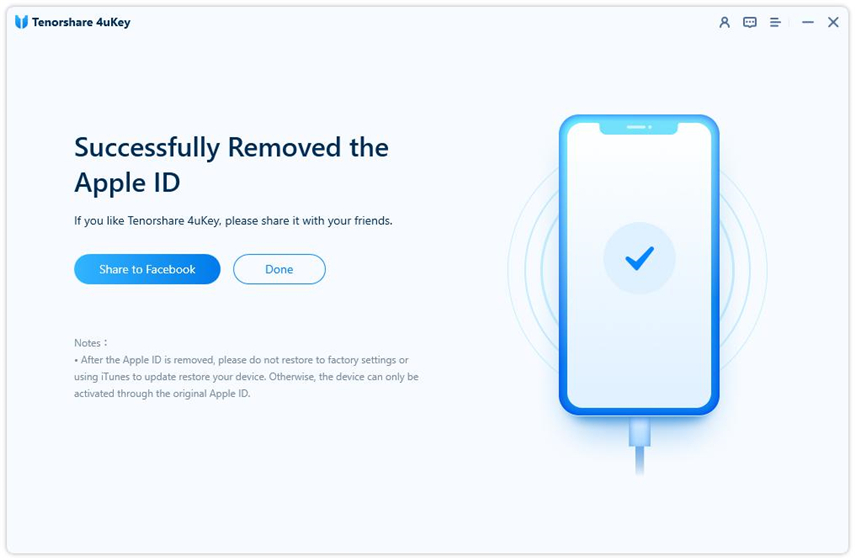
Scenario 2: If Find My iPhone is turned on your iOS device (This is for the iOS version below iOS 11.4)
First reset all settings on your iPad or iPhone by following this: Settings > General > Reset All Settings. This will restart your device automatically. Afterward, the tool will start removing the Apple ID.
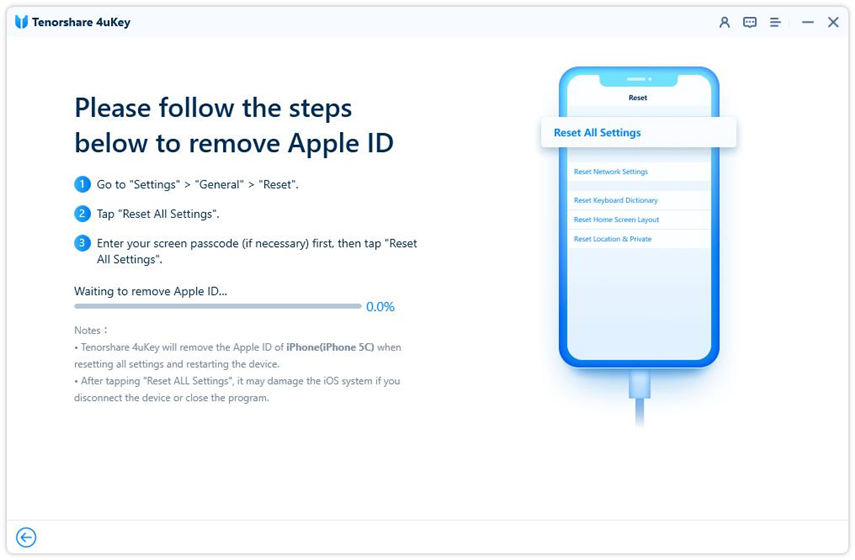
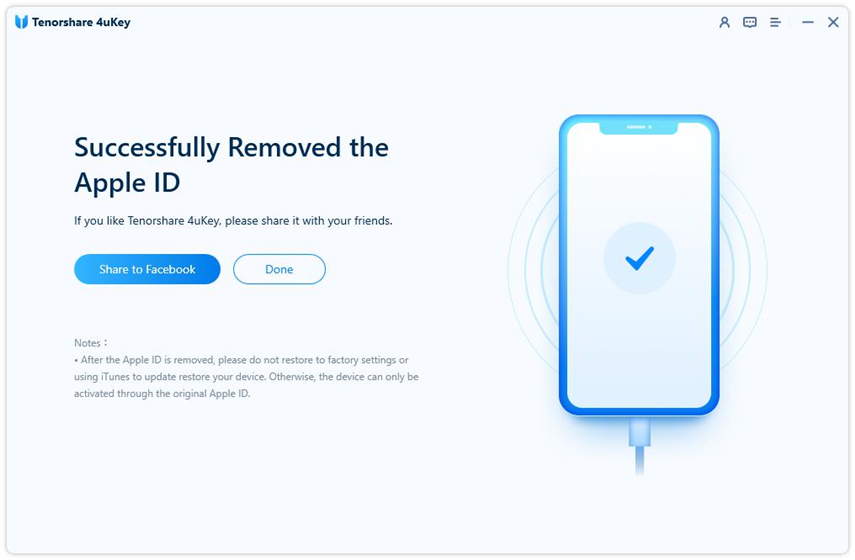
Once done, create a new account. Otherwise, login without another existing Apple ID.
Scenario 3: If Find My iPhone is turned on and the iOS version runs on iOS 11.4 or later version
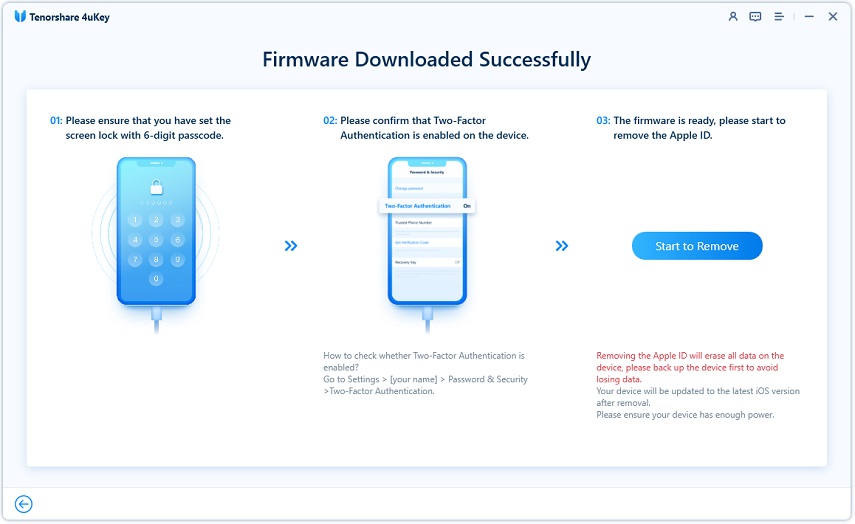
Ensure that the screen lock passcode and the Two-Factor Authentication are enabled on your device. If not, Tenorshare 4uKey will tell you that your iPad or iPhone is not supported.
- Setup screen lock passcode on your iPad or iPhone Navigate to Settings > Face ID & Passcode/Touch ID & Passcode/Passcode. Afterward, hit “Turn Passcode On” and “Yes”.
- Turn on the Two-Factor Authentication feature
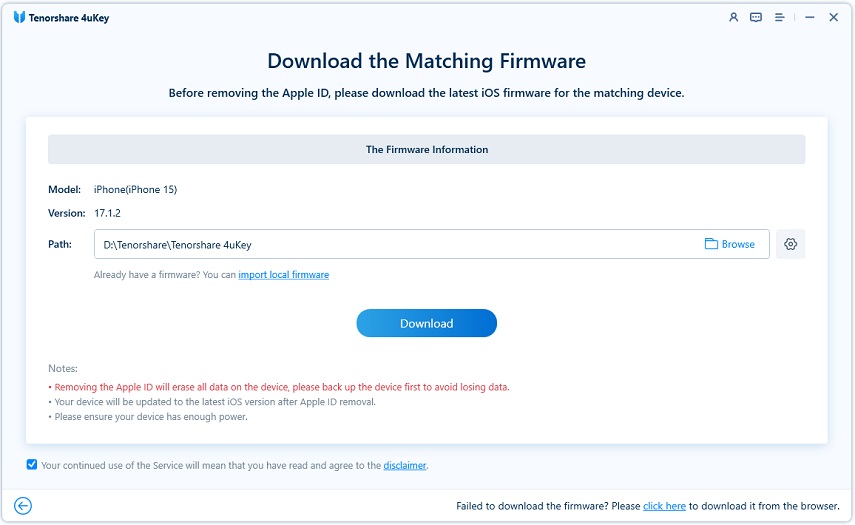
Download the firmware file

Once the package has been downloaded, tap the “Start Unlock” option and the process to unlock your device will start immediately.

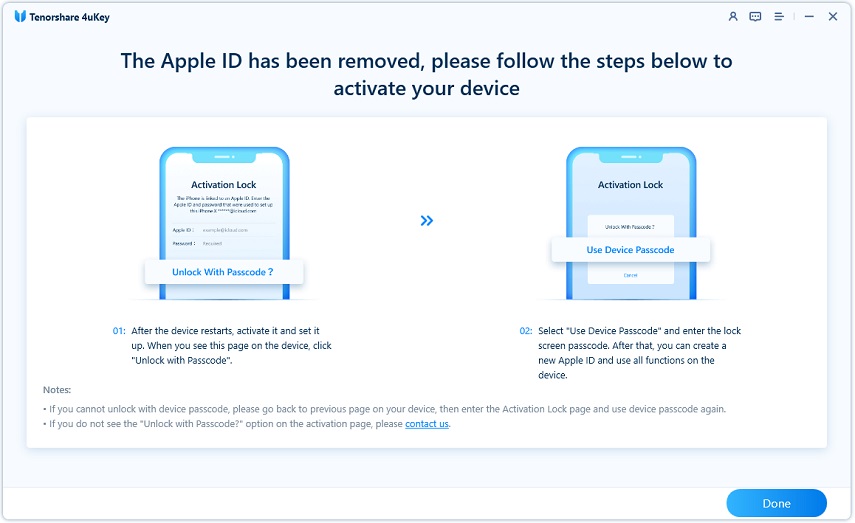
Once the Apple ID has been removed, your iOS device will restart. When the Activation lock screen shows, click “Unlock with Password”. Then, choose “Use Device Passcode”. Lastly, input your screen passcode to complete the process.

With this, the Apple ID has been removed from your device, and the “verification failed error connecting to Apple ID server” issue will be off.
In a nutshell, we have shown the various methods you can use to fix the “verification failed Apple ID” error on your iOS device.
Speak Your Mind
Leave a Comment
Create your review for Tenorshare articles
4uKey iPhone Unlocker
Easily Unlock iPhone passcode/Apple ID/iCloud Activation Lock/MDM
100% successful unlock
