How to Turn Off Automatic Renewal on iPhone
Tried out the trial version of an app for free, then you were charged soon as forgot to turn off its automatic renewal feature? Want to cancel a product but want to make sure whether it automatically renew or not? The answer to your query is that you need to turn off Automatic Renewal. Now find more information on how to cancel app subscription and turn off automatic renewal on iPhone 7/7 Plus/6s/6s Plus/6/6 Plus/5s/5 or computer to avoid future billing in this post.
Part 1: Turn off Automatic Renewal to Cancel Your Subscription on iPhone
To cancel Automatic Renewal and cancel your subscription on your iPhone, iPad or iPod device, just follow the steps.
- Step 1: First, tap Settings on the Home screen of your iOS device.
- Step 2: Swipe up until you find the App and iTunes Stores option. Then tap to open.
- Step 3: Tap on View Apple ID and enter your password, if prompted.
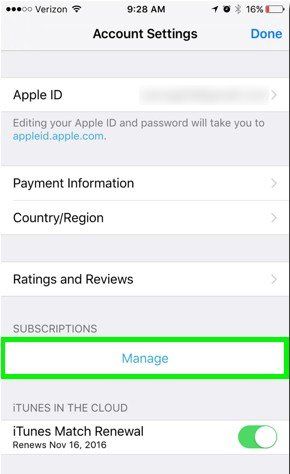
- Step 4: You will now see a panel displaying Account Settings. Tap on Manage under the Subscriptions section to view your subscriptions.
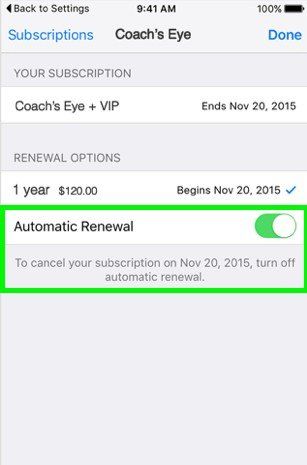
- Step 5: Next, tap on the subscription you wish to turn off. Information about the subscription, including billing dates, is displayed. You can turn off automatic renewals by toggling off the Automatic Renewal option.


That's it. Your automatic subscription renewals are now turned off.
Part 2: How to Turn Off iTunes Auto-Renewals on a Computer
If you don't have access to an iPhone, iPad or iPod touch, you will need to turn off Auto-Renewals using your computer. Below are the simple steps for your reference:
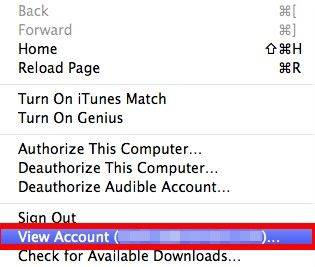
- Step 1: First, launch iTunes by clicking the iTunes icon on the Dock. If you see your Library, click on iTunes Store on the top-center toolbar. Click on the Account link on the right side of the screen. If not, select Store from the top menu bar and then click on View Account. If you haven't already logged in to the iTunes store, you will be asked to do so now.
- Step 2: A screen with your account information will appear. Under Settings, click on the Manage link to the right of Subscriptions.
- Step 3: The Manage Subscriptions screen will be displayed. Click the Edit link to the right of the subscription you wish to alter.
- Step 4: The Edit Subscription screen will be displayed. Click on the Off radio button under the Auto-Renewal section and confirm your selection.


You have now turned off Auto-Renewals.
Extra Tips: Manage Your iPhone, iPad or iPod Touch
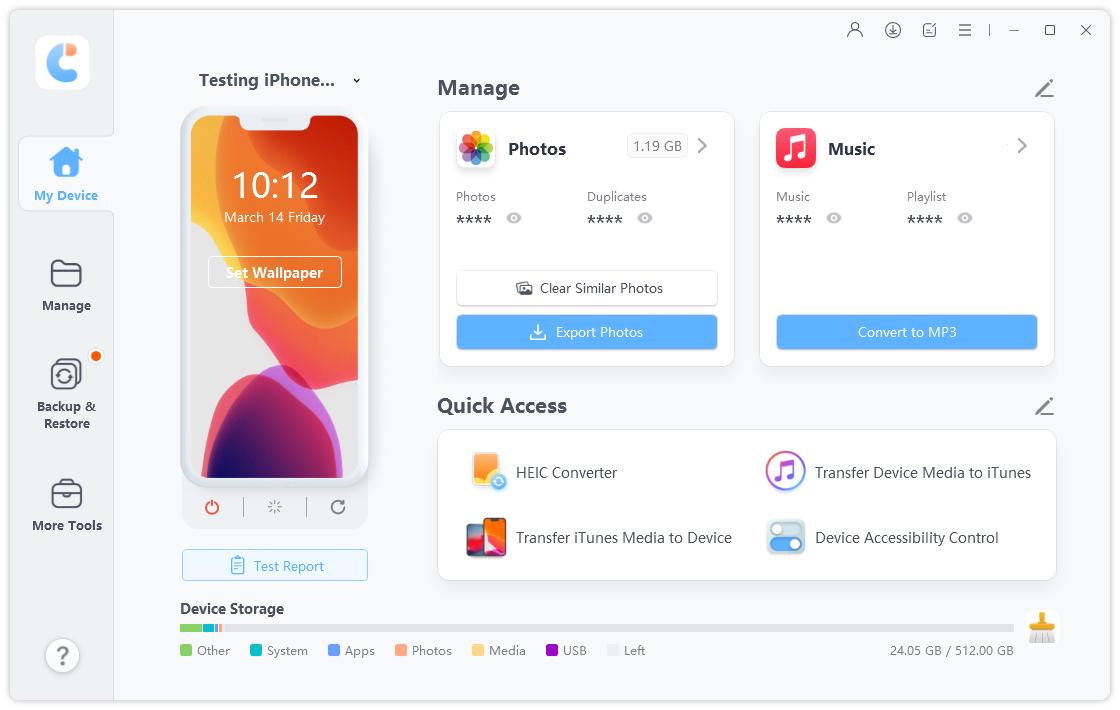
In addition to automatic renewal, iPhone data is another really annoying issue that always bothered us. You can manage the data of your device with the help of Tenorshare iCareFone. It can import, export, delete, backup and restore iPhone data easily. Unlike iTunes or iCloud, all the scanned data is available to preview.

The post covers three parts concerning how to cancel automatic renewal on both iPhone and computer. If your friends and relatives have encountered the similar problems, you might as well recommend them to try out these methods.
Speak Your Mind
Leave a Comment
Create your review for Tenorshare articles

Tenorshare iCareFone
Best Free iPhone Transfer & iOS Backup Tool
Easily, without iTunes


