How to uninstall iTunes on Mac OS X (High Sierra)
Do you suddenly have started experiencing problems with iTunes like it shows errors every now and then or prevents you syncing iOS devices with your Mac? You might have a lower version of iTunes on your computer. In such situation it's imperative to reinstall iTunes, but you need to understand how to uninstall iTunes prior to that. Even when you want to remove the app from your computer to save space, you need to uninstall it properly.
In either of the situations explained as above, you don't need to worry about how to uninstall iTunes on Mac OSXHigh Sierra. We are going to guide you through the process with this to ease off your stress.
Part 1. How to Uninstall and Reinstall iTunes on Mac (macOS Sierra)
Majority of people know how to uninstall programs on Mac. But, unlike other apps on Mac iTunes can't be removed by simple drag and drop to the Trash and then emptying the Trash thereafter. You can neither remove it from the Launchpad when the iTunes icon jiggles. The efforts to uninstall iTunes from your Mac will result in warnings. Though, tech savvy people know how to uninstall it properly, you shouldn't be left out to do so.
We have got you covered to help you how to uninstall applications on Mac. Keep reading to explore more in this regard.
Uninstall iTunes
Though, you don't need to be a tech geek to know how to uninstall iTunes on Mac OSXHigh Sierra. We are going to explain it in the simplest way for you. In this part we are including deleting/uninstalling iTunes from your Mac computer through Terminal (command line).
Here comes the step by step guide for that –
Step 1: From the menu bar at the top, hit on the 'GO' menu tab and then select the 'Utilities' option from the drop down menu. Now, locate and launch 'Terminal' from the appearing window. You can even simply search 'terminal' through 'Spotlight'.

Step 3: key in 'cd/Applications/' and then press the 'Enter' key to land at the 'Applications' directory. Type 'sudo rm –rf iTunes.app/' and click the 'Enter' button again. It helps you delete the iTunes from your Mac computer.

Step 4: When prompted for the admin password, key in the password to help the program remove iTunes from your Mac computer. Now, there will be no iTunes on your Mac.
Reinstall iTunes
After learning how to uninstall iTunes, let's see how to reinstall it. This case is when your iTunes had some problem or errors or was of an older version.
Here is the step by step guide –
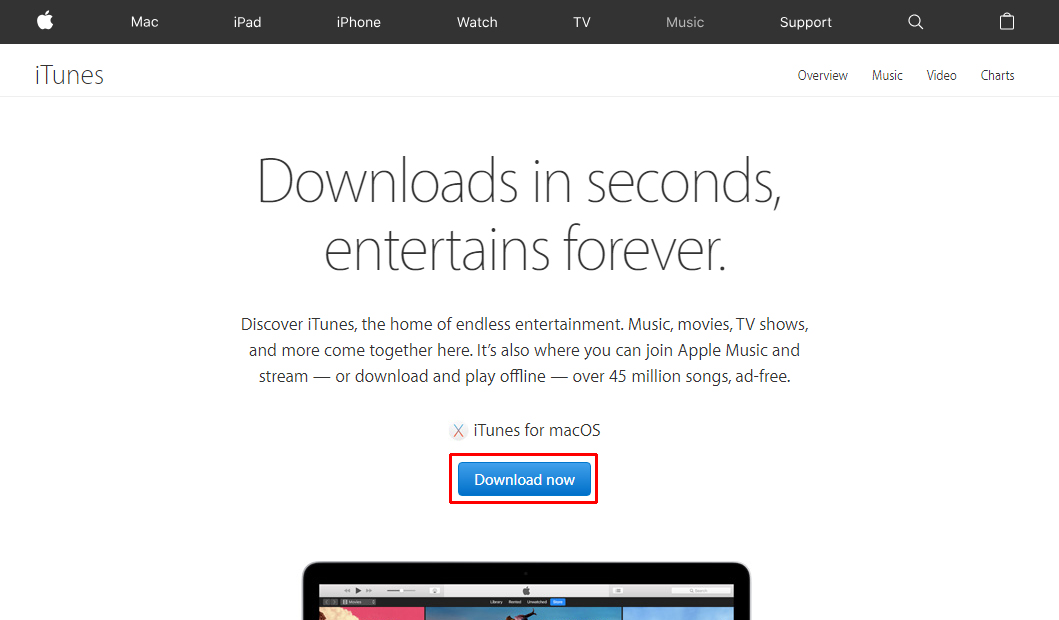
Step 1: Browse www.apple.com/iTunes/download on your Mac computer using Safari browser to download iTunes.
Step 2: Locate ‘Download Now’ and click it by scrolling down the page. Tap on ‘Save’ button afterwards to download the latest iTunes version on your Mac OS X High Sierra.

Step 3: As soon as the download process gets over, double tap the installer file. It will start installing the fresh version of iTunes on your Mac computer.
Part2: Common iTunes Installation Errors
Now, you are well aware of how to uninstall programs on Mac. But, have imagined about the numerous issues you might encounter during the installation process? Unless you know the errors, it would be tough for you to fix them. We have collated some of the common iTunes installation errors over here.
- 'Apple Application Support was not found.'
- 'iTunes installer encountered errors before iTunes could be configured'.
- 'iTunes could not connect to the iTunes store'.
- 'The installer has encountered an unexpected error installing this package. This may indicate a problem with this package. The error code is 2330'.
- 'Errors occurred during installation before iTunes could be configured. Your system has not been modified. To Complete the installation, run the installer again.'
You can check out this article iTunes Won't Install or Update – How to Fix iTunes Installation Error for fixing the iTunes installation errors.
Part3: An iTunes Alternative Tool to Manage your iPhone
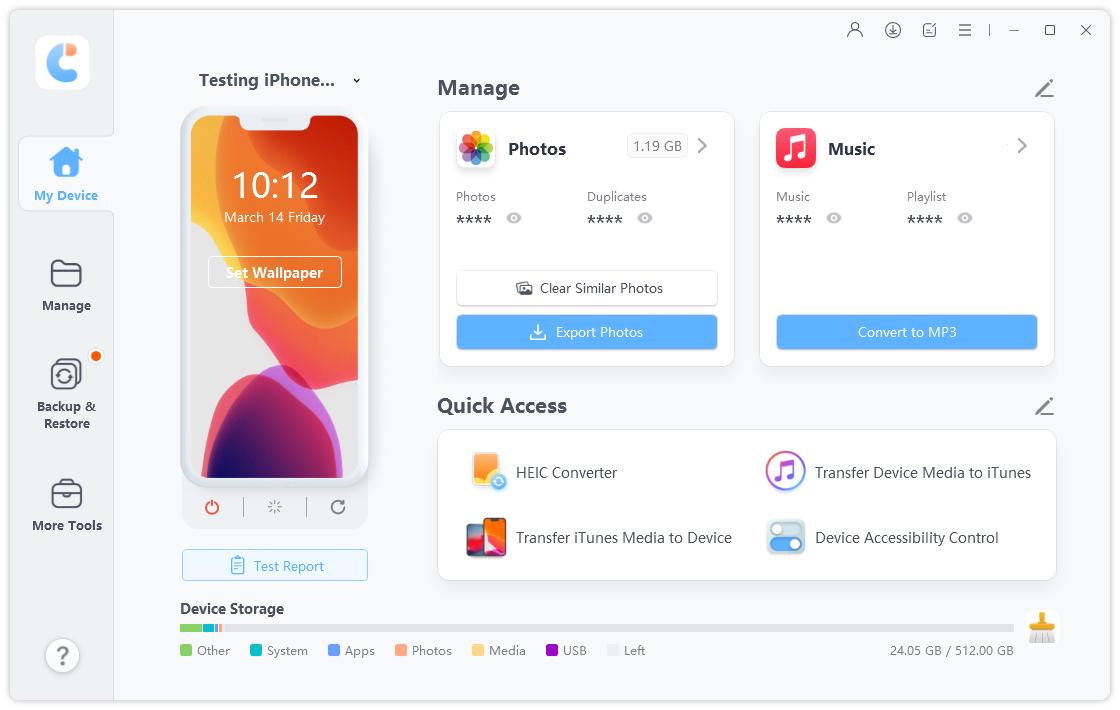
After going through the usual process of uninstalling and reinstalling iTunes on your Mac, you must have understood that there are some issues such as a number of errors cropping up. A reliable application like Tenorshare iCareFone, might be of great help for you to resolve such problems. If you are looking for a software that can compile your data in an organized manner and help you use your iPhone without annoying Ads, then this software is your ultimate answer. Speaking of effective management of iOS device data and proper sync between your Mac and iPhone, there is hardly any software that can perform so good. Not only Ad free environment but also an optimum performance to ease your life.

Here are few of the salient features of Tenorshare iCareFone –
1. It allows you the flexibility to transfer files between mobile devices and computers easily without any glitch.
2. You can backup and restore data from your devices without any hassle.
3. This tool can fix major iOS problems encountered in day to day life.
4. This PC based multifunctional tool can impart all-round support to your iOS devices.
5. 3 different tools are combined to handle various iOS update stuck issues or transfer iOS device data.
You can make use of the benefits of Tenorshare iCareFone to understand managing data and how to uninstall applications via Mac on your iPhone in a safe and secure way.
Conclusion
After learning about how to uninstall iTunes, you have seen what Tenorshare iCareFone can do for your iOS devices. From organizing files to transferring data at a fast pace, it handles everything smoothly. You can even ditch iTunes for your major data sharing and syncing practices. Whether backing up or restoring data, transferring or cleaning up your iPhone, there is nothing better than Tenorshare iCareFone. To ensure that your Mac OS X High Sierra encounter no issues while installing iTunes on it, you can better check out the array of services this amazing software has yet to offer.


Speak Your Mind
Leave a Comment
Create your review for Tenorshare articles

Tenorshare iCareFone
Best Free iPhone Transfer & iOS Backup Tool
Easily, without iTunes


