Best Way to Factory Reset Locked iPhone Without iTunes
When you are selling an iPhone, it is important that you delete sensitive information stored on your device. Otherwise, you risk someone buying your phone and getting your images and videos, not to mention, passwords and other data. Even if you are just taking the iPhone for a repair, you need to do a factory reset. Today, we will learn how to factory reset iPhone without passcode or iTunes.
Just a fair warning, before you do factory reset, it is recommended that you do a backup of your iPhone, via iCloud or any other third-party software. Once you are done with the backup, proceed to factory reset iPhone without iCloud password.
- Part 1: The Best Way to Factory Reset Locked iPhone Without iTunes
- Part 2: How to Restore iPhone Data from iTunes/iCloud Backup
Part 1: The Best Way to Factory Reset Lock iPhone Without iTunes
Tenorshare 4uKey is an application that is designed to be super simple tool for effectively letting you factory reset iPhone without iTunes. This includes even newer models like iPhone 13/13 Pro/13 mini/12/11/XS/X, iPhone 8 and 8 Plus. There is no lengthy workaround, and the whole process can be done with ease.
The application allows you to reset iPhone to factory setting without passcode or itunes, no matter whether it is a 4-digit custom numeric code or 6-digit alphanumeric passcode. The app even works around Touch ID and Face ID passcodes.
Here is a quick guide how the application can help you bypass the iPhone passcode.
Every process starts by downloading the desired application. Once you download and install 4uKey on your computer, launch the program. Now, connect your device to the computer. The software will usually detect it automatically. Once the software detects the device, click on "Start" to get the process started.

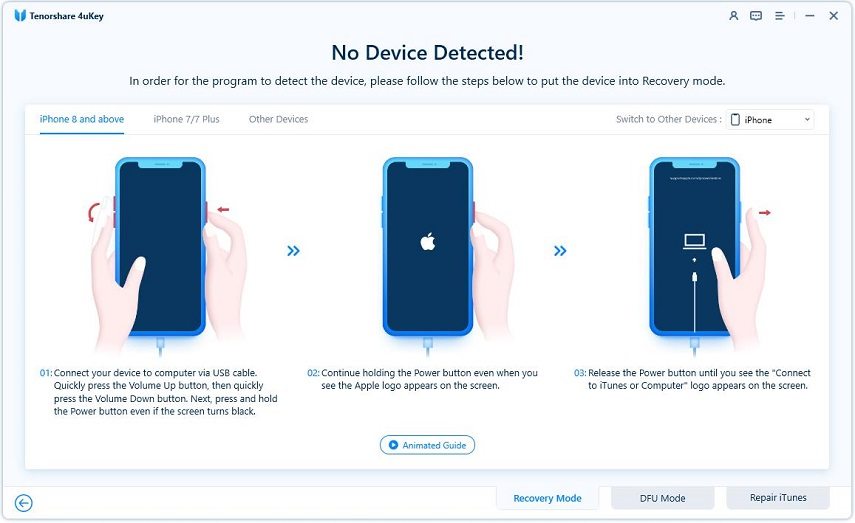
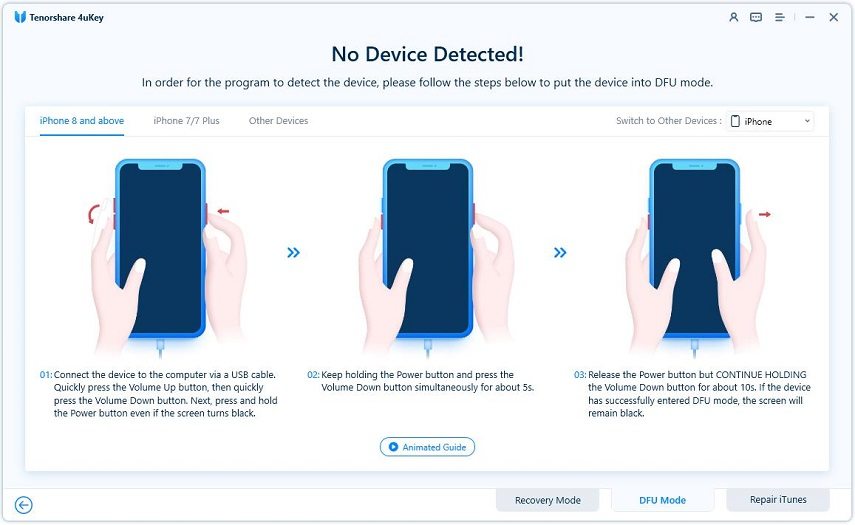
Step 2: In most cases, the software will detect your iPhone automatically. If that doesn't happen, you need to put your device in Recovery or DFU mode. Here is a guide how to enter your device into a mode suitable for how to factory reset iPhone without Apple ID.
For recovery mode follow these instructions:
For DFU mode follow these instructions:
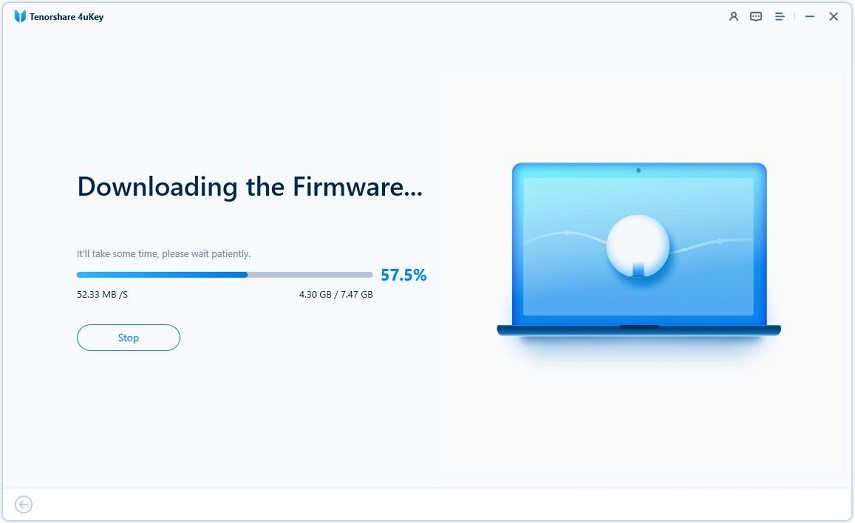
Step 3: Once the app detects your device, it will ask you to download the latest firmware package. You need to select where you want the app to download the software. Choose a path, and then click on "Download" to continue with the process.
Step 4: We mentioned that the process for how to factory reset your iPhone without iCloud password is straightforward. Once the firmware is downloaded to your computer, the app will present you a new interface. All you have to do is press on "Start Unlock". The process for removing the iPhone passcode will start.
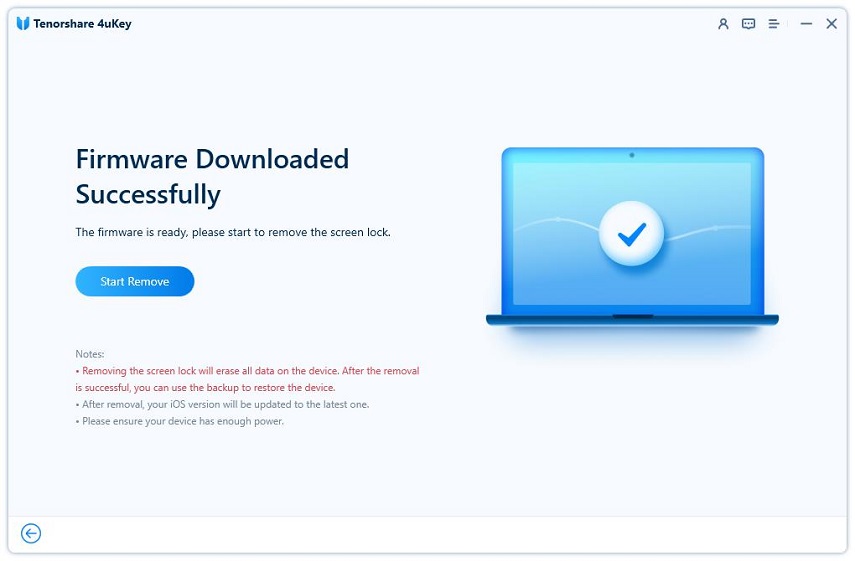
The process will take several minutes, and you have to keep the device connected through the entire time. Using the app will remove the passcode, and data on your device. Once finished, your iOS will be updated to the latest version.
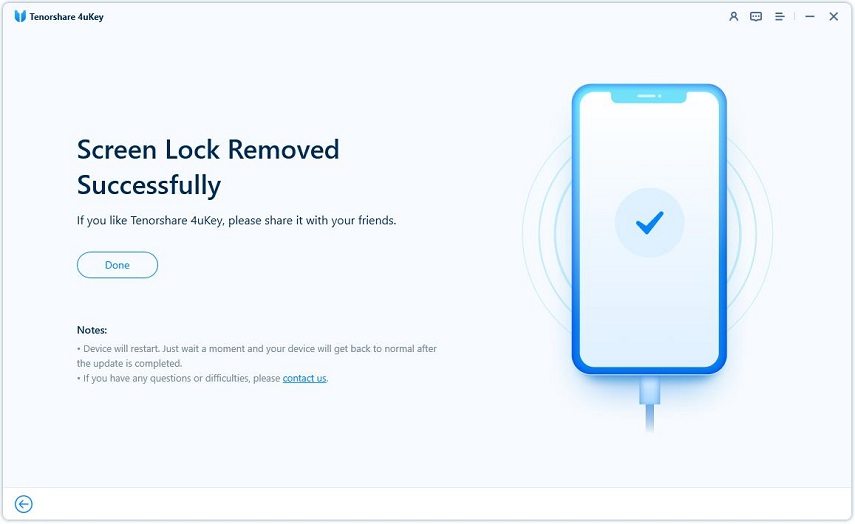
You can now setup your iPhone as new and fresh device. You can set up a new passcode, be it numeric, or you want a Face ID or Touch ID. If you saved a backup before, you can also restore your data from an iTunes backup, iCloud backup, or any third-party backup software.
Part 2: How to Restore iPhone Data from iTunes/iCloud Backup
Now that we learned how to factory reset iPhone without iTunes, all is left is for you to enjoy your fresh and new device. After factory reset your iPhone to new devices, you should restore your data from a backup you'v done before, like iTunes backup, iCloud backup. Tenorshare UltData is your best choice.
1. Download the app, and then switch to "Recover from iTunes Backup File" or "Recover from iCloud Backup File". The app will automatically display all the possible iTunes backups. They differ by device name, backup time, backup size, and serial number. Choose the backup you want/need and click on "Stat scan" to get the process started.


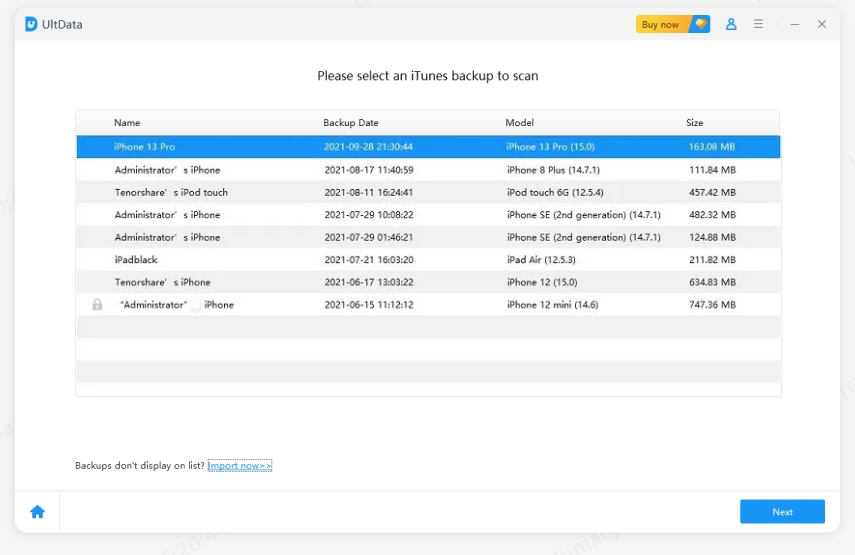
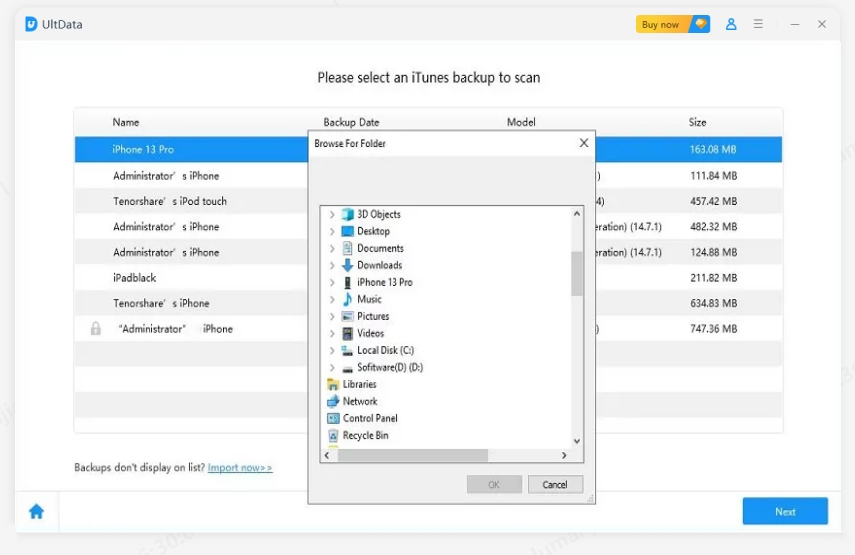
In some cases, the iTunes backup file is not stored in the default path. If that is the case, you have to manually import the backup file. To import it, click "Import now", navigate to the file, and then add to UltData.
2. The scan will take a couple of minutes, and once it is finished, the backup will appear on the list. Select the backup file, and you can preview the files you want to restore. The data is shown in different categories, and you need to click on any category to expand detailed data. To filter deleted data, click on "show only deleted data"
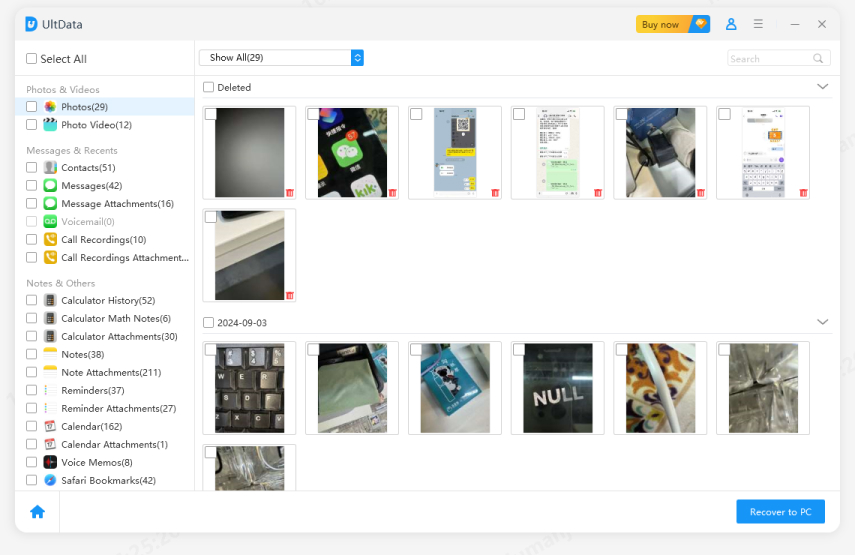
3. Before you recover items, you can select file formats and define an output directory. Click on "Output settings" to select the file formats you want to recover. Media data is restored as original format. Then choose the recovery options: Recover to Device and Recover to Computer.
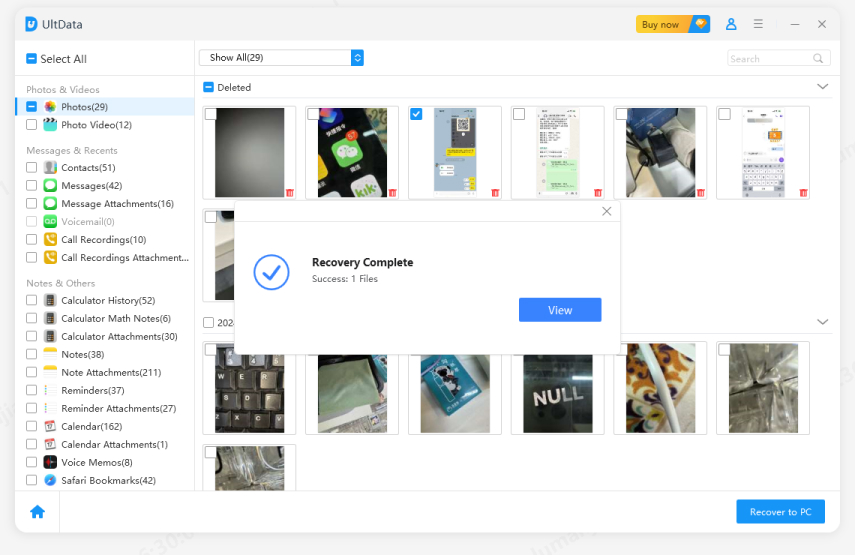
If you want to recover a backup from your iCloud backup, please refeter to this guide.
Speak Your Mind
Leave a Comment
Create your review for Tenorshare articles
4uKey iPhone Unlocker
Easily Unlock iPhone passcode/Apple ID/iCloud Activation Lock/MDM
100% successful unlock


