The Detailed Guide on How to Screenshot on Samsung 21
How to take a screenshot on Samsung S21 is the most searched question on the internet by Samsung users. Samsung has eliminated the physical home button in Galaxy S8, S9, S10, S20, and now in the galaxy S21. So, it is different to take screenshots on S21 than S7.
In the case of the Samsung Galaxy S21, there are numerous ways to take screenshots. With some advancements, the basic principles to take screenshots are the same in the Galaxy S21 model. Several options to take a screenshot on Samsung Galaxy S21 are discussed in this article.
- Part 1: How to Screenshot on Samsung S21 Using Buttons
- Part 2: How to Screenshot on Samsung S21 without Buttons
- Part 3: How to View Screenshot on Samsung S21
- Bonus Tip: Android Screenshot not Working? Use Tenorshare ReiBoot for Android to Fix it
Part 1: How to Screenshot on Samsung S21 Using Buttons
Despite several ways, the simplest way to capture screenshots is by using a button combination to take screenshots.
1. Use Button Combinations to Screenshot on Samsung S21
Many Samsung users are not aware of how to take screenshot on Samsung S21 by using the button combination. To take a screenshot on Samsung Galaxy S1 is slightly different from the other models as it does not have a home button. Follow these guidelines:
- Ensure that the screen contains the required content to capture
Press the volume down and power button at the same time and hold until a click is heard and the screen flashes.

- Go to the Photos or Gallery app on the phone to view your screenshot. In the Gallery, tap on the Albums Tab.
- The screenshot folder will appear when you will tap the Albums tab. You will see your screenshot in the screenshot folder.
2. Take a Screenshot on Samsung S21 with Scroll Capture
How to do a screenshot on Samsung S21 by scroll capture is another problem faced by many Samsung users. This is a very useful feature of Galaxy S21 which allows the users to combine the screenshots after capturing them. Therefore, it is a very useful feature to capture screenshots of a website or article, longer than the screen. Follow the given instructions.
- Press volume down and power buttons.
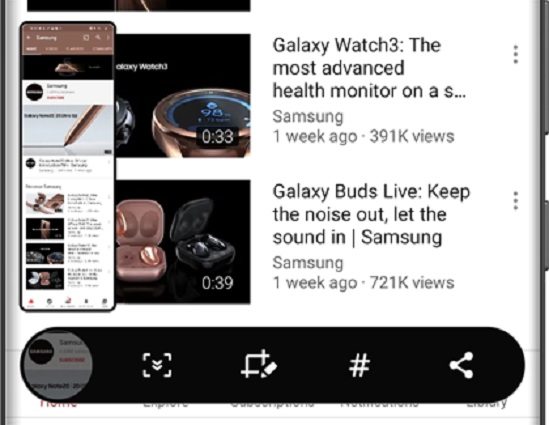
- Tap on the scroll capture option which is the down arrow icon that is present on the smart capture menu.
- This icon will go up and down. To start taking the screenshot, tap the icon.
You have to continuously tap this icon until everything you want is captured.

- If required, you can add tags before tapping to save the screenshot.
- Click on the outside of the smart capture overlay to save the screenshot.
Part 2: How to Screenshot on Samsung S21 without Buttons
To know how to screenshot on Samsung S21 ultra is crucial to keep important information saved. Samsung Galaxy S21 Ultra allows its users to take a screenshot without using buttons. This includes three options by which you can take screenshots.
1. How to Screenshot on Samsung with Palm Swipe
Many users heard about the palm swipe screenshot feature of Samsung S21 but don’t know How to screenshot on Samsung S21 Plus. Palm swipe is an important feature that allows Samsung Galaxy S21 users to capture a screenshot by swiping the screen. For the Palm swipe method, follow the instructions given below:
- Go to settings and then in the advanced features. Then click on motions and gestures.
In this tab palm swipe to capture option will appear. Ensure that the palm swipe option is toggled on.

- To capture screenshots this way, swipe the side of your hand across the screen. You can either swipe right or left.
- This will capture the screen and the screenshot will be saved in the gallery, under the screenshot folder.
- Moreover, if it is more convenient for you to capture a screenshot using buttons, you can turn the swipe to capture option off.
2. Ask Bixby to Screenshot on Samsung S21
You should know how to take a screenshot on Samsung S21 ultra to take advantage of this feature. Screenshot can also be captured by asking the digital assistant which operates by Google Assistant or Bixby Voice. To use this excellent feature on Samsung S21, follow these steps:
- Press and hold the power button to activate the Bixby Voice. You can swipe up the bottom corner of the phone to access Google Assistant.
To capture a screenshot, you can say, “take a screenshot”.

- The screenshot will be captured and you will see a small-sized screenshot on the bottom of the screen.
- If you want to crop, annotate, or edit, tap on the screenshot.
By following these steps, it is easy to learn how to screenshot on a Samsung S21 by using Bixby.
3. Use S Pen to Screenshot on Samsung S21
Many users found the Palm swap method and Bixby inconvenient and difficult to use. They often try to search for other methods about how to screenshot on Samsung Galaxy S21.
There is one such method that can be used by such users who are searching for a simple method. This method is called the “S Pen method” in which users can use S Pen to take screenshots. This method is only applicable for Galaxy Note20 Ultra and similar devices which have S Pen (Samsung S21 included). Users can use S Pen by following guidelines:
- Take out the S Pen and click on the Air Command icon.
- To capture a screenshot, tap on the screen write.
- You can modify the screenshot as needed. you have the option to change the color and size of the pen, erase or write notes, crop a photo, and much more.
When done, click on save or share at bottom of the screen.

One drawback of this method is that it is only applicable for Galaxy Note20 Ultra and similar devices which have S Pen.
Part 3: How to View Screenshot on Samsung S21
After learning how to screenshot on S21 Samsung, it is also necessary how to view the screenshot after taking it. On almost all phones, you can view your screenshot in the same app.
- Go to apps. In the apps, go to Gallery.
- Tap on Albums. In Albums, you will find the Screenshot folder where you can view all your screenshots.
Bonus Tip: Android Screenshot not Working? Use Tenorshare ReiBoot for Android to Fix it
Sometimes android screenshots may not be working and you are unable to capture screenshots. In this case, it might be caused by an operating system glitch. To resolve such glitches, different tools can be used.
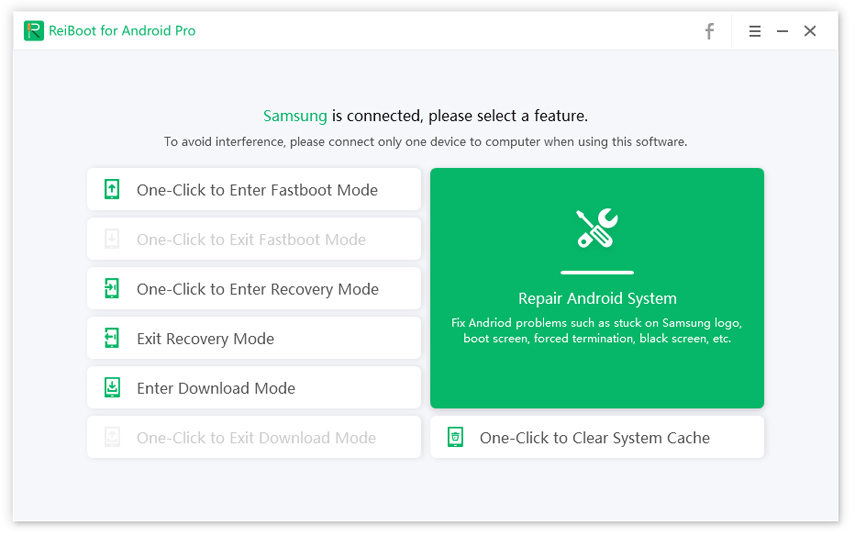
Tenorshare ReiBoot for Android is a multifunctional tool that is used to address different problems associated with the Android operating system. ReiBoot for Android is designed in such a way that it can repair system glitches easily. Follow these steps to use ReiBoot for Android to repair the android system.
To repair your Android, you have to download and install ReiBoot or Android on the computer. After connecting Android with the computer, tap on "Repair Android System".

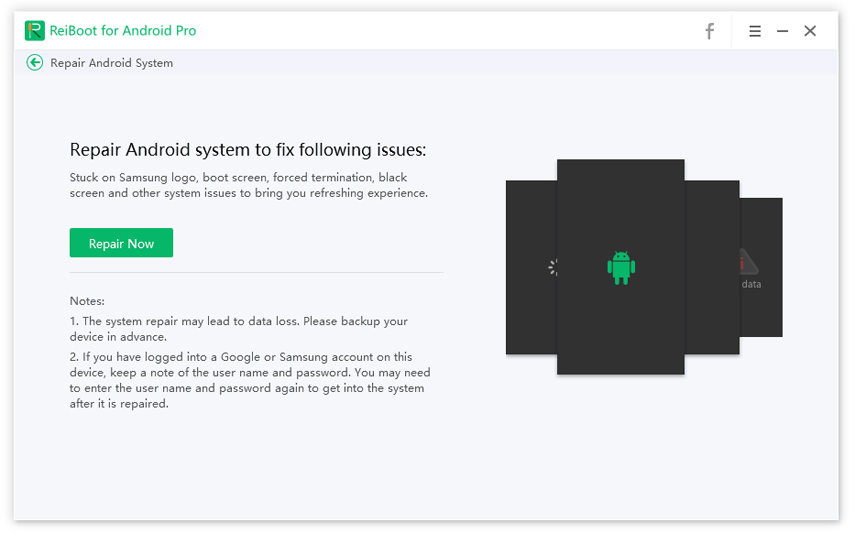
You will see an option "Repair Now" on the screen. Tap on it to repair the Android. You have to enter details of your Android including brand, series, and model.

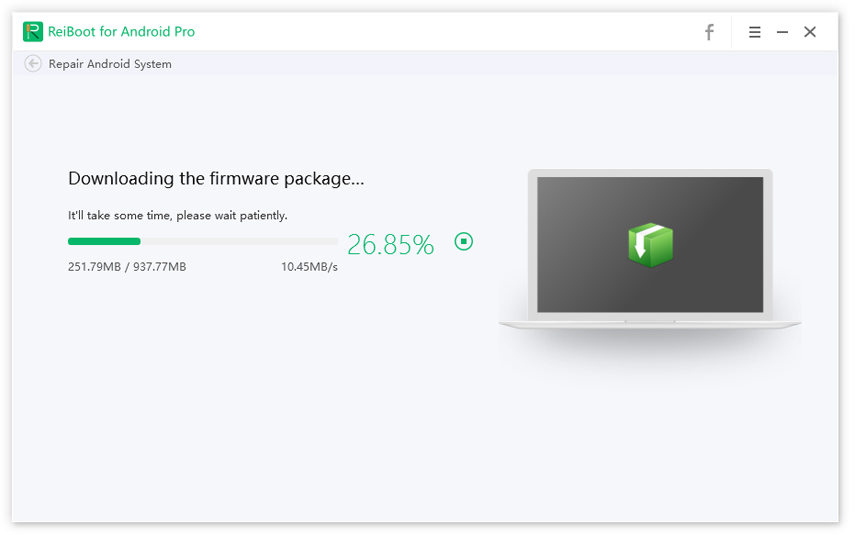
After selecting the device information, the downloading of the firmware package will start. This process will take some time.

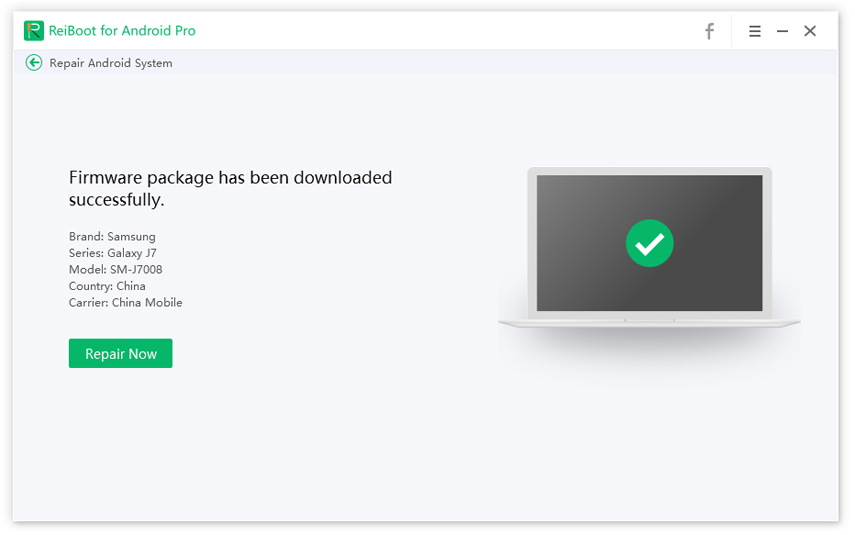
When the firmware package is downloaded to your computer, tap on the "Repair Now” option to initiate the system repair.

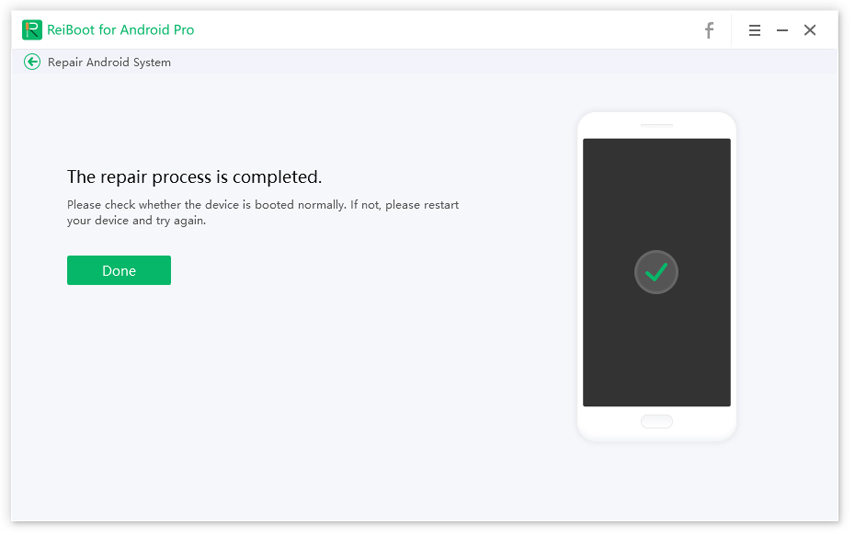
When the repair process is completed, the phone will be ready to use as normal.

If you’re using an iOS device, you can download ReiBoot to repair your device’s problems, which is designed for iOS users.
Conclusion
In this article, we have discussed in detail how to screenshot on Samsung S21. Although basic principles are the same for Samsung models Samsung Galaxy S21 has some additional features to capture screenshots like Bixby, palm swipe, scroll capture, and S Pen.
Remember to try ReiBoot for Android or ReiBoot if your device’s screenshot is not working.
Speak Your Mind
Leave a Comment
Create your review for Tenorshare articles
