How to Transfer Photos from iPhone to Laptop? 6 Methods
Your photographs are the app that takes up the most space on your iPhone and are quickly using up all of your available storage space on the device.
Therefore, you want to transfer images from your iPhone to your laptop for a variety of reasons, including the safety of your priceless photographs, the release of space on your iPhone, and others.
Then, how to transfer photos from iPhone to laptop? Continue reading to discover all of the methods that work for transferring images from an iPhone to a laptop.
- Method 1: One-Click to Transfer Photos to Laptop [TOP]
- Method 2: Transfer Photos to Laptop via Photos App
- Method 3: Transfer Photos to Laptop with Windows File Explorer
- Method 4: Transfer Photos to Laptop Through iCloud
- Method 5: Use Cloud Drive Services to Transfer Photos to Laptop
- Method 6: Airdrop iPhone Photos to Laptop
- FAQS about Transferring Photos from iPhone to Laptop
Method 1: One-Click to Transfer Photos to Laptop [TOP]
Here’s a best tool you can’t miss - iCareFone. With it , you can transfer thousands of photos/albums from an iPhone to a computer quickly and efficiently with just one click
iCareFone is an all-in-one iOS data management tools, which can help you sort all of your iPhone data on your PC. You will save much time by using this tool to transfer all your photos from iPhone to laptop.
How to download photos from iPhone to laptop with iCareFone:
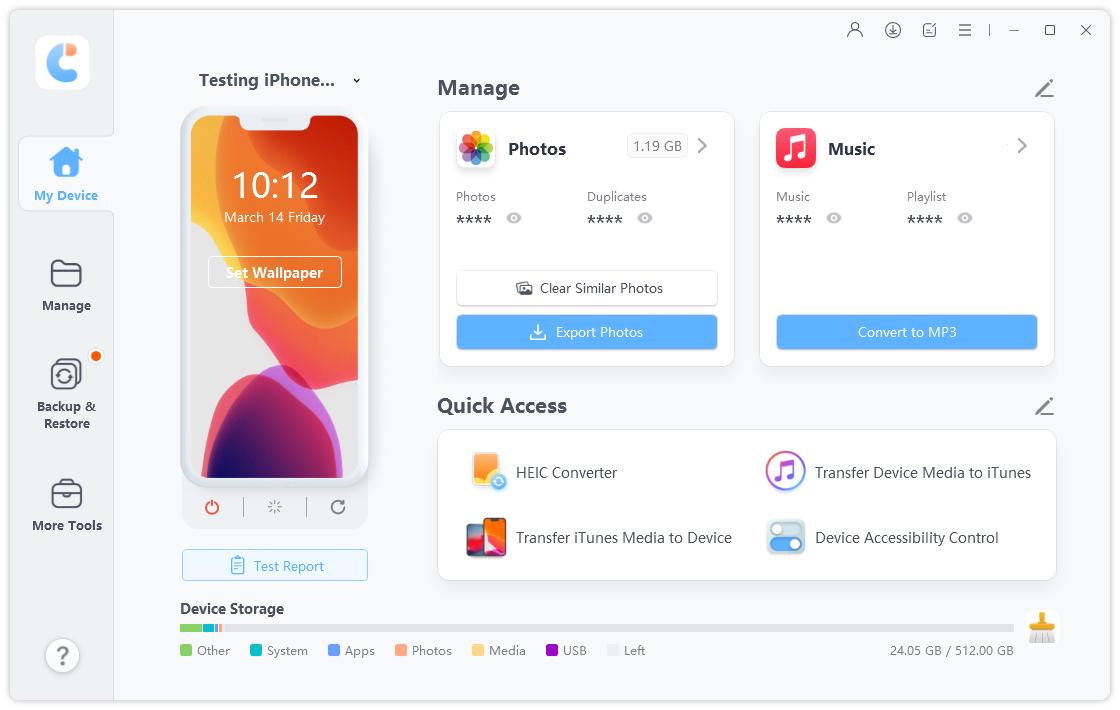
After downloading and installing Tenorshare iCareFone on your personal computer or Mac, you will need to connect your device to the software.

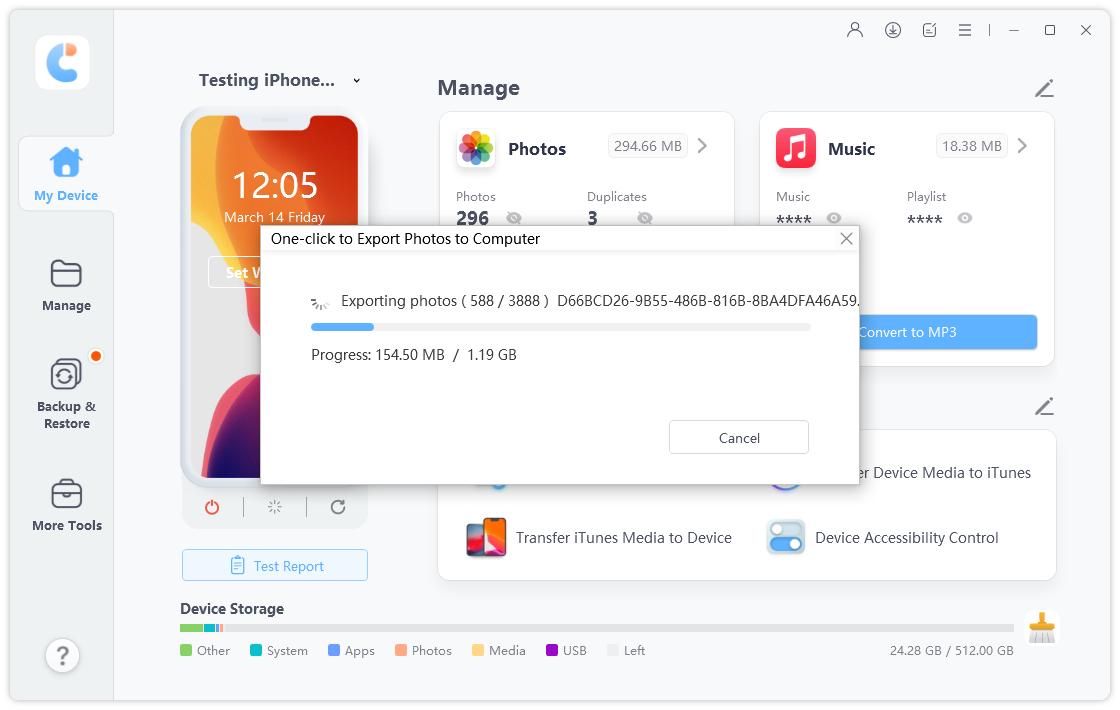
Once the device has been properly connected, go to the main interface and choose "One-click Export Photos to PC" for a speedy beginning.

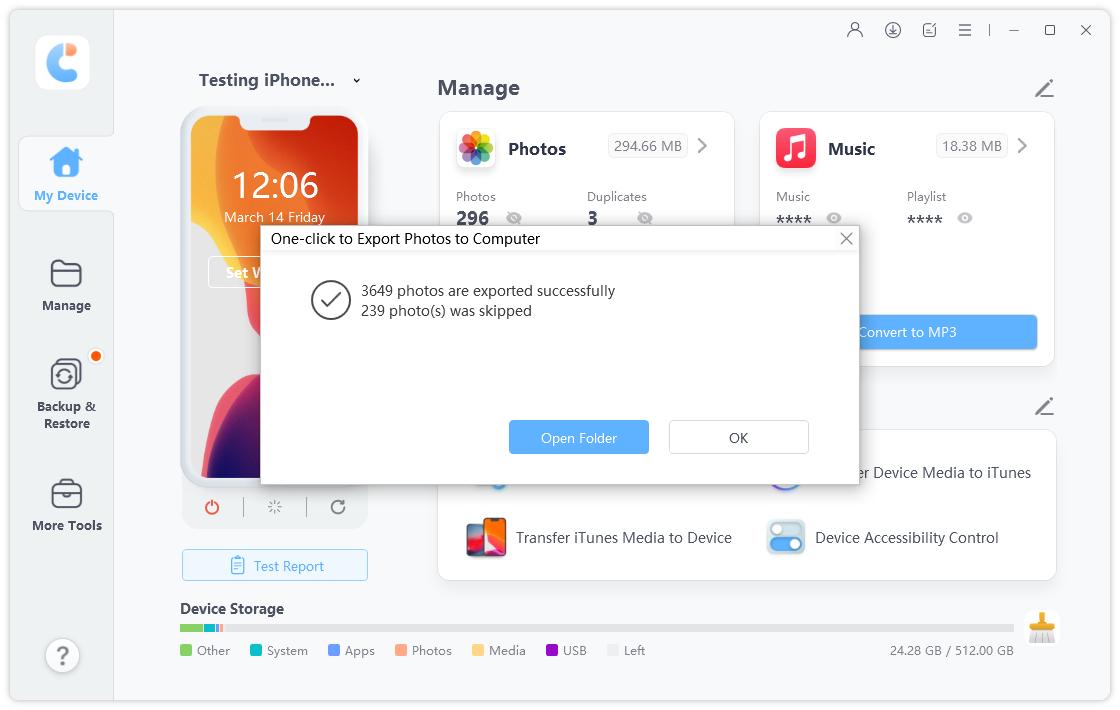
Once you begin the exporting process, all of your images, whether they were taken by your device or acquired from the internet, will be transferred to your computer automatically.

A video guide for you:
Method 2: Transfer Photos to Laptop via Photos App
You may use the Photos app in a few different ways to move photos from your phone to your laptop.
The limitation of Photos is that it can only import images from an iPad or iPhone's Camera Roll. The Photos app will not assist you if you have more albums to transfer.
So, how to transfer photos from iPhone to laptop windows 10/11?
- Ensure that iTunes is running at the most recent version on your computer. (The computer will not detect the iOS device without iTunes.)
- Utilize a USB connection to link your iPhone or iPad to your PC.
- To trust the computer, unlock the iOS device and choose "Trust" from the popup on the iPhone or iPad.
- Choose "Photos" from the "Start" menu by clicking.
In Photos, pick "From a USB device" under "Import" in the top-right corner of the window.

- Then Photos will automatically search for a device to import from. When it's finished, it will display the fresh pictures and videos it discovered.
- You must deselect the photographs you do not wish to transmit since the newly added things will automatically import to the PC.
- To begin uploading photographs from the iPhone to the laptop, click "Continue."
Method 3: Transfer Photos to Laptop with Windows File Explorer
Another method is learning how to copy photos from iPhone to laptop via Windows Explorer or File Explorer.
The drawback is that all you'll see on your iPhone is the default DCIM folder. No other files on your iPhone are accessible from this location.
- To get started, use the provided Lightning-to-USB adapter to connect your iPhone or iPad to your computer. You already use this wire to charge your phone.
- To grant your computer access to your images, tap "Trust" or "Allow."
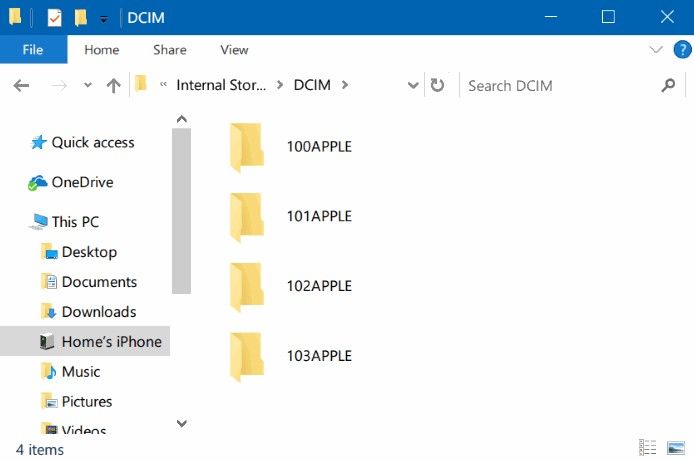
- Under "This PC" in File Explorer on Windows 10 or "Computer" in Windows Explorer on Windows 7, your iPhone shows up as a new device. Go here and click it twice.
Click twice on the "DCIM" folder on the iPhone. Your photographs and videos are kept in a folder called 100APPLE. You may see extra folders with names if you have a lot of photographs and videos.

- Double-clicking on them will allow you to see them directly on your smartphone. Additionally, you may drag and drop or copy and paste items to your PC.
Related read Transfer Photo Albums from iPhone to PC.
Method 4: Transfer Photos to Laptop Through iCloud
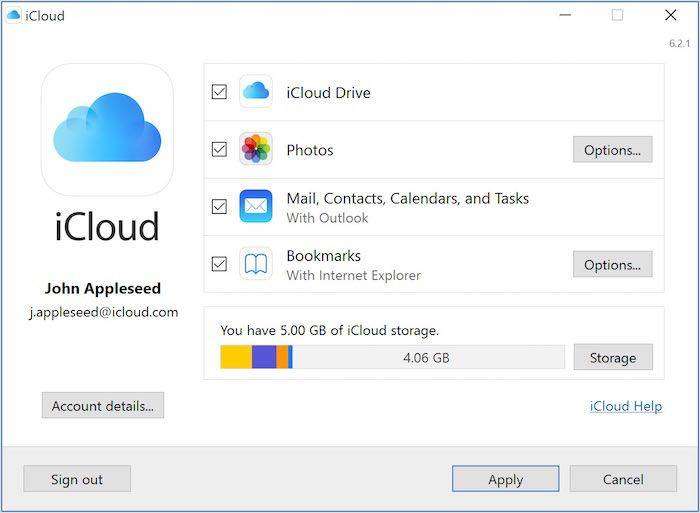
Utilizing the same Apple ID, you can synchronize data across your iPhone, iPad, Mac, and even Windows PCs using the cloud storage service iCloud.
Make sure iCloud has adequate space to save all of your images before learning how to import photos from iPhone to laptop via iCloud.
On Your iPhone:
Go to "Settings" > "name > "iCloud" > "Photos" on the iOS device and press to enable "iCloud Photos."

- Activate it.
For Windows:
- Download and install iCloud for Windows on a computer.
- Use the Apple ID that you use for your iOS device to log in.
- Check the "iCloud Photo Library" checkbox by clicking "Options" next to Photos.
Press "Done" then "Apply."

Check your iPhone images from "This PC" > "iCloud Photos" > "Downloads" after the synchronization procedure.

For Mac:
- Mac users should choose "System Preferences" from the Apple menu.
- Click "iCloud" and sign in using the iPhone's Apple ID.
- Activate "iCloud Photos" by checking the "Photos" option.
- The Photos app will then display all of your iPhone's pictures.
Related read View iCloud Photo Library on PC/MAC.
Method 5: Use Cloud Drive Services to Transfer Photos to Laptop
Using cloud services like Dropbox or Google Photos is another how to send photos from iPhone to laptop.
You can synchronize your images across all of your devices by using Google Photos.
When you use Google Images to organize and save your photos, you can also use it to move photos between your mobile device and your computer easily and seamlessly.
- Installing the Google Photos app on both devices and signing in with the same Google account is all that is required to make this happen.
- Both of your devices will be synchronized with each other so that your images are always accessible.
Related read Google Photos vs Google Drive.
Method 6: Airdrop iPhone Photos to Laptop
Do you wonder how to transfer photos from iPhone to laptop via Airdrop?
Here, you must first ensure that your iPhone or iPad and computer are both connected to Wi-Fi since AirDrop utilizes Wi-Fi to transmit data from iPhone to Mac and vice versa.
To transfer images from an iPhone to a Mac, keep in mind that AirDrop also needs a Mac model from 2012 or later running OS X Yosemite or later.
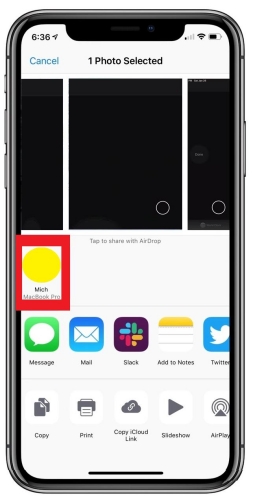
- On your iPhone, launch the Photos app. Then hit the Share icon after choosing the pictures you wish to download to your computer.
- In the Share menu, and then choose AirDrop.
From the list of devices shown at the bottom of the screen, select your computer.

- It will indicate Sent underneath the computer icon if it was successful.
- To exit the AirDrop screen, tap Done in the top-right corner.
FAQS about Transferring Photos from iPhone to Laptop
1. Will I lose the image quality if I transfer photos to a laptop?
Generally speaking, moving photographs across devices shouldn't degrade the quality of the pictures.
Both the resolution at which the photographs are shown on the laptop and their original resolution will affect how well the images turn out.
It's also important to keep in mind that file compression during picture transfer may cause some quality loss.
If the pictures are being transmitted across a network, this can happen. If you master how to transfer photos from iPhone to laptop via reliable software(such as iCareFone), it can be easier.
2. Can I transfer photos from my iPhone to my laptop wirelessly?
Yes, you can transfer photos from your iPhone to your laptop wirelessly using a cloud storage service or by using Apple's AirDrop feature (if both devices are using Apple's operating system).
Related read Transfer Photos from iPhone to Laptop Wirelessly.
3. Will transferring photos from my iPhone to my laptop delete them from my iPhone?
By default, transferring photos from your iPhone to your laptop using a USB cable or a cloud storage service should not delete the photos from your iPhone.
However, if you choose to delete the photos from your iPhone after transferring them to your laptop, you can do so by going to the "Photos" app on your iPhone and deleting the photos you no longer want.
The Bottom Line
Finally, there is no longer difficulty when transferring data and photographs from an iPhone to a computer, especially a PC. As time goes on, sharing between platforms is becoming more straightforward, particularly with specialized data transfer software like Tenorshare iCareFone.
Speak Your Mind
Leave a Comment
Create your review for Tenorshare articles

Tenorshare iCareFone
Best Free iPhone Transfer & iOS Backup Tool
Easily, without iTunes


