Quickly Fix Photos Didn't Transfer to New iPhone 2025
I have been super pleased since I bought my new iPhone. But, unfortunately, all that excitement was cut short when I suddenly discovered that my photos didn’t transfer to new iPhone. All the other contents were restored, except for my photos. Please, how can I get back my old photos on my new iPhone? ” --- from an anonymous iPhone user.
Don’t worry, you can find solutions in this blog.
- Part 1: Photos Didn't Transfer to New iPhone? [Reasons+Solutions]
- Part 2: Alternatives to Transfer Photos to New iPhone
Part 1: Photos Didn't Transfer to New iPhone? [Reasons+Solutions]
If you are wondering why my photos didn't transfer to my new phone, this post will discuss several reasons for this challenge and ways to fix the issue.
#1 Check iCloud Account
Setting up your iPhone with the wrong iCloud account could be why my photos didn't transfer to the new iPhone. If you have mistakenly signed in to a different iCloud account, you cannot get the photos you backed up in the old iPhone.
This is why verifying your iCloud account before restoring the photos you have backed up is essential.
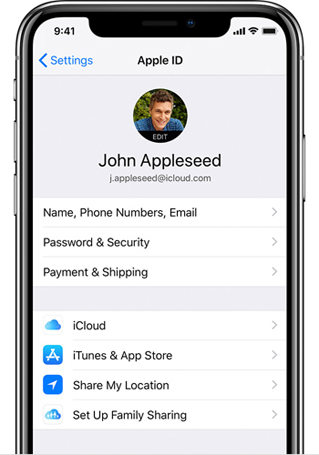
Steps to Verify Your iCloud Account:
- Open Settings on your iPhone and check the iCloud account there.
- Quickly sign out if that is different from the intended account.
- Sign in with the proper iCloud account.
- Enable iCloud photos so that photos can sync across all devices.
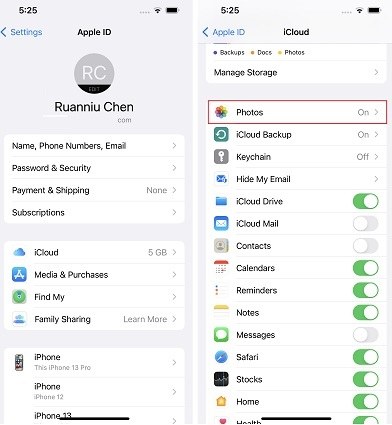
#2. Enable iCloud Photos
It is not enough to use the correct iCloud account. You can use the right account and still experience photos didn’t transfer to new iPhone. However, if you use the correct iCloud account and do not ensure the iCloud backup includes photos, you will have no photos to restore eventually.
So, you are responsible for enabling iCloud photos during the backup process. And check to see if the process is successful.
Related read Fix iCloud Photos Not Showing on iPhone.
#3. Reset Network Settings
The network can also be the reason why many iPhone users are lamenting why didn’t my photos transfer to my new iPhone. While this is mostly ignored, most people struggle with their data restoration process because of poor network quality.
Before successfully migrating files to a new iPhone, you need a consistent and reliable internet connection.
File transfer can be interrupted multiple times when you use a slow network. When that happens, your photos may be affected in the process, which could be why you won't see any photos in the new iPhone.
Change to a fast and stable network, and allow the restoring process to complete. Resetting your network setting can also help in this regard. Here is how to reset Network Settings on your iPhone.
Steps to Reset Network Settings on iPhone:
For iPadOS or iOS 15 and Higher
- Go to Settings.
- Click on General.
- Click on Transfer or Reset Device.
- Click Reset.
Click on Reset Network Settings.

For iPadOS or iOS 14 and Lower
- Go to Settings.
- Click on General.
- Click Reset.
- Click Reset Network Settings.
#4. Check iPhone Storage
You should also consider storage when migrating data from one iPhone to another. For example, if the storage on the new device is not able to hold the storage of photos in the old iPhone, you are bound to start asking why didn’t my photos transfer to my new phone. The file transfer process will only be successful with adequate space in the new device.
For the process to be seamless, ensure there is enough storage space on the new iPhone to carry all that you have backed up in the old iPhone.
Check Photos storage on your old phone:
- Go to Settings and choose General.
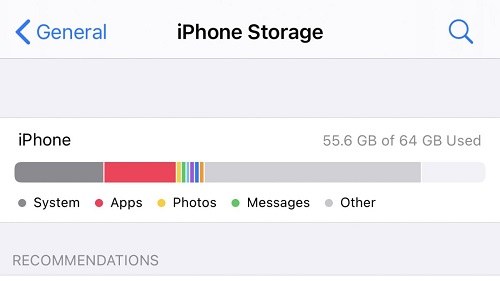
Tap “iPhone Storage”. Here you can see how much storage your photos are occupying.

If your photos are taking up too much storage, we recommend that you enable the Optimize iPhone Storage option.

Check available storage on your new iPhone:
- Go to Settings and choose General.
Tap “iPhone Storage”. Here you can see the storage usage of your new phone.

Related read Empty Trash on iPhone.
#5 Just Wait for More Time
You need to exercise patience when restoring data to your new iPhone. Some people are too quick to conclude that my photos didn’t transfer to new iPhone. iPhone may be unable to download all the backed-up photos because it is still running some crucial processes in the background since it is a new device.
So, even if you have not seen photos on the new device, wait a while. It might continue with photos download when it is done with the background process.
Part 2: Alternatives to Transfer Photos to New iPhone
There are other methods for transferring photos to new iPhone that don’t require too much technicalities like the ones above. We will discuss these options in this section.
1.The Best Alternative to Import Photos to New iPhone – iCareFone
iCareFone is an all-in-one iOS data management software developed by Tenorshare. It is designed to solve various data management problems that iOS users encounter, such as data backup and restore, data transfer, file management, and more.
The best part is that this tool can help you export all your iPhone photos to your computer with ONLY ONE CLICK. And then you can import all these photos to your new iPhone without overwriting. It’s so easy to operate!
Let’s see how to use iCareFone to transfer photos to new iPhone:
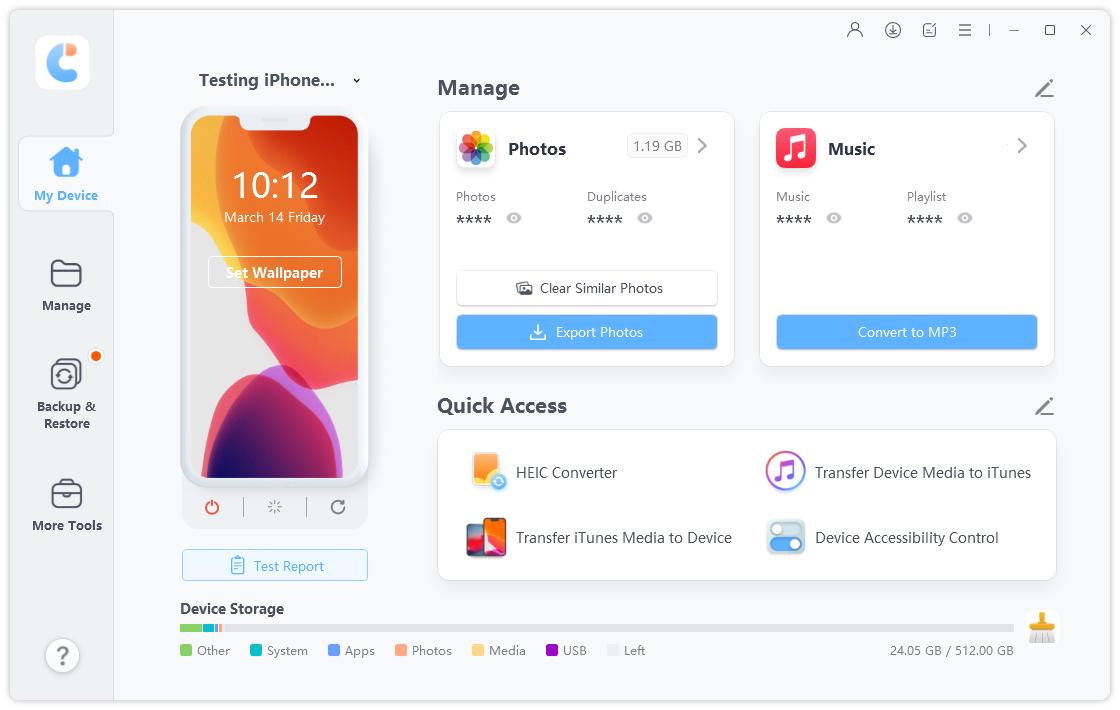
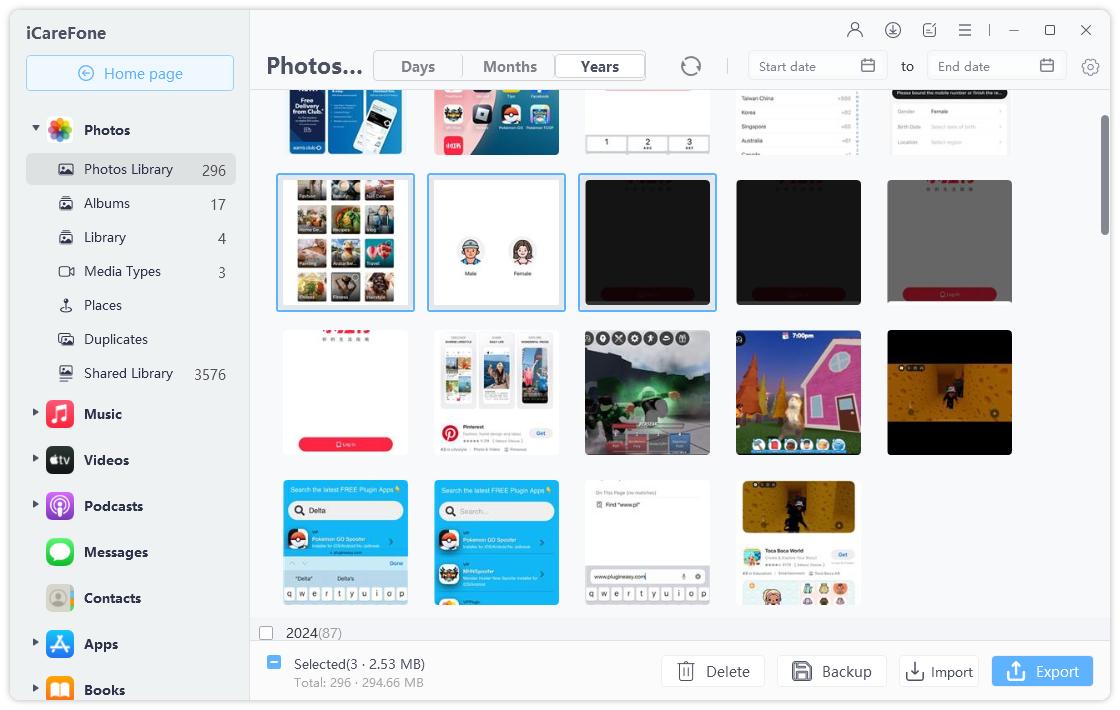
Download and install Tenorshare iCareFone on your computer and launch it. Connect your old iPhone to it. Now choose “Export Photos” from the main interface.

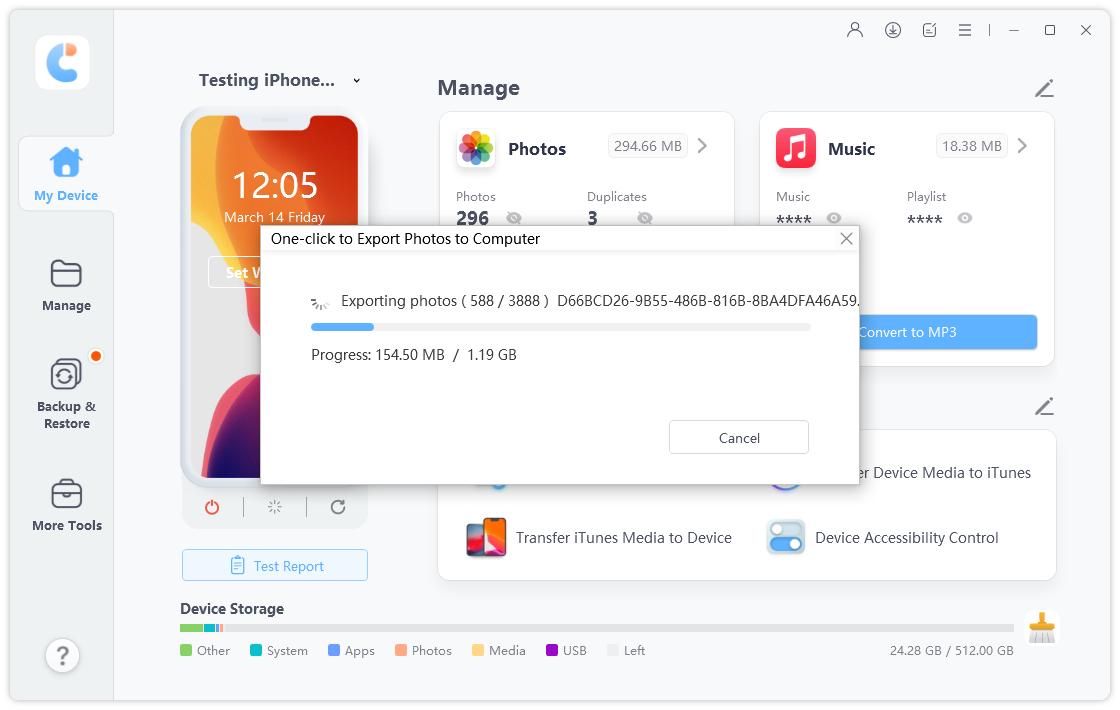
Now all the photos on your phone are being transferred to your computer.

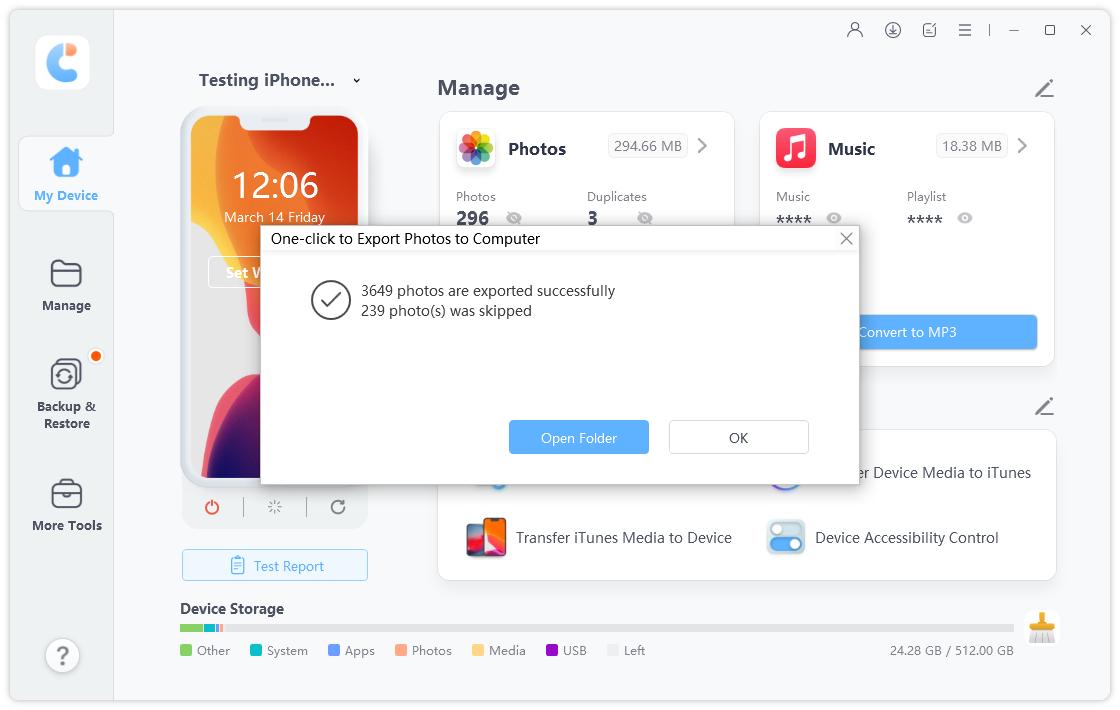
Within seconds, the transfer process will be completed.

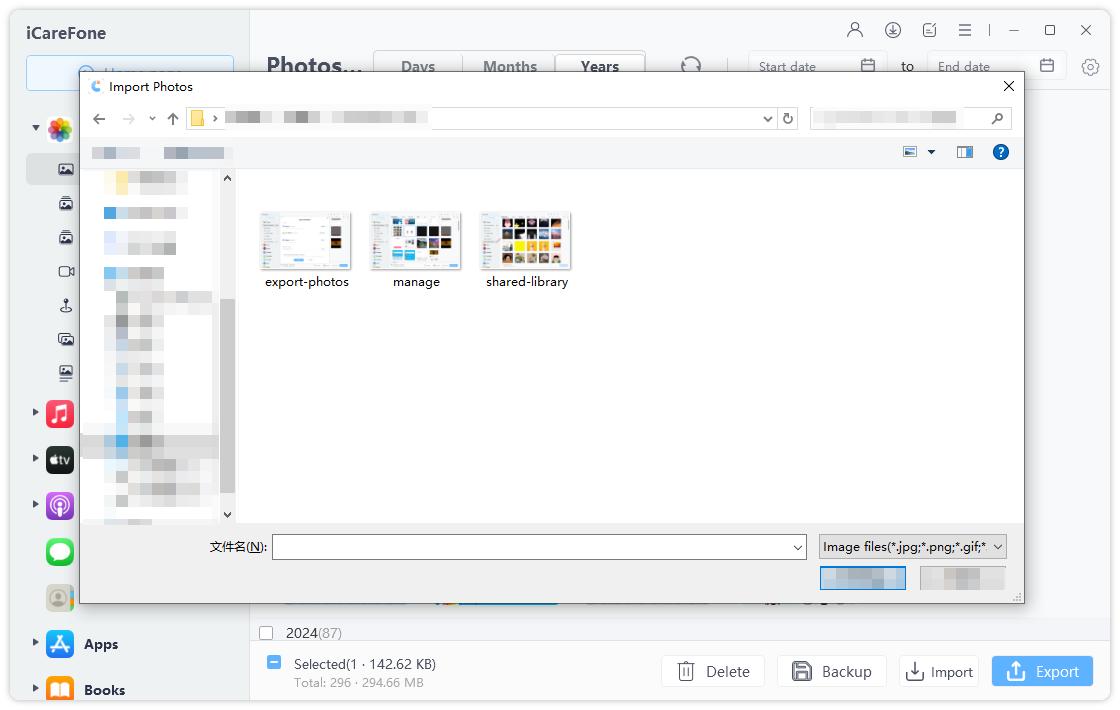
Now connect your new iPhone to computer and switch to your new iPhone on iCareFone from the top left corner. Then choose “Manage” from the left menu.

Choose “Photos” and choose “Import”. Choose the photos folder that we just exported and import it to your new iPhone.

Here's a video guide for you:
2.Use iTunes to Restore Photos to New iPhone Again [Time-Consuming]
You can also use iTunes to restore photos from your old iPhone to a new iPhone. However, while you can also transfer your photos to your iDevice with iTunes, experts don't recommend this method due to its shortcomings:
- The backup and restore process with iTunes is painstakingly long.
- It's primarily suitable for users who have a good grasp of IT.
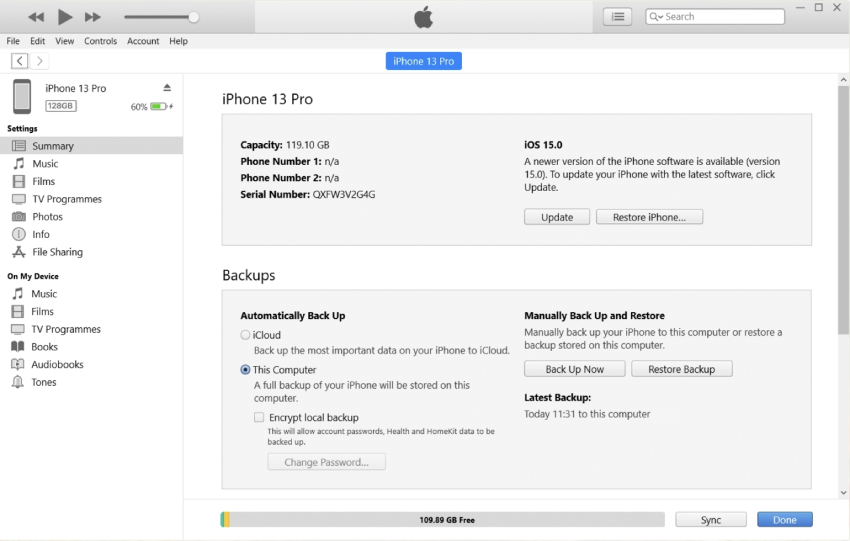
How to Use iTunes to back up Old iPhone and Restore to new iPhone
- Connect your iPhone to your PC. A wireless connection or a USB cable will suffice for the connection.
- Open iTunes on your PC and the button that looks like a device to the app’s left.
- Click on Summary.
Click on Back Up Now.

Transferring the Back Up to the New iPhone
- Put on the new iPhone.
- Follow the on-screen instruction till you get to the Apps & Data screen. Click Restore from Mac or PC.
- Connect the new iPhone to the PC where you backed up the old iPhone photos.
- Open iTunes on the PC and choose your iDevice.
- Choose Restore Backup.
- If you are restoring a backup that’s encrypted, input the necessary password.
- Allow the restore process to complete before you proceed with setting up your new iPhone.
Bottom Line
This post has explained the different fixes for the photos didn’t transfer to new iPhone problem. While all the solutions have pros and cons, iCareFone is far better than the others. It is straightforward and reliable.
Speak Your Mind
Leave a Comment
Create your review for Tenorshare articles

Tenorshare iCareFone
Best Free iPhone Transfer & iOS Backup Tool
Easily, without iTunes


