The Best Way to Transfer Everything from iPad to New iPhone XS (14 Included)
With the launch of the new iPhone XS/XS Max/XR, iPhone lovers are looking forward to acquiring one for themselves and flaunt it among their friends and relatives. But with switching devices a major need to transfer data from iPad/iPhone to iPhone XS does crops up. Now, it becomes crucial that iPad to iPhone transfer must be carried without data loss. For this reason, we have brought to you today's post that will guide you through the best way to transfer files from iPad/iPhone to iPhone XS in a matter of a few clicks. Keep reading!
1. The Best Way - Use Tenorshare iCareFone
When you are unsure of how to transfer files from iPad to iPhone, Tenorshare iCareFone comes as the brightest option for you. Using this software there is no threat of accidental data loss while transferring everything from iPad to your new iPhone XS. It can back up all your iPad data including, contacts, photos, music, videos, Safari history, call logs etc. easily. And then you can restore the backup data to your iPhone. Selective preview and transfer of data are possible with this application.
Step by Step Guide for iPad to iPhone Transfer Using Tenorshare iCareFone:
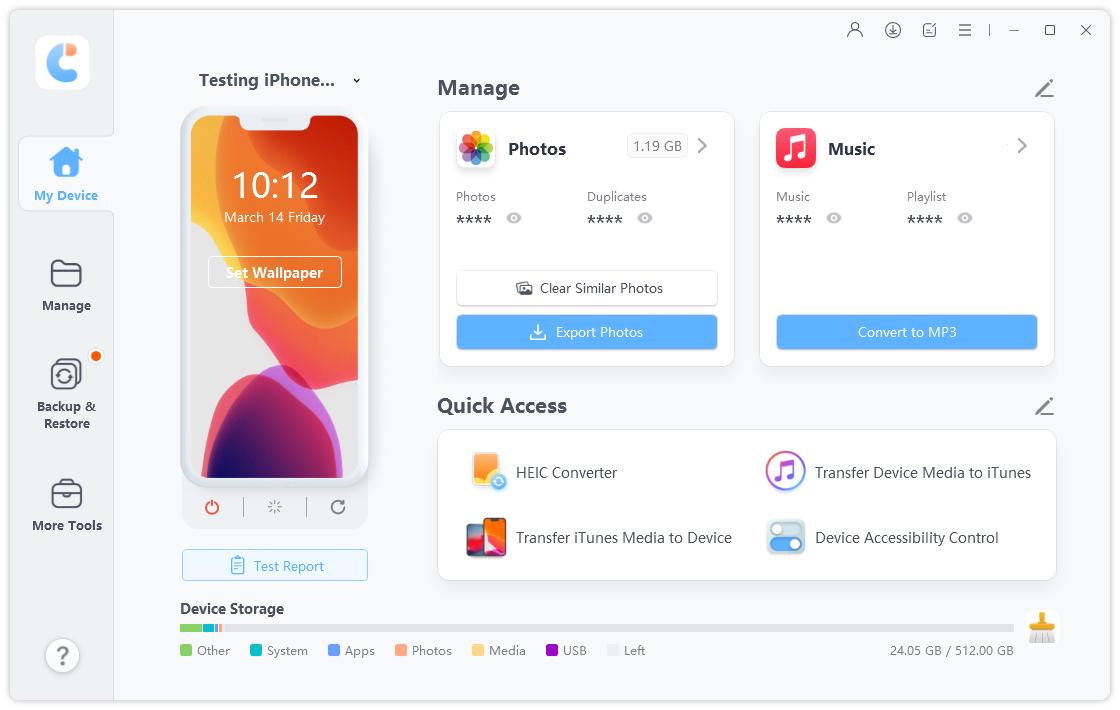
Download and install iCareFone on your computer and launch it. Connect your iPad to the computer and choose “Backup & Restore” from the left menu.

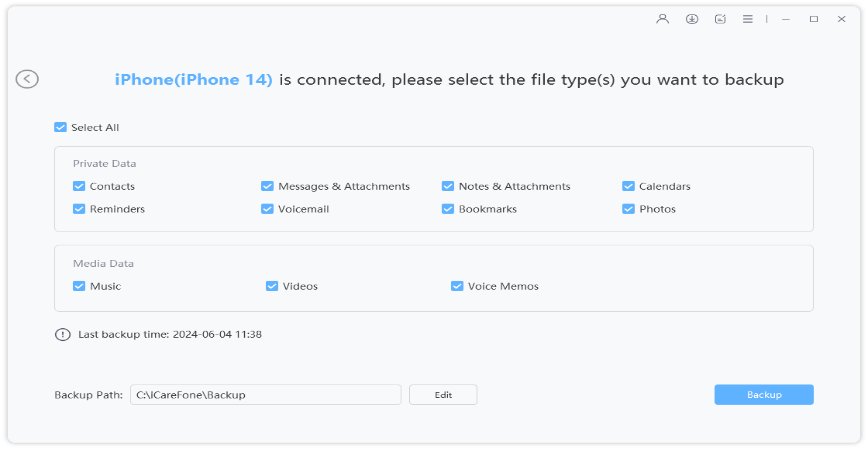
Now select all the data types and click “Backup”.

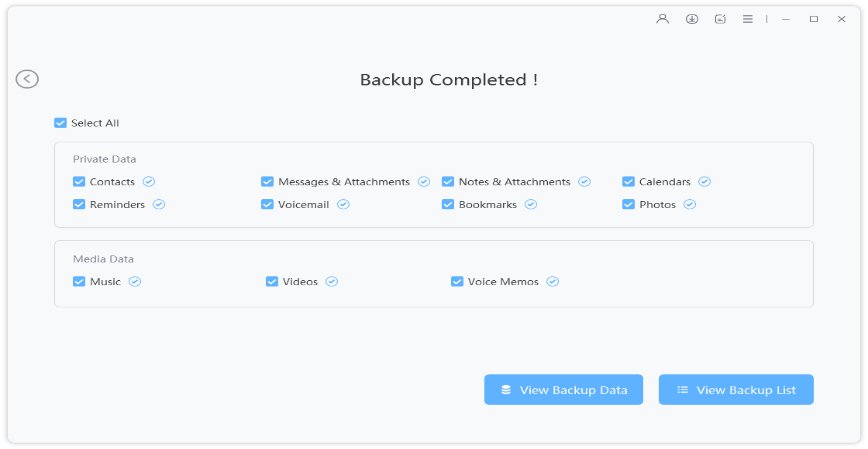
Now all your data will be backed up to the computer. Then unplug your iPad and connect your iPhone to the computer.

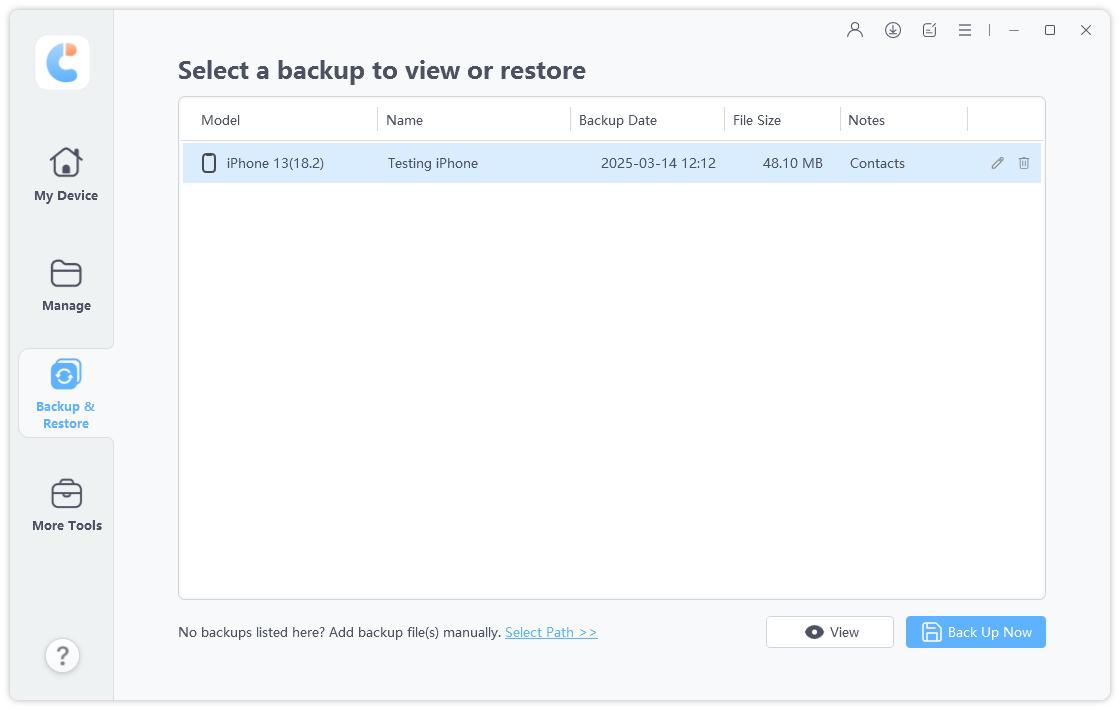
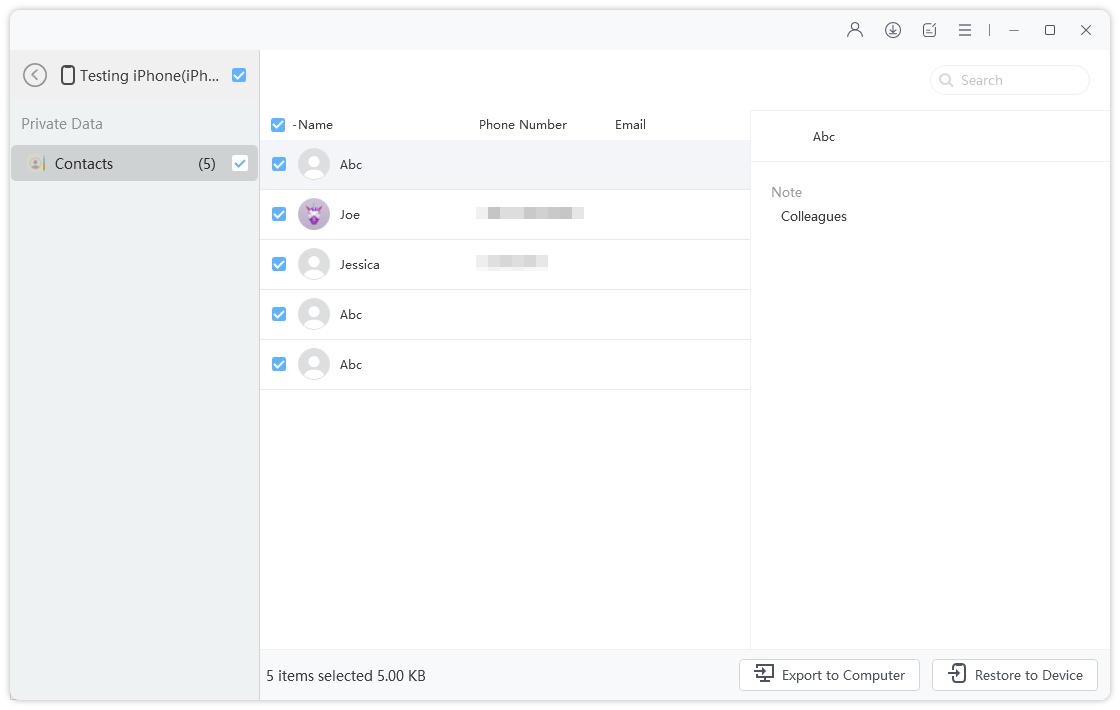
Choose the backup file from the restore list and click the “View” button.

Now select “Restore to Device”.

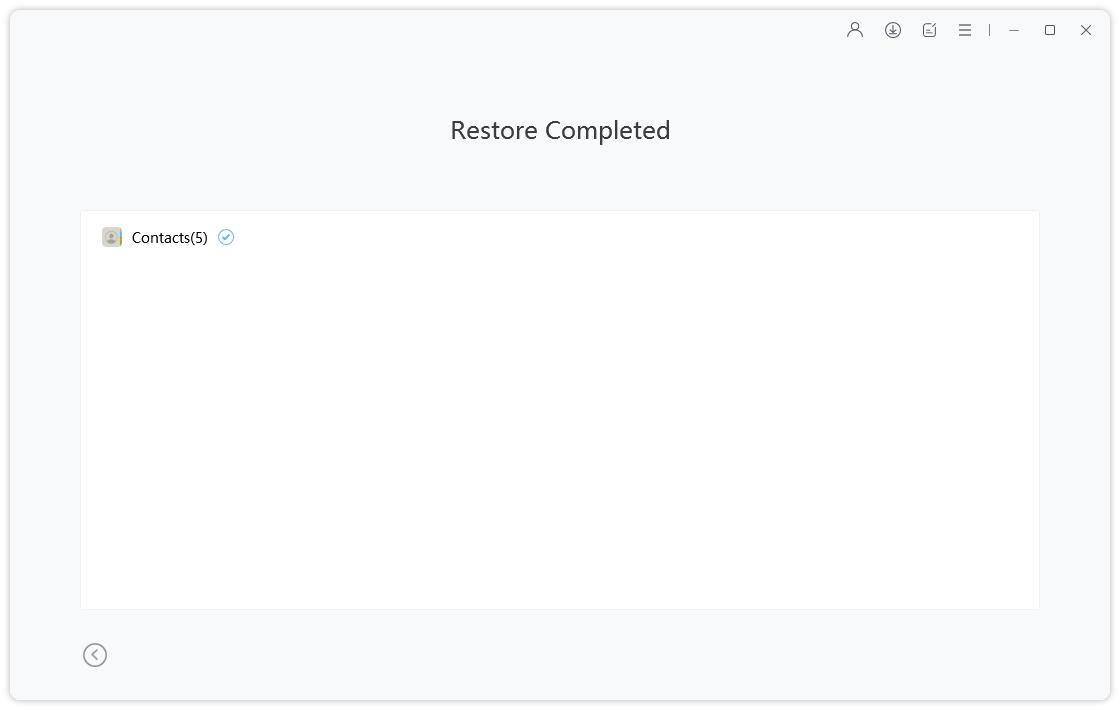
Within seconds, all your data will; be restored to your iPhone.

2. Transfer Data with iTunes (Complicated)
Transfer of data from iPad to iPhone is complicated, when you use iTunes, because you need to configure the settings on both devices.
- Back up your iPad using iTunes on your PC and then disconnect it.
- Switch on the new iPhone XS and follow the onscreen instructions till you reach 'Apps & Data' screen.
Click 'Restore from iTunes Backup' followed by 'Next'.

Pic1.- Restore from iTunes Backup - Launch iTunes on your PC (containing your iPad backup) and connect this iPhone XS to it. Tap on your iPhone XS icon on iTunes.
Tap on 'Summary' tab and then click 'Restore Backup' to select the 'iPad's backup' among the list of iTunes backup files. If prompted, then enter the passcode.

Pic2.- Restore Backup via iTunes - Tap on 'Restore' after selecting the iPad backup and then wait till the process gets over. Turn on Wi-Fi and allow the device to get the data restored. Complete the setup for your new iPhone using iCloud account and get iCloud data auto-downloaded to it.
3. Transfer Data from iPad to New iPhone with iCloud (Not Recommend)
Data transfer using iCloud is not recommended as the data gets overwritten or you might lose the recent data, in case your iPad was not synched to iCloud.
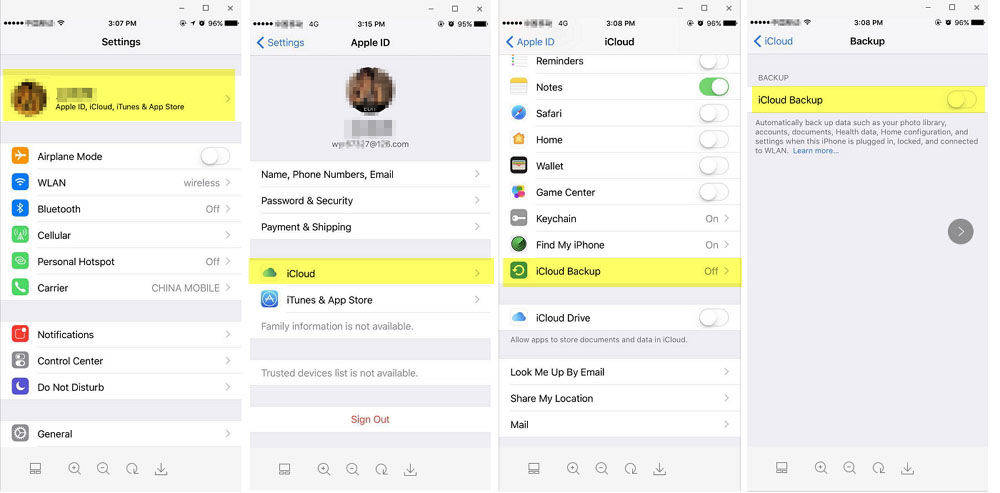
Turn on Wi-Fi on your iPad and browse 'Settings' > [your name] > 'iCloud' > 'iCloud Backup' > 'Back Up Now'.

Pic1.- Click Back Up Now - Now, on your iPhone XS, proceed after the 'Hello' screen until you reach the Wi-Fi screen. Connect to your Wi-Fi and go to the 'Apps & Data' screen.
Select 'Restore from iCloud Backup' here and then login to your old iCloud account. Select the recent backup you have created for your iPad when prompted and then click 'Restore' to confirm.

Pic2.- Resote from iCloud Backup - Setup the iPhone with iCloud and leave it connected to the Wi-Fi to get all the stuff downloaded to it from iCloud.
Conclusion
From the above article, it became clear that Tenorshare iTransGo stand way ahead of the race. The brilliant features it has, are simply beyond comparison. Be it transferring complete device data without data loss or selectively transferring specific data and files between iOS devices. When you have iTransGo with you, there is hardly anything that can prevent you from a successful data transfer. Being a reliable desktop based application, it offers you more flexibility in transferring and managing data using your computer screen.
Speak Your Mind
Leave a Comment
Create your review for Tenorshare articles

Tenorshare iCareFone
Best Free iPhone Transfer & iOS Backup Tool
Easily, without iTunes


