How to Bypass Gmail Phone Verification Easily [2025 Updated]
Sometimes, you may need to create a new Gmail account or access an existing one without using your phone number. This could be because you don't have a phone, lost your phone, want to protect your privacy, or don't want to share your personal information with Google. Whatever the reason, there are some ways to skip Gmail verification and get into your account.
In this article, we will show you the easy methods that you can try to bypass the Gmail phone verification when creating or logging into your Gmail account. Let's get started!
- Part 1. How to Bypass Gmail Phone Verification on Google Chrome
- Part 2. Bypass Gmail Phone Verification with Virtual Phone Number
- Part 3. How To Skip Gmail Phone Verification With a Burner Phone
- Part 4. How to Bypass Gmail Verification Screen on Android Phone after Factory Reset
Part 1. How to Bypass Gmail Phone Verification on Google Chrome
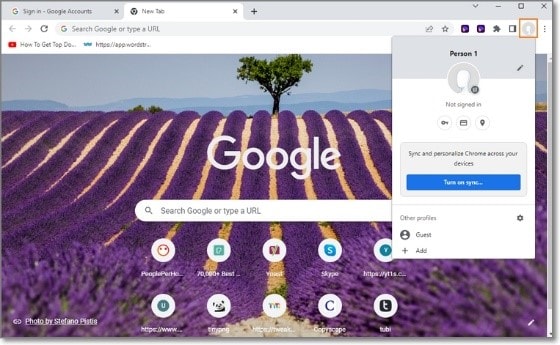
In this part, you will learn how to skip the Google phone authentication step in your PC's Chrome browser. However, remember to log out of the Chrome browser first. To do so, tap the profile icon and tap the "Sync" icon. Then follow the steps below:
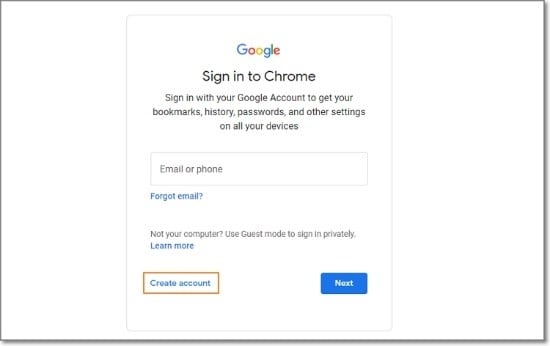
- Open Chrome, tap the profile icon, and click the "Activate Sync" button.
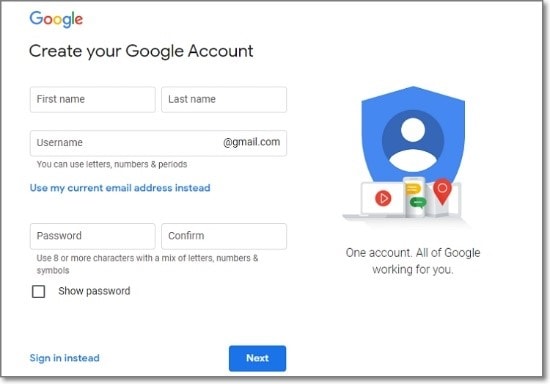
- The Google Account page will be launched. In this case, tap "Create Account."
- Enter account information such as username, last name, password, etc.
- If you click "Next," you will not be asked to enter the phone number from the next time. It's very easy!
Part 2. Bypass Gmail Phone Verification with a Virtual Phone Number
Another way to Google SMS verification bypass is to utilize a virtual phone number. It is not linked to any physical device or SIM card. It can be used to receive calls, texts, and voicemails online. Here are the simple steps to use a virtual phone number to Gmail bypass phone verification:
- Choose a service that provides virtual phone numbers and sign up for an account. You may need to use another email account or phone number to verify your identity.
- Pick a virtual phone number from the available options. You can choose a number that matches your country or region, or you can choose a random one.
- Go to the Gmail sign-up page and fill in your details. When you get to the phone verification step, enter your selected virtual phone number.
- You will receive a text message or a call on your virtual phone number with a verification code. You can access the message or the call on the website or app of the service that you used.
- Enter the code and click on Verify. You have successfully logged in to a new Gmail account with a virtual phone number!

Note: If your phone number cannot be used for verification, or you can't receive a Google verification code, you may need to try another service or number.
Part 3. How to Bypass Gmail Phone Verification with a Burner Phone
A burner phone is a disposable phone that can be utilized for a short period of time and then discarded. It is usually cheap, prepaid, and anonymous. It can be used to make calls, send texts, and access the internet.
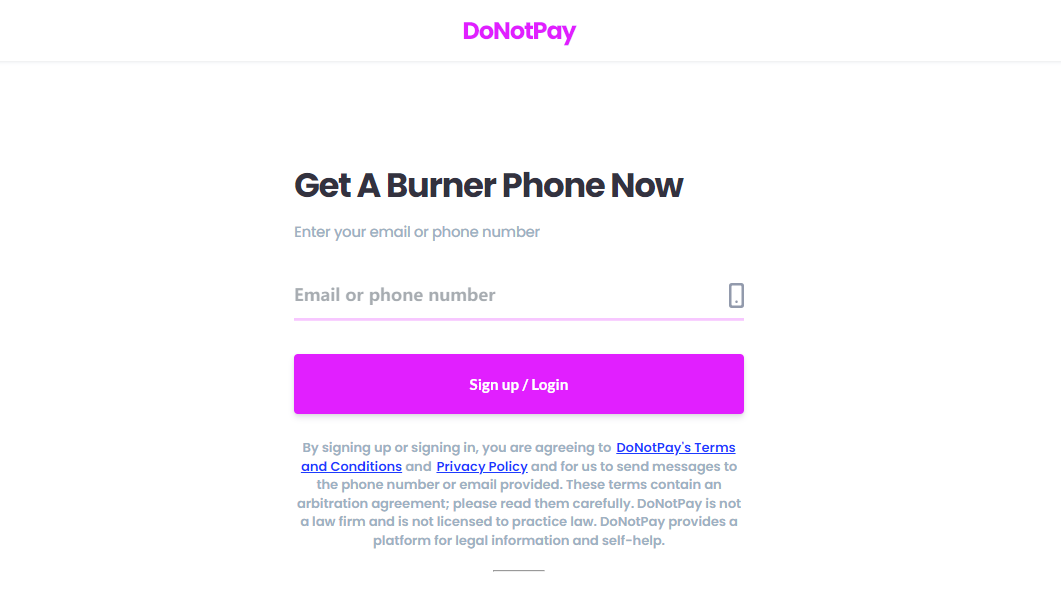
You can use a service like DoNotPay to get a burner phone number online. Here are the steps how to bypass Gmail phone verification:
- Sign up for a DoNotPay account using your email address or Apple ID. You can use the website or the app to access the service.
- Select the Burner Phone feature from the menu.
- Choose Google and click on Generate a Temporary Number. You will get a burner phone number that you can use for 10 minutes.
- Go to the Gmail sign-up page and fill in your details. When you get to the phone verification step, enter the burner phone number that you got from DoNotPay.
- You will get a text message with a verification code on the DoNotPay app or website. Enter the code and click on Verify.
Part 4. How to Bypass Gmail Verification Screen on Android Phone after Factory Reset
When looking at How to Bypass the Gmail Verification Screen on an Android Phone after Factory Reset, only one tool can help you with this task. This professional tool is famous as Tenorshare 4uKey for Android.
It is a tool that can help you unlock any Android phone without a passcode, including pattern, PIN, fingerprint, and face lock. It can also help you remove Google FRP lock from your phone without passwords, Google accounts, or risky apps.
Here are the steps to bypass the Gmail verification screen on Android phones after a factory reset:
- Start the procedure by downloading and installing 4ukey for Android on your laptop. Then, connect your mobile to the laptop using a USB cable.
-
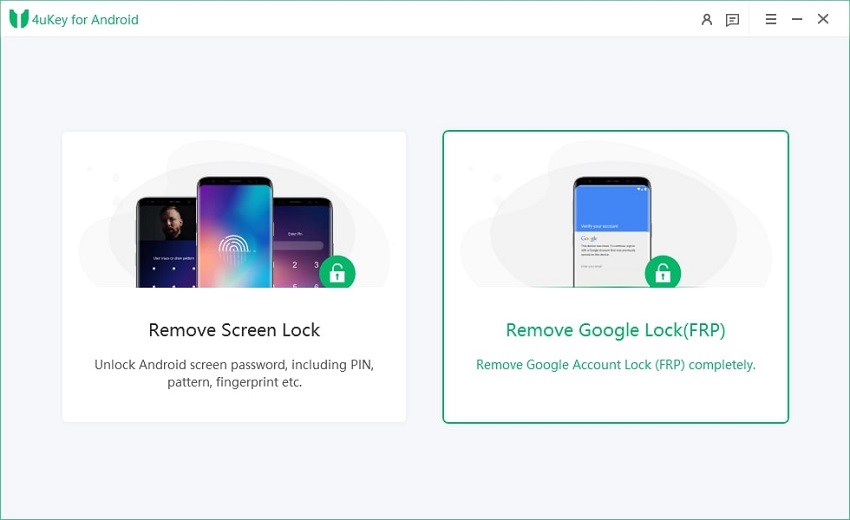
Launch the tool and then click “Remove Google Lock (FRP)” from the available options on your screen. Select the OS version of your device and enter "Start."

-
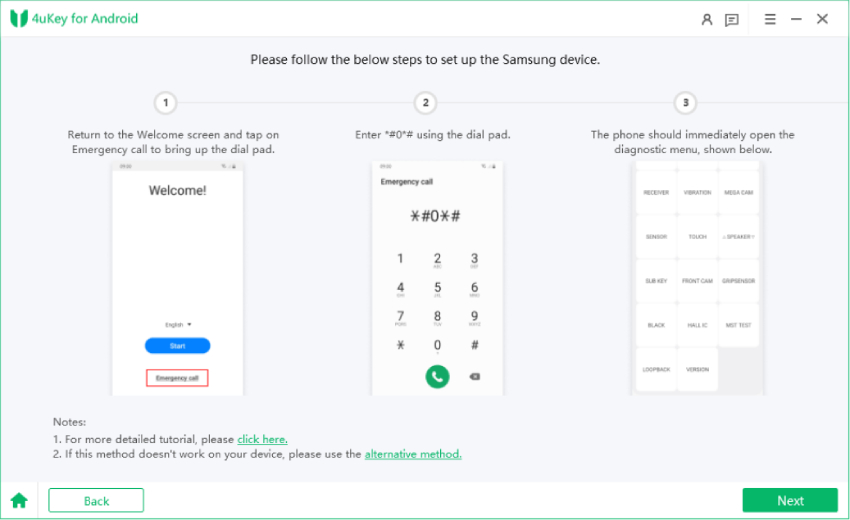
Now, follow the on-screen instructions according to your chosen OS version. Click on Next.

-
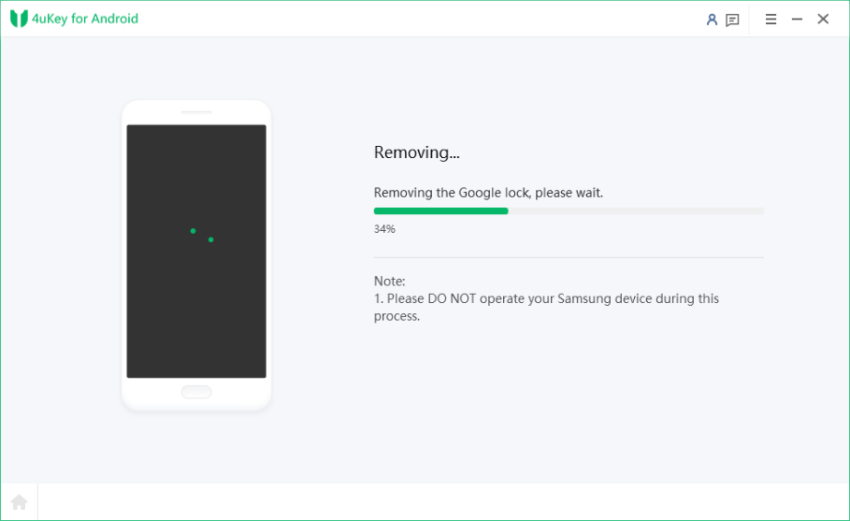
Let the 4ukey for Android start the FRP removal process.

-
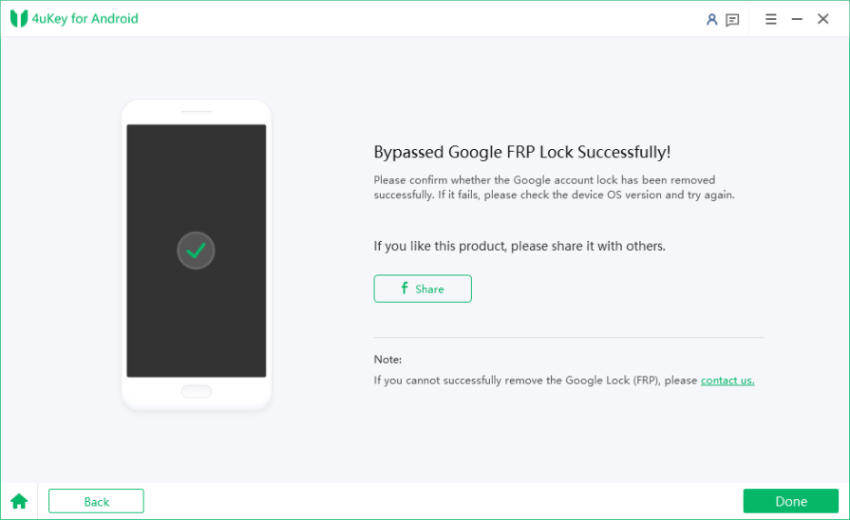
The process will take a while to complete. Click "Done" to complete the process.

Conclusion
In this article, we have shown you four methods that you can use to bypass Gmail phone verification easily. If you are looking for a simple, fast, and effective way to bypass Gmail phone verification after Android reset, you should give Tenorshare 4uKey for Android a try.
- Remove Android password, pattern, PIN, and fingerprint lockin one click
- Bypass FRP for Samsung, Xiaomi, Redmi, Vivo, OPPO, Huawei, etc. (Android 6-14)
- Compatible with 6000+ Android phones and tablets
- The unlocking success rate is up to 99%, in 3 minutes
Speak Your Mind
Leave a Comment
Create your review for Tenorshare articles
