[Windows Fixes] How to Solve the System Cannot Find the File Specified
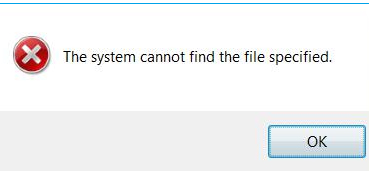
Many a time, your monitor displays the message, ‘the system cannot find the file specified. It is a very common error in Windows and many users face difficulties in resolving the issue by themselves.
If you’re having this issue then you are not alone. Recently, many readers have contacted us to provide a detailed guideline addressing this error. That is why this tutorial aims to provide full possible methods.
- Part 1: Reasons Why the System Cannot Find the File Specified
- Part 2: 5 Effective & Useful Ways to Solve System Cannot Find the File Specified
- A Useful Tip: How to Do When Windows Fail to Boot
Part 1: Reasons Why the System Cannot Find the File Specified
It is difficult to pinpoint the exact reason leading to this issue, but the most common issues leading to this error are:
- Connection problems
- Issues with registry like invalid key
- Incorrect file resolution
- System errors during backing up of files
After analyzing the main reasons of why your system cannot find the specified file, let us discuss how do I fix the system cannot find the file specified.
Part 2: 5 Effective & Useful Ways to Solve System Cannot Find the File Specified
The 5 most effective ways of troubleshooting the issue of system unable to find the specified file are explained below.
Way 1: Using Antivirus Software to Scan
Too often, the antivirus installed in your computer blocks or removes files under the pretext of potential malware and you get the error. So, check your antivirus and see if the specified file is present in it.

Way 2: Update Your Windows to Resolve the System Cannot Find the File Specified
Windows regularly offer updates to remove errors in the system and introduce new features. Many users ignore the update notification and delay it. As a result, they face the issue of “the system cannot find the file specified”. That is why it is advisable to update windows soon after it shows new updates. You can check new updates by:
-
Press Window + I buttons together on the keyboard and hit on “Update and Security” tab.
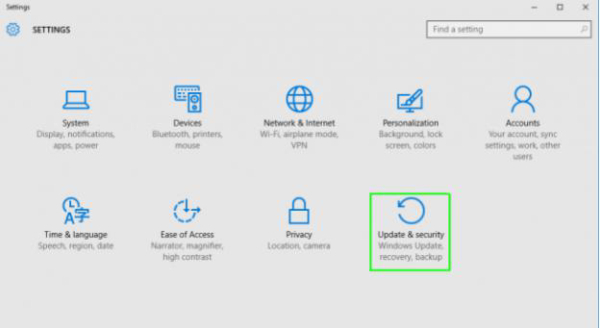
- Here, click on the “Check for Updates” option and Windows will check if any update is available or not.
- If it shows new updates, install them.
Way 3: Check & Correct the System Log Files
Sometimes, there is an issue in the system log files that ensues the issue of the system cannot find the file specified java. You should check system log files by:
- Hold Windows + R, And go to the directory C:/Windows /INF.
- Search for the setupapi.dev.log file in the INF folder and open it and press Ctrl and F buttons at the same time.
- A new tab will open. Type “cannot find the file” and hit Enter and Windows will show the missing files.
- Select the one you’re looking for, copy and paste it in the INF folder.
Way 4: Update or Reinstall the Drives
PC drivers play a central role in the functioning of Windows. It is recommended to check for drivers and install the missing drivers and update others regularly. To do that:
- Right-click on Start icon and select Device Manager.
-
Here, click on the drop-down arrow and if yellow sign is present on any driver, it means that driver is not available. Simply install that driver.
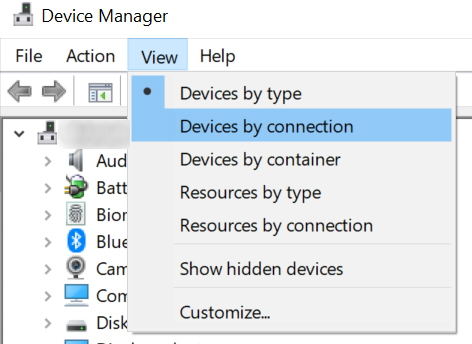
- You can check for the update of any driver by right-clicking on that driver and select Update driver Software.
Way 5: Repair & Restore the Missing Files - Use CHKDSK Command
Many users have fixed this issue using CHKDSK command. To do that:
- Click start and type cmd and click on the Command Prompt App.
- Type CHKDSK in the window, then a space and enter name of the disk you want to repair and hit Enter. For instance, if it’s disk C, then type CHKDSK C and hit Enter.
The Windows will check for the missing files in the system and show them.
A Useful Tip: How to Do When Windows Fail to Boot
Windows crashing or unable to boot is a very common issue faced by all of us. If you ever face this issue and you want to fix it within a few minutes, then Tenorshare Tenorshare Windows Boot Genius is the software you are looking for.
This tool helps the users to successfully boot up Windows that doesn’t start properly, and help recover lost data from unbootable hard disk, bypass and reset local and domain passwords of your windows to fix the booting issues of your computer:
-
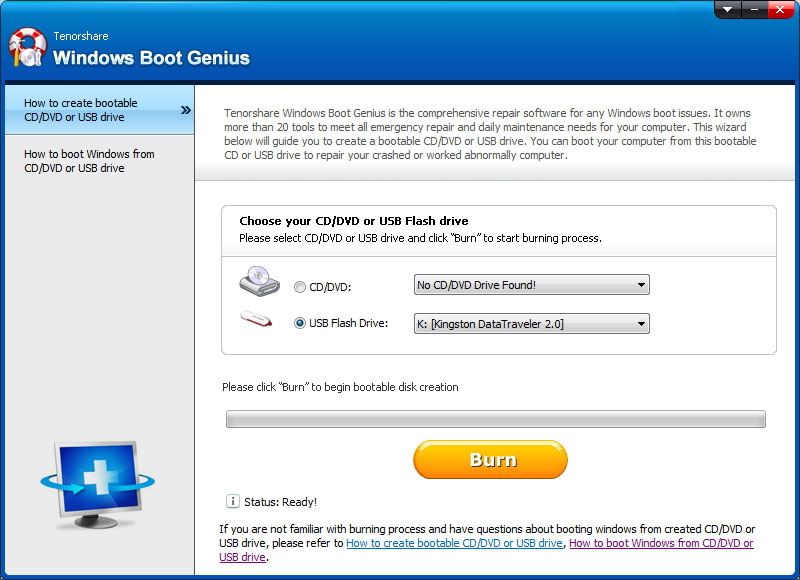
After downloading Windows Boot Genius, launch it and then plug a USB drive into the computer. On the main interface, hit on Burn.

-
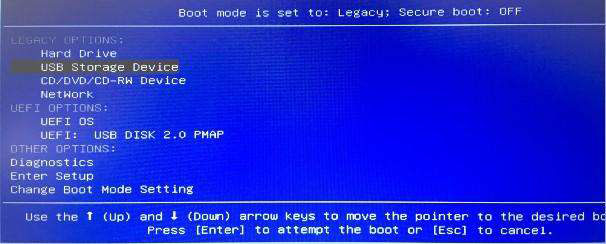
The program will burn the drive. Then, plug this burned USB into computer that isn’t booting up properly and press F12 continuously to boot the computer from the USB. Then, hit on Enter to continue the process.

-
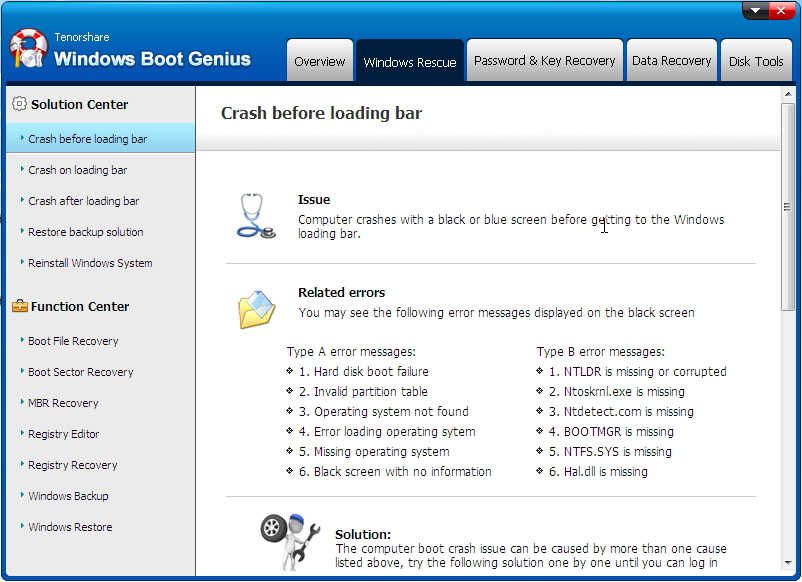
Now, you will enter the integrated page of the program. if your computer’s screen freezes before the windows loading bar then use ‘Crash before loading bar’ solution and apply all the fix methods present in Function center successively until your computer boots. Then, follow the on-screen steps to complete the process.

-
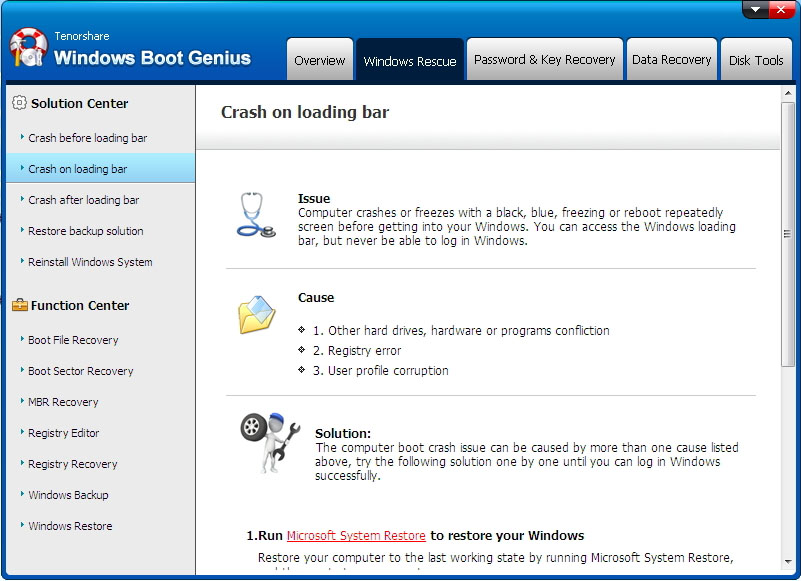
Similarly, if Windows crash at the loading bar or welcome screen, then select the ‘Crash on loading bar’ solution and apply all the fix methods in the bottom left panel successively until you see Windows screen. Then, follow the guidance on screen to complete the repairing process.

-
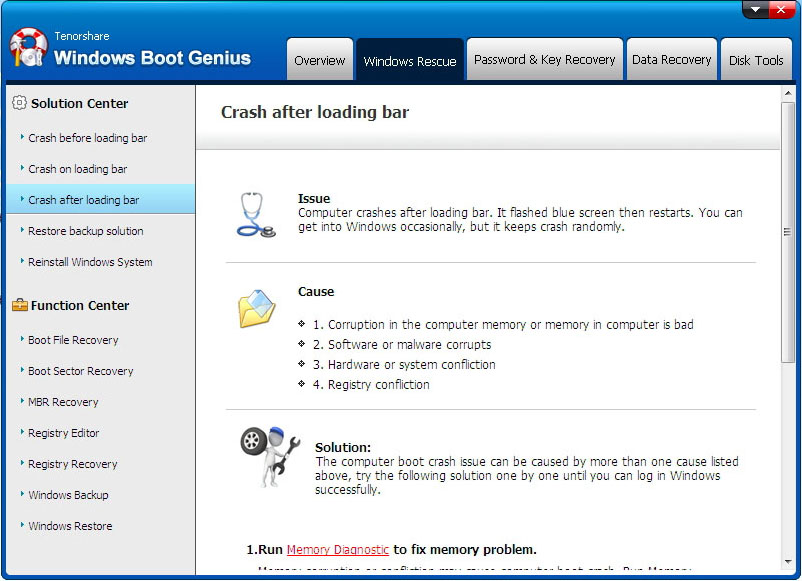
Lastly, select ‘Crash after loading bar’ option if your computer crashes after the loading bar and use the fix methods in the Function Center. Again, follow the on-screen instructions to repair the computer.

Conclusion
This guideline has elaborated 6 easy and proven methods of troubleshooting the issue of ‘the system cannot find the file specified’. Use the afore-mentioned methods one by one and hopefully, you will get rid of this issue.
Additionally, if you ever face the issue of Windows not booting properly, then download Tenorshare Tenorshare Windows Boot Genius and fix this issue with just a few clicks.
Speak Your Mind
Leave a Comment
Create your review for Tenorshare articles


