ReiBoot - No.1 Free iOS System Repair Software
Fix 150+ iOS Issues without Data Loss & Safely Upgrade/Downgrade
ReiBoot: No.1 iOS Repair Tool
Fix 150+ iOS Issues, No Data Loss
How to delete a certificate from iphone ios 16.6?
In today's digital age, security and privacy have become more important. As a result, many devices, including the iPhone, come with a built-in certificate system to verify the identity of websites and applications. However, if you have received the iPhone from a school or a corporate company you’re working for, you won’t be able to use it to your limits due to the pre-installed certificates. The best way to tackle this problem is to delete the iPhone certificates limiting your usage. In this guide, we’ll discuss and walk you through how to remove certificate from iPhone on iOS 17/18.
Certificates are the document files that come with the electronic devices provided by the legitimate authority. Whenever you try to access the website on your iPhone, your browser checks its authenticity by matching its certificate with the authentic one. If the certificate isn't legitimate, your browser will show a message on the screen.
Moreover, the certificates have a unique key for authenticity, all assigned by legitimate authority. Keeping the certification up to date is necessary to help make them secure and safe, or they’ll get corrupted and cause several issues on the device.
If you’ve found any corrupted or expired certificates on your iPhone, deleting them from your iPhone is the best and the only solution to get rid of them.
As mentioned earlier, it's also important to regularly check your iPhone's root certificates to ensure they're up-to-date and secure. Root certificates are the most essential certificates on your device, as they help verify the authenticity of other certificates.
Here’s how to check your iPhone root certificates:
Here you’ll find the root certificates on your iPhone that you can turn on and off.
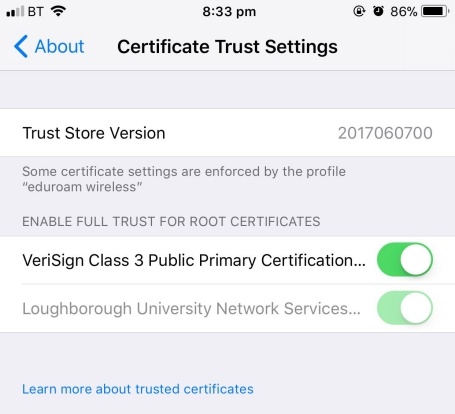
By following the above method, you can only check the root certificates installed on your iPhone. However, in order to delete the certificate from your iPhone in iOS 16.6/17, you’ll need to follow the different steps.
Following are the steps to delete the certificate from iPhone.
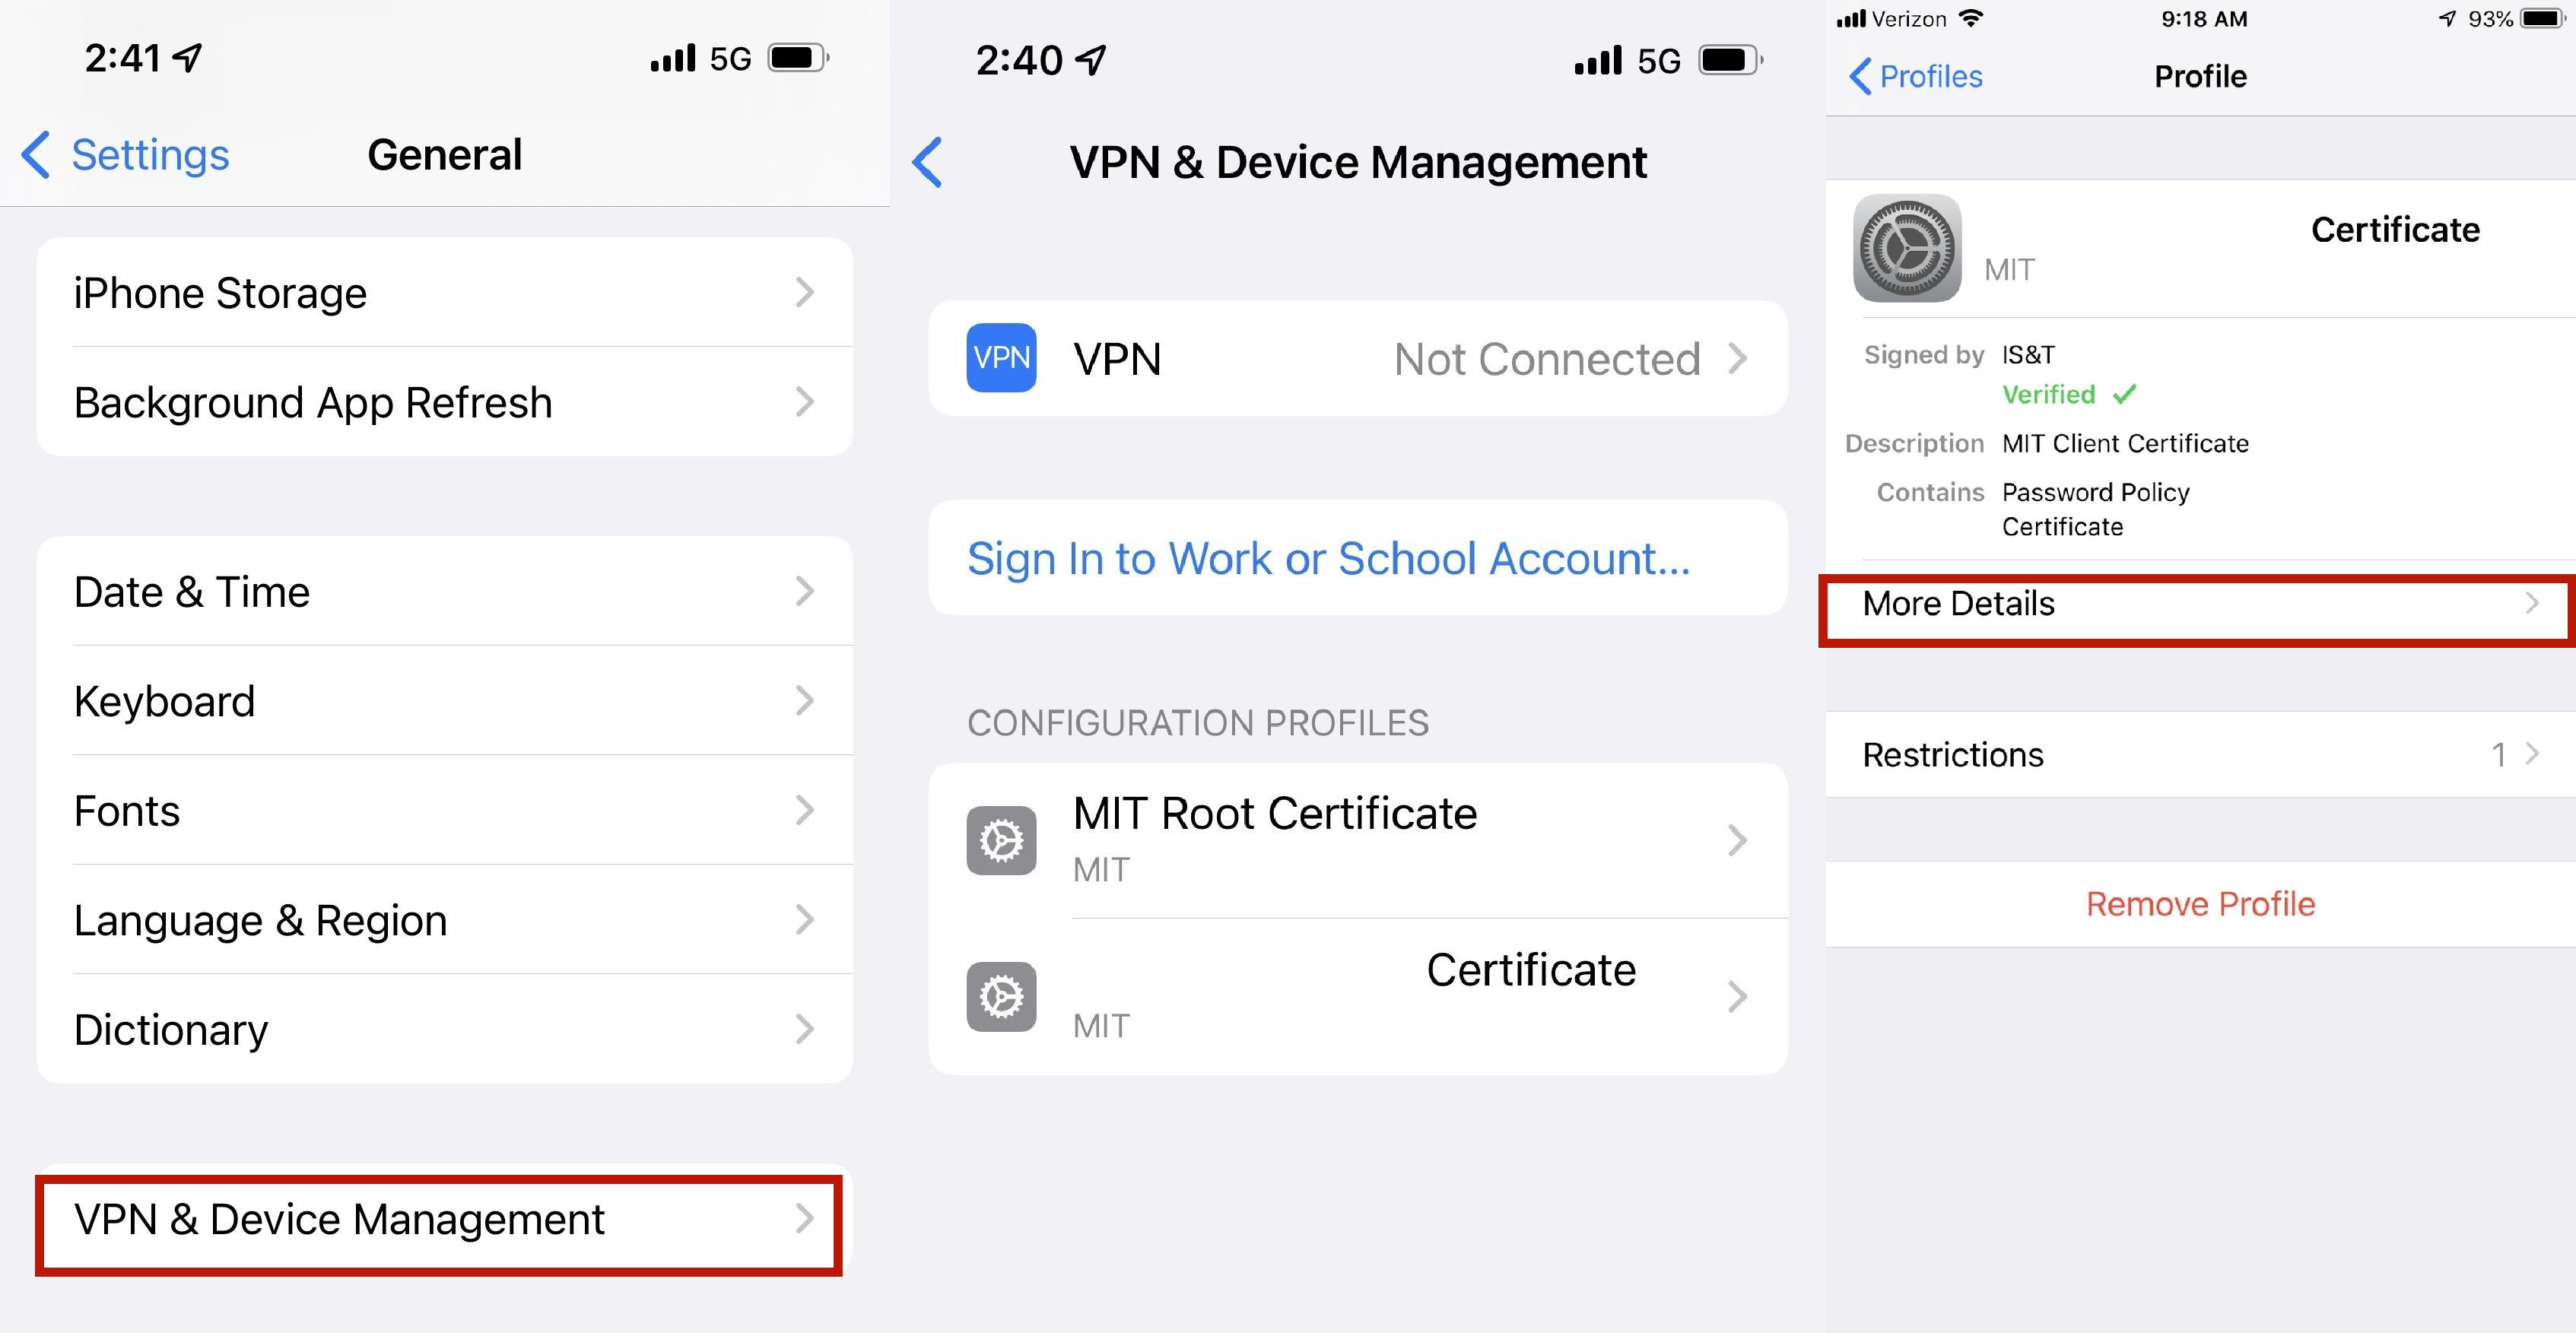
If you face any error or issue that doesn't allow you to delete a certificate from your iPhone running in iOS 17/18 bug, try resolving it with the powerful tool - Tenorshare ReiBoot. It can fix all iOS bugs, glitches, and errors, including other major iOS issues.
The best thing about the tool is the interface that allows you to navigate it without prior tech knowledge. It offers a one-click operation that enables you to fix all iOS issues by running a single process on your device. Follow the steps below to fix “Delete Certificate Due to iOS 16.4 Bug” on your iPhone:
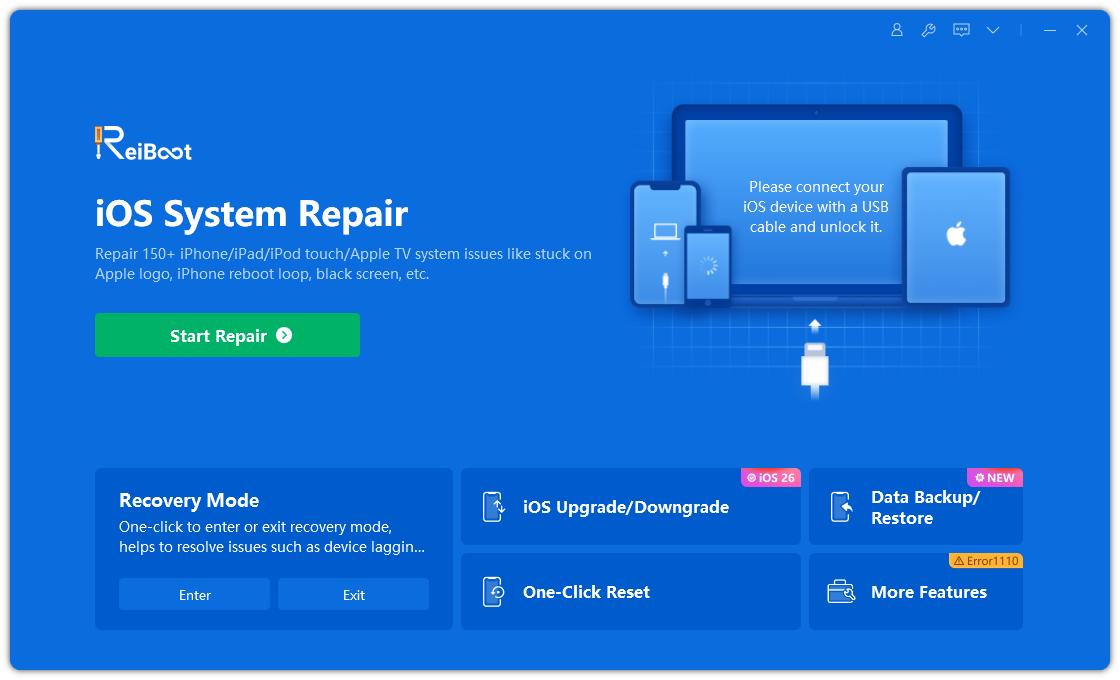
Install the Tenorshare ReiBoot on your computer and launch it. Connect your iPhone to the computer using the compatible cable and click “Start” on the program’s interface.
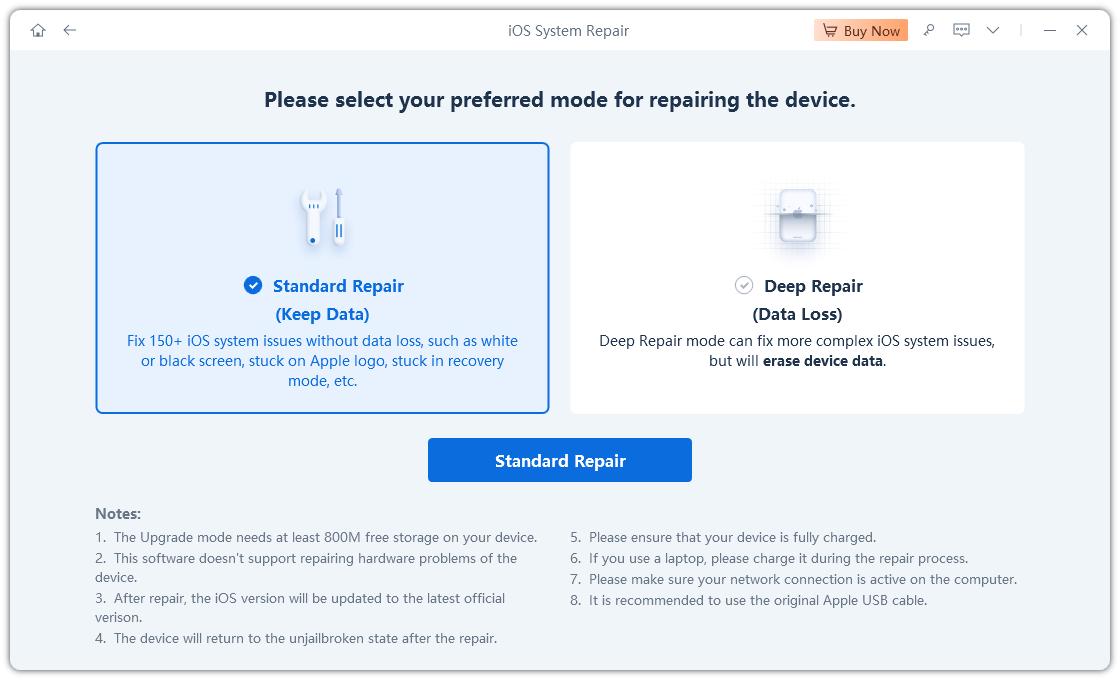
On the next interface of the program, select the “Standard Repair” option and click on the “Standard Repair” button to move forward.
The program will suggest the firmware package according to your device model to download. Click on the Download button to initiate downloading the Firmware Package.
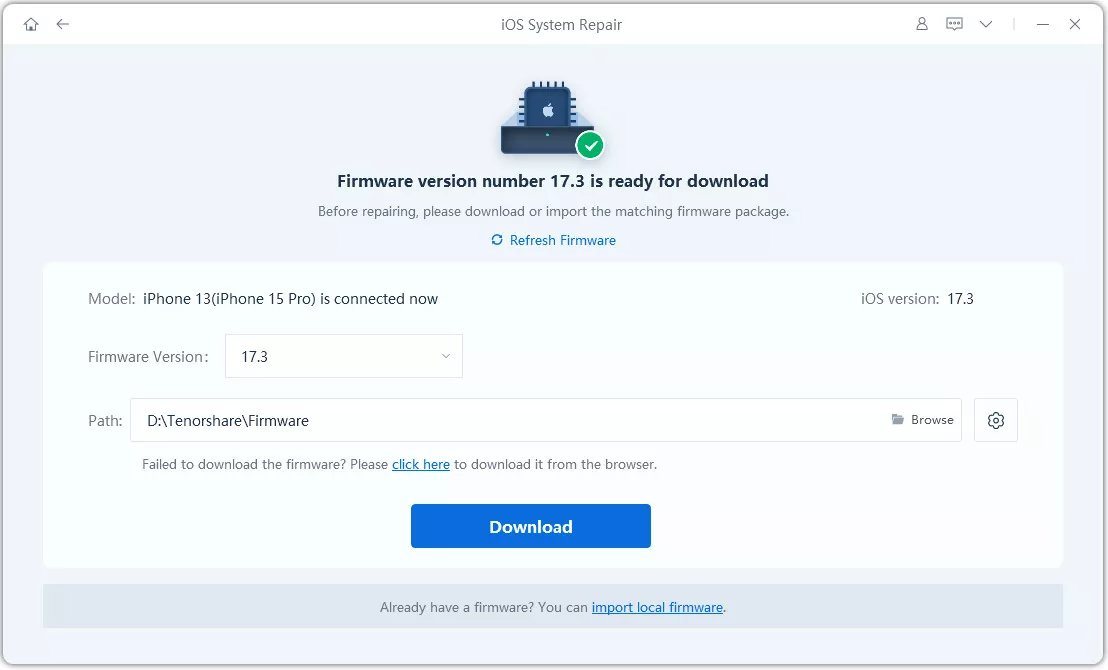
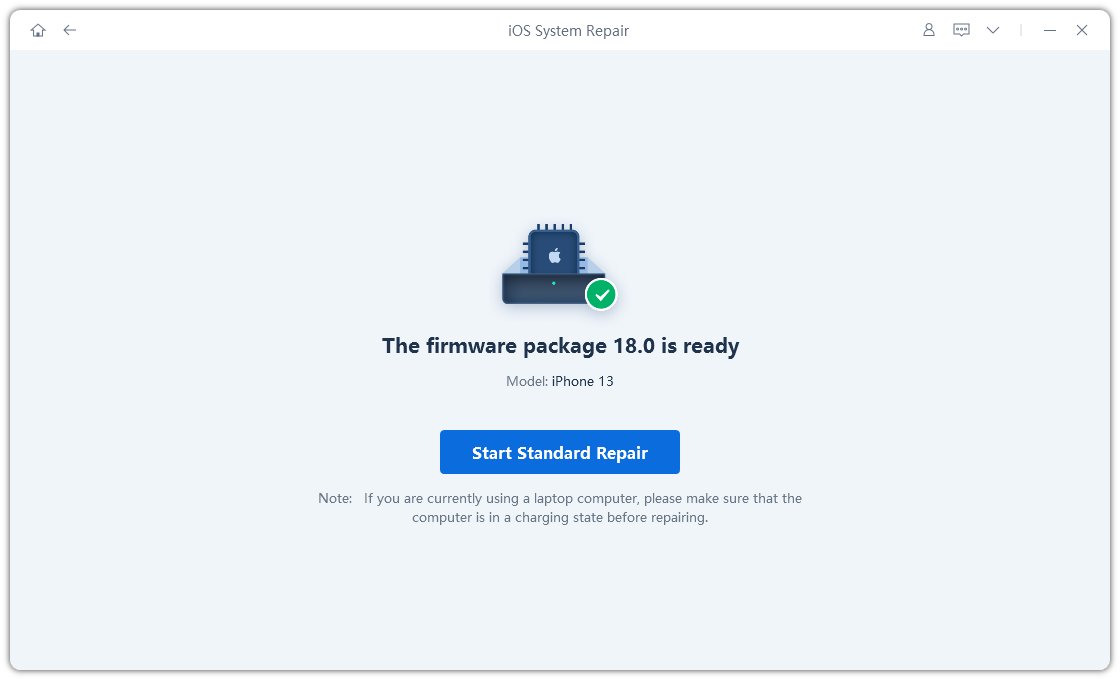
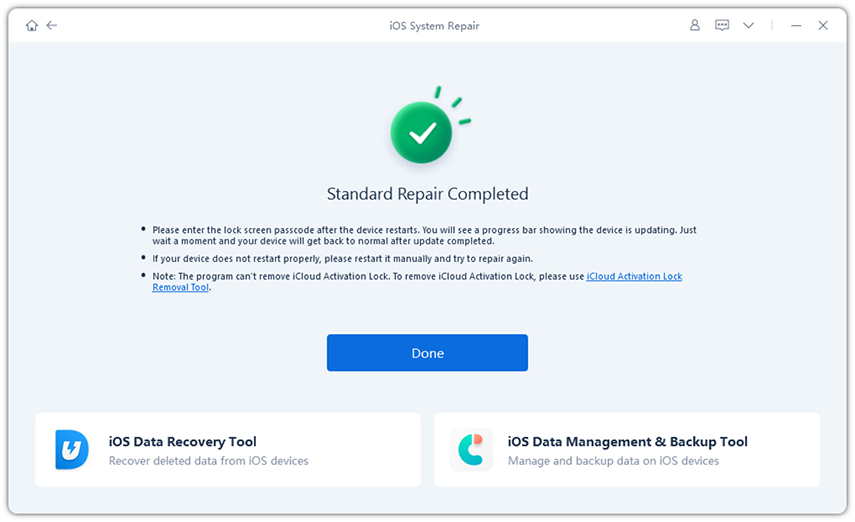
Once the firmware package has been downloaded, click “Start Standard Repair” to start the repair process on your iPhone. The program will run a repair process on your device to fix the bugs and iOS-related issues. Be patient until the repair process completes. The program screen will show a Done message, and your iPhone will restart.
If you have happened to forget the passcode of your iPhone running iOS 16.4 or, for some other reason, you don’t want to use it to delete a certificate, Tenorshare 4uKey-Screen Pascode Unlocker is the best tool that allows you to do so.
It’ll automate the entire process of removing the certificate from the iPhone without asking for the passcode. Here’s how you can delete a certificate from iPhone in iOS 17/18 without a Passcode:
Install the Tenorshare 4uKey program on your computer and launch it. Click the Bypass MDM option in the bottom left corner on the program's main interface.
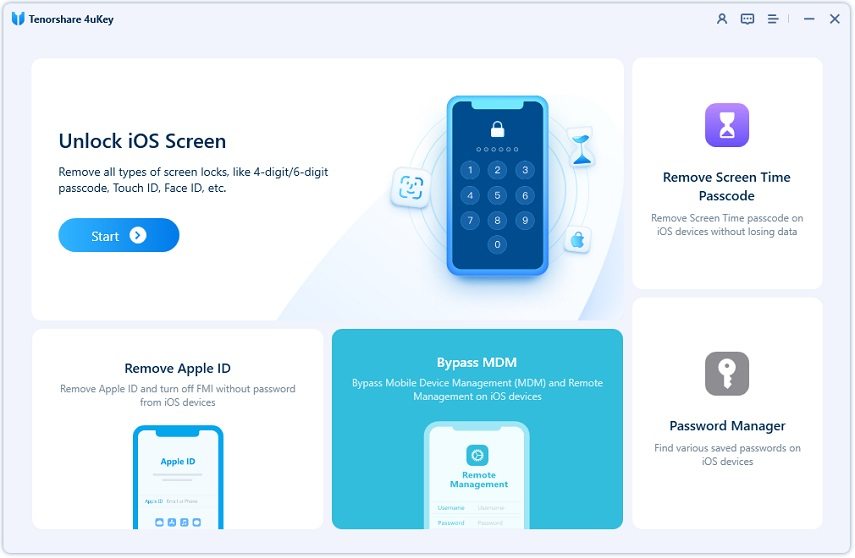
Connect your iPhone to the computer using the compatible lightning cable and wait for the program to detect it.
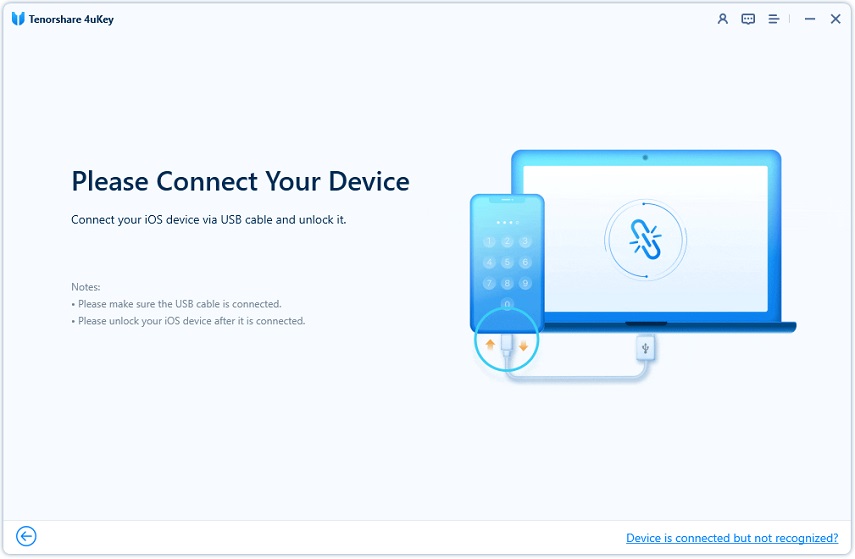
To initiate the process of removing the profile management on your iPhone, click on the Start button.
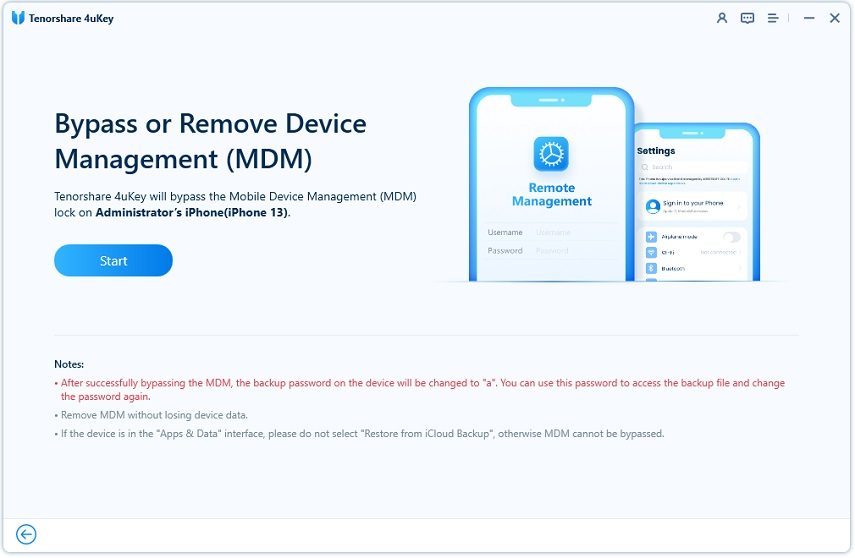
It’ll take a few minutes to complete the process, and you will eventually restart your iPhone once successful.
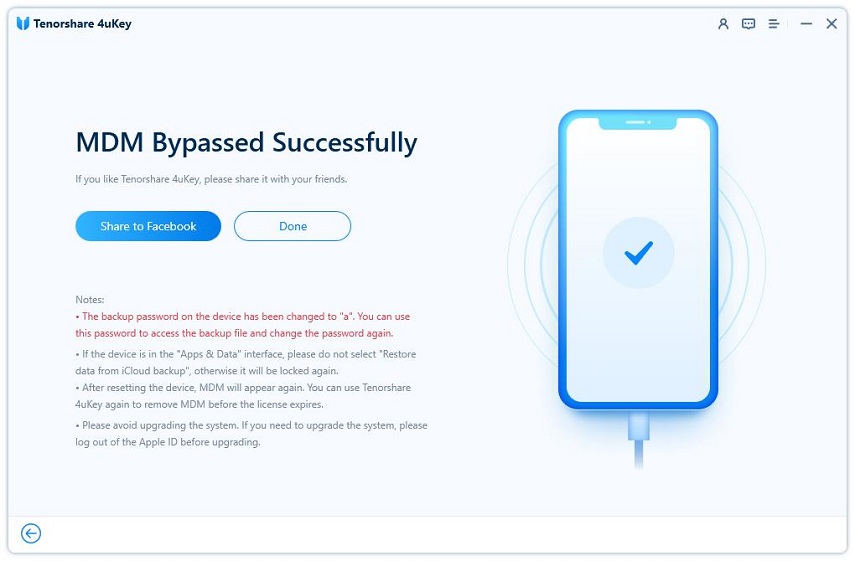
Note that if you factory reset the iPhone, the MDM lock or configuration profile will come back again. And you can use 4ukey to bypass MDM again.
If you install the certificate manually on your iPhone, it won't be considered trusted automatically. Hence, you’ll need to manually turn on trust SSL for the certificate on your iPhone. Here’s how you can fix the certificates Not Trusted on iPhone iOS 16.4 with simple steps:
Step 1: Go to the Settings app >> tap on General >> About and tap on Certificate Trust Settings.
Step 2: On the next screen, you’ll find the toggle to turn on the full trust for the certificate. Tap the toggle to manually turn on the Full Trust for the Certificate.
Certificates on iPhone play a crucial role in securing your iPhone. They have extensive applications for iOS devices. One of them is limiting the usage of the device, such as installing limited apps and a limited browsing experience.
In such a situation, you can delete the certificate from the iPhone to end such limitations on your iPhone. In this guide, we discussed how to remove certificate from iPhone running iOS 17/18. If you don't want to get involved with the lengthy steps to remove certificates on iphone, Tenorshare ReiBoot and Tenorshare 4uKey-Screen Pascode Unlocker is the best option you should opt for.

then write your review
Leave a Comment
Create your review for Tenorshare articles
By Sophie Green
2025-04-17 / Fix iPhone
Rate now!