ReiBoot - No.1 Free iOS System Repair Software
Fix 150+ iOS Issues without Data Loss & Safely Upgrade/Downgrade
ReiBoot: No.1 iOS Repair Tool
Fix 150+ iOS Issues, No Data Loss
Are you tired of whipping out your iPhone, launching Google Lens, and then being greeted with nothing but a blank screen? Google Lens not working on iPhone is not a rare issue for many users. But don't worry, we're here to help. We've compiled a list of the top 8 tips to fix Google Lens not working on iPhone. So, sit back, relax, and get ready to transform your iPhone into a powerful visual search tool once again.

Are you tired of constantly facing issues with your Google Lens on your iPhone? Well, you are not alone, my friend! There could be various reasons why your Google Lens is not working as expected. It could be due to a poor or unstable internet connection, outdated or corrupted Google apps, conflicting settings or permissions, or even a malware or virus infection!
So, before you get frustrated and throw your phone out of the window, take a deep breath and try some simple troubleshooting steps. Check your internet connection, update your Google apps, review your phone's settings, and run a malware scan. Remember, a little patience and some tech-savvy skills can go a long way in resolving the issue.
Is your Google Lens giving you the silent treatment on your iPhone? Fear not, my friend! We have seven basic ways to bring it back to life and make it work like a charm. Let's dive in!
First things first, make sure your device is connected to a stable Wi-Fi or cellular network if something went wrong Google lens is not available. You can easily check the network status by swiping down from the top right corner of your screen and tapping on the Wi-Fi or cellular icon.
If you're experiencing weak or unavailable network signals, try moving closer to the Wi-Fi system or flipping to another network. And here's a fun tip - did you know that turning on Airplane Mode and turning it off can refresh your network connection? It's like a mini reset button for your phone's signal.

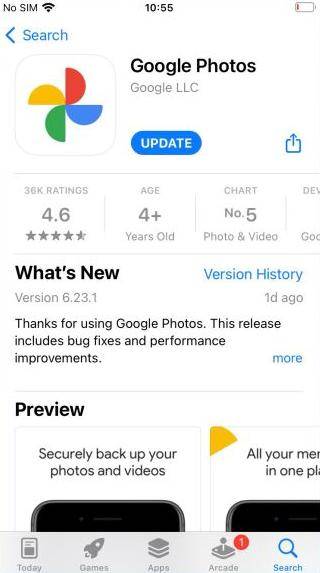
Let me guide you through how to reset Google Lens in a fun and engaging way. Let's open up that App Store on your iPhone. You can do this by tapping the blue icon with an A. Easy, right? Once you're in the App Store, tap on your profile icon at the top right corner of the screen. This will take you to your account page, where you can manage app updates and downloads.
Now comes the tricky part. You'll need to scroll down to see the list of apps that have updates available. It's like a treasure hunt! But don't worry, I'm here to help. Just keep scrolling until you see Google Lens on the list. If you're lucky enough to spot it, tap on the Update button next to it. And voila! You're done!
The app is already current if you don't see Google Lens on the list. No need to worry; you're already ahead of the game.
Double-click that Home button or swipe up from the bottom of the screen to see the app switcher. You know the drill. Now, find Google Lens and give it a good ol' swipe up to close it out. Take a deep breath and count to three. Don't worry, we're almost there. Now, reopen Google Lens from the Home screen or the App Library. And voila! You're good to go.
Head over to your Settings. From there, navigate to Privacy and then to Camera. You should see an option for Google Lens - if it's not already enabled, just tap the toggle switch to turn it on.
Now, head back to Settings > Privacy and click on Photos. Here, you'll want to make sure that Google Lens has access to your photos. Don't worry; you can allow access to all of your photos, just a select few, or none at all - it's totally up to you!
And that's it - you're all set! With Google Lens enabled and photo access granted, you can use this awesome feature to its fullest potential.
Press and hold the Google Photos app icon on the Home screen or the App Library until a menu appears. Then, tap on Delete App and confirm your action. Then, head on over to the App Store and search for Google Lens. Once you've found it, tap the Get button to download and install the app again.
Open up Google Lens and tap on the profile icon at the screen's top right corner. It's the one that looks like a little person, you can't miss it. Next, tap on "Manage your Google Account". This will take you to your account settings.
Now, here comes the tricky part. Tap on the menu icon at the screen's top left corner. It's the one with three horizontal lines. Then, tap on "Sign out." You'll be asked to confirm your action, so make sure you want to sign out before doing so. Once signed out, close the app and take a deep breath. You did it! Now, reopen Google Lens and tap on the profile icon again. Select "Sign in" and enter your Google account credentials this time. And voila! You're back in action.
First, to do a regular restart, just press and hold the power button until a slider appears on the screen. Then, drag the slider to turn off your iPhone. Once it's off, wait a few seconds and then press and hold the power button again to turn it back on. Easy peasy, right?
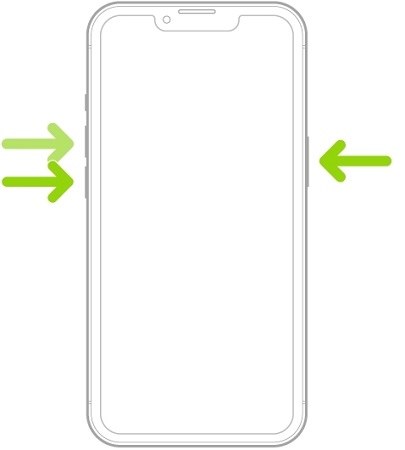
But what if your iPhone is acting up and won't even respond to the regular restart method? No worries - you can force restart it. To do this, quickly press and release the volume up button, then quickly press and release the volume down button, and finally, press and hold the power button until you see the Apple logo.
If you've encountered Google Lens not working on iPhone, specifically due to system errors, using Tenorshare ReiBoot can be a powerful solution. Follow these comprehensive steps to address the issue and get your Google Lens functionality back on track:
Download and install Tenorshare ReiBoot - your knight in shining armor!
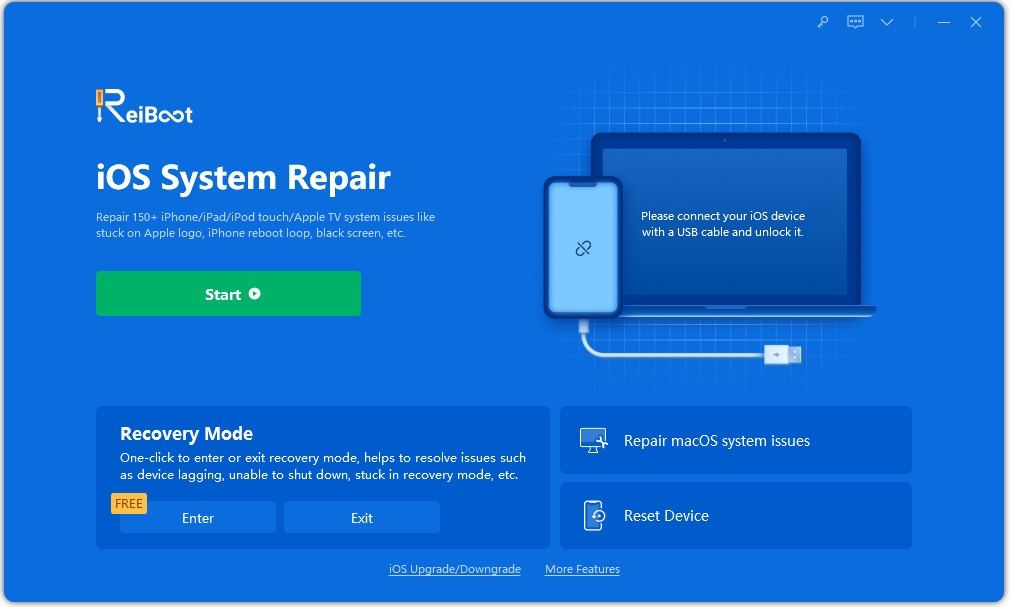
Connect your iPhone to your computer with a USB cable and click the Repair Operating System option in ReiBoot. It's like a magic button that fixes all your iOS problems without losing data.
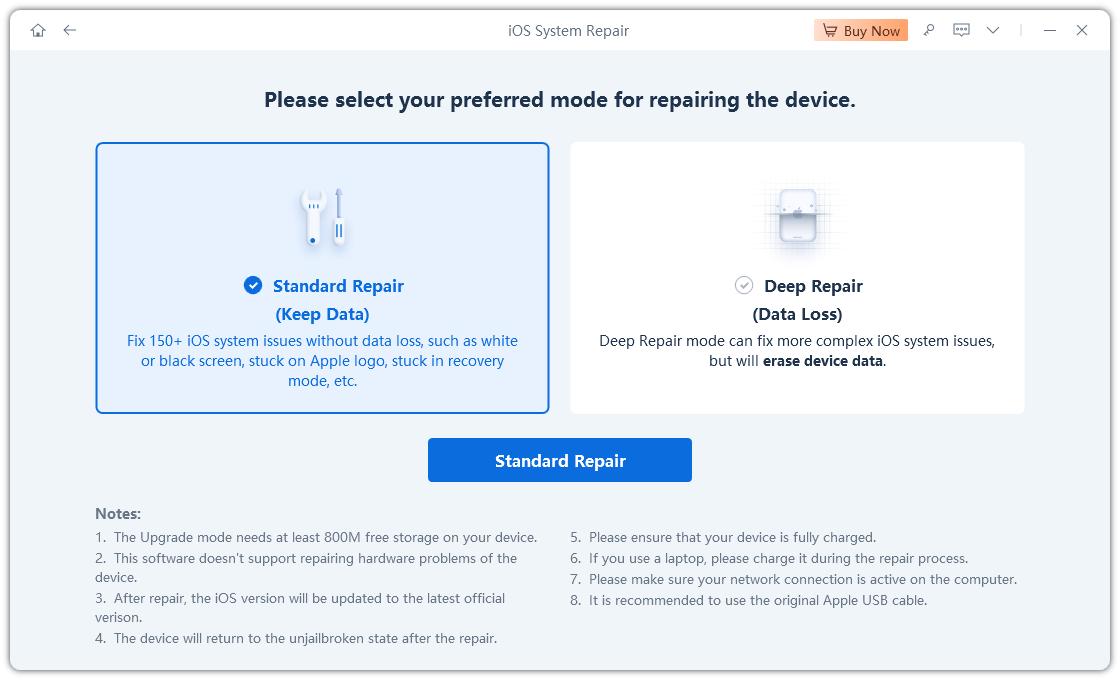
ReiBoot will find your iPhone's firmware package. Click Download to get it.
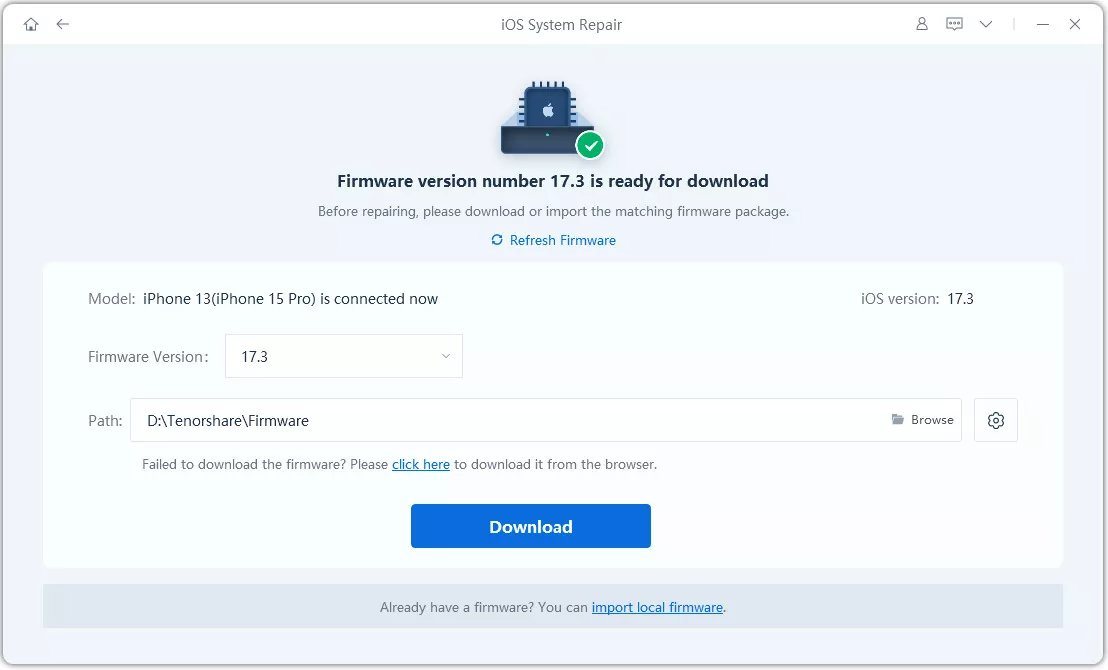
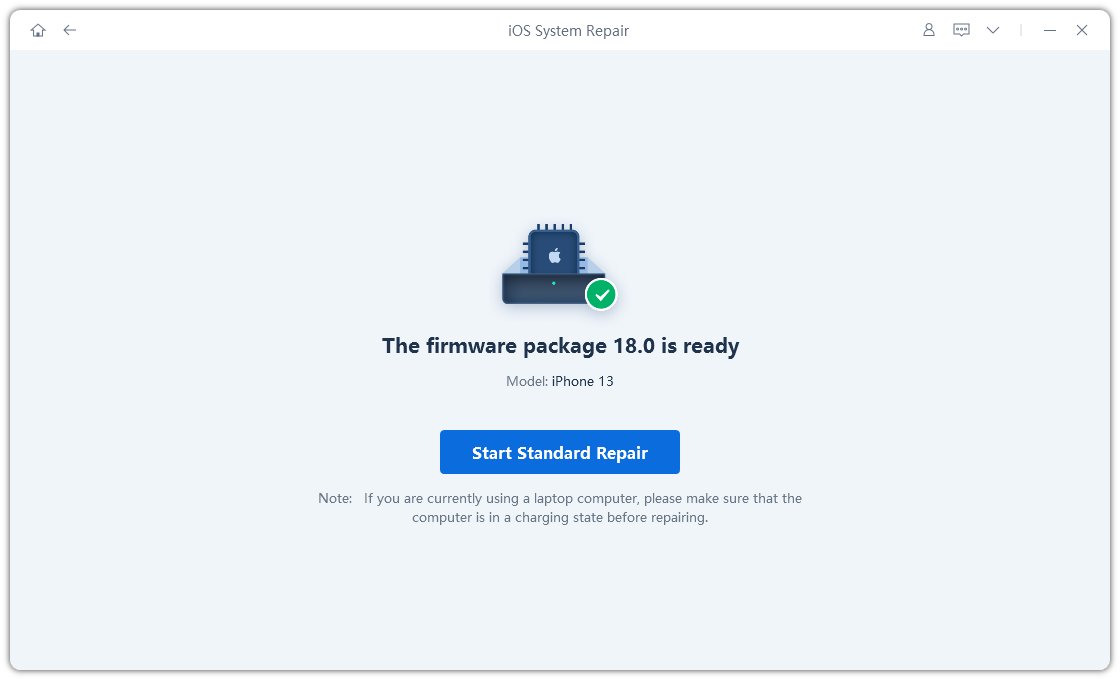
Click Start Standard Repair to reinstall the firmware on your iPhone and fix any system errors.
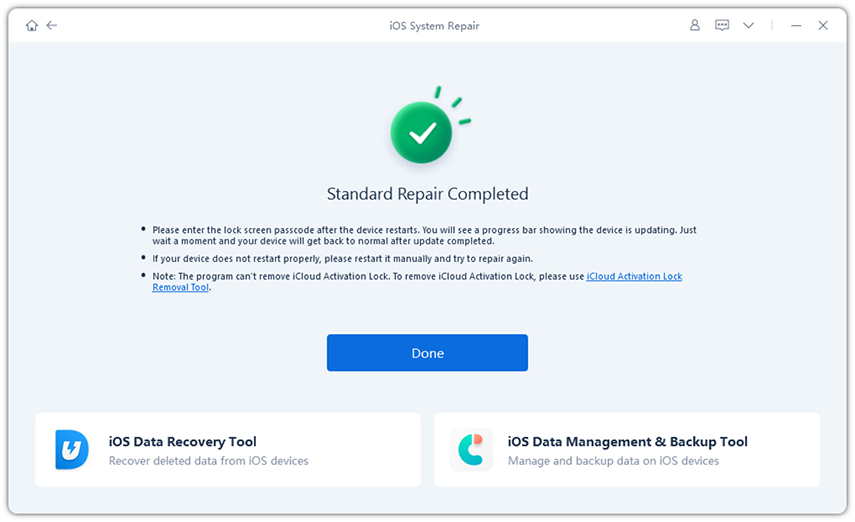
Click Done when it finished and your iPhone will restart automatically and be as good as new!
We hope these top 8 ways to fix Google Lens not working on iPhone have been helpful for you. Remember, the key to success is patience and persistence. Don't give up if the first solution doesn't work; keep trying until you find the one that does.
And if all else fails, just remember that Tenorshare ReiBoot is the best choice for you. You can always resort to it anywhere, anytime.
then write your review
Leave a Comment
Create your review for Tenorshare articles
By Jenefey Aaron
2025-04-24 / Fix iPhone
Rate now!