iCareFone - Free iOS Backup tool & Easy Data Manager
Backup/Transfer/Restore/Manage iOS Data with Simple Clicks
Backup/Manage iOS Data Easily
Backup/Manage iOS Data in Clicks
Transferring files from iPhone to your PC is now hassle-free with wireless technology. A stable Wi-Fi connection and third-party apps make it simple and convenient. Most users prefer wireless transfer for its ease and lack of clutter. Connect both devices to the same network, and you're set.
While Wi-Fi apps are the fastest, Bluetooth is a reliable alternative when Wi-Fi isn't available. iCloud also offers a cloud-based solution for seamless access across devices. Explore 7 methods to transfer files from iPhone to PC wirelessly and enjoy effortless data sharing between your iPhone and PC.
If you’re a Windows user and would like to do an iPhone to Windows file transfer wireless, Tenorshare iCareFone is your best bet (iCareFone is also available on Mac).
Tenorshare iCareFone is super simple to use. You can use it to manage data(photos, videos, contacts, messages, etc.) on your iPhone, and transfer files from your iPhone to PC or from PC to iPhone. Plus, you can use either a USB cable or your WiFi to transfer data.
Here are the steps you need to follow to transfer files from iPhone to PC/Mac wirelessly using iCareFone:
Install Tenorshare iCareFone on your computer and open it. Connect your computer and iPhone to the same WiFi network. After a few seconds, iCareFone will detect your iPhone. Select your iPhone within the iCareFone interface.
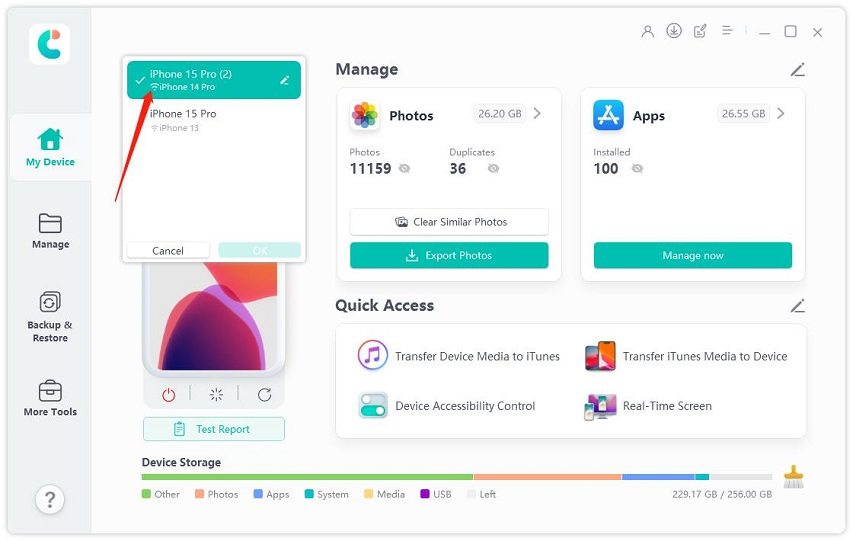
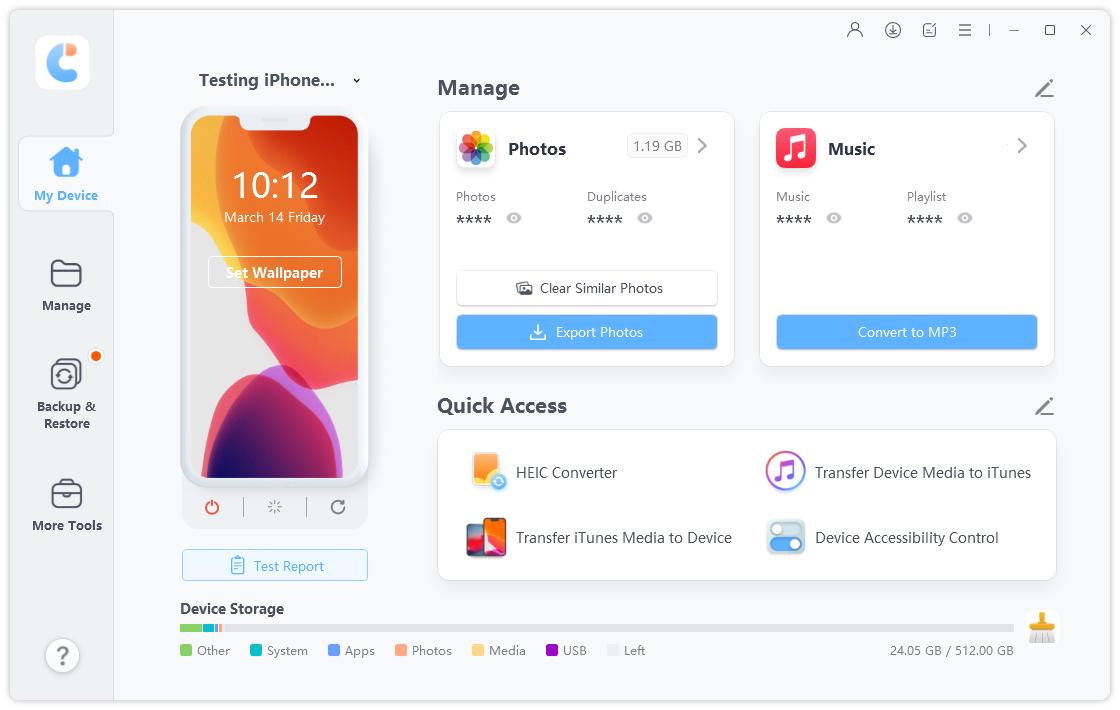
Now, select the Manage tab from the left-hand side.
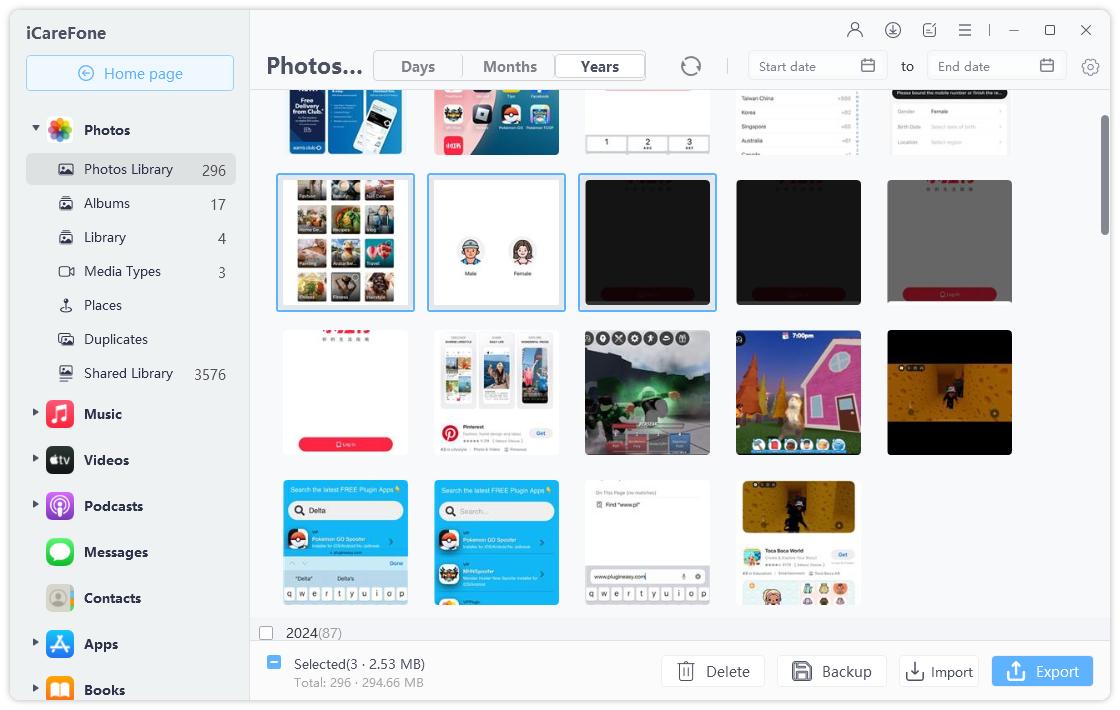
On this page, select the type of files you want to transfer from iPhone to PC wirelessly(photos, music, videos, messages, contacts, etc.). Then, click the "Export" button.
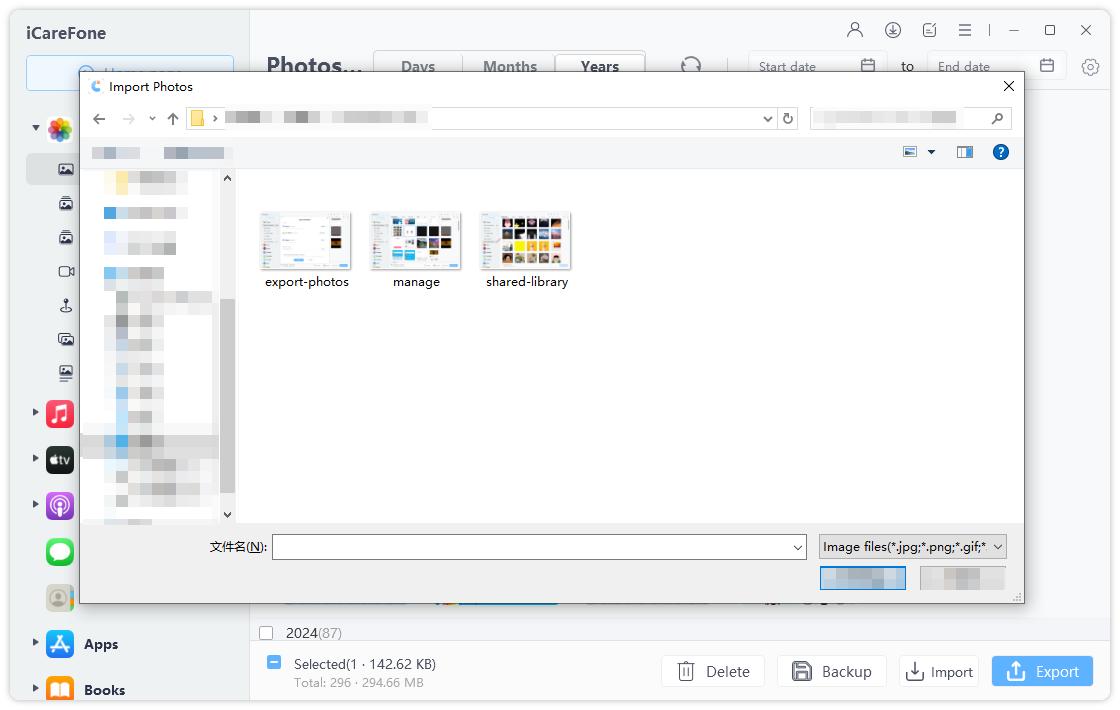
Once the data is being exported, wait for the process to complete. The more files you’re transferring, the longer it will take.
If your computer is a Mac, then you can seamlessly use AirDrop to transfer anything from your iPhone to your Mac wirelessly. This is the easiest method to do a transfer between iPhone and Mac, since it doesn’t require any special piece of software or settings.
To transfer files from iPhone to PC wirelessly using AirDrop, simply follow the steps below:

Another method you can use to transfer files from iPhone to PC wirelessly is by using a cloud storage solution. In this post, we’re specifically going to use Google Drive.
Before we begin, note that this method may use a lot of data. The more files you have, the more data will be consumed. Plus, your network speed needs to be fast enough for it to work. Otherwise the transfer may take too long.
If that’s fine by you, here are the steps you must follow.
Tap the + icon and upload any files you’d like to send. Wait for the files to upload.

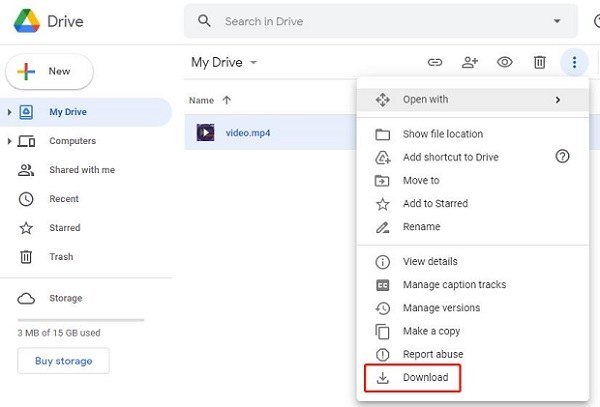
You will see all the files you just uploaded from your iPhone. Select all the files and hit the download button.
Snapdrop is a handy browser utility you can use to transfer data between any two devices, like Windows PCs, Macs, iPhones, and Android devices.
The only drawback to this method is that it’s quite slow. But, it’s still a lot faster than Bluebooth. So, if you were looking to do a bluetooth file transfer from iPhone to PC, Snapdrop is easily the better alternative.
Once you have Snapdrop open on both devices, you will be able to see them in each other’s web browser.

Be noted that it might take some time for the iPhone to Windows file transfer wireless to complete, based on the speed of your network and WiFi router, as well as the size of the files.
For Mac users, iCloud seamlessly syncs data between iPhones and Macs. But what about Windows users? Can windows users use iCloud to transfer files from iPhone to Windows 10 wirelessly as well?
Indeed, Windows users can also use iCloud to wirelessly transfer files from iPhone to Windows PC. Here are the steps:
Install iCloud for Windows, open it, and follow on-screen instructions. Use the same Apple ID as on your iPhone. In iCloud for Windows, click Options next to Photos. Ensure iCloud Photos is selected, click Done, and then click Apply.

Bluetooth offers a wireless method to transfer files from your iPhone to your PC without the need for cables or internet connectivity. This built-in feature is available on most modern devices, making it a convenient option for quick file transfers.
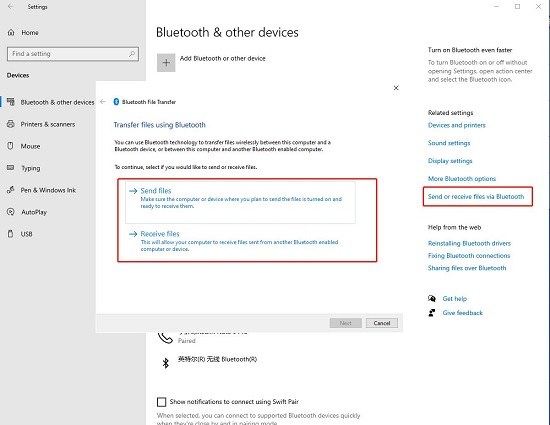
Bluetooth is best suited for occasional transfers of small files. For larger transfers or regular use, other methods like Tenorshare iCareFone or Wi-Fi-based solutions may be more efficient and reliable.
Air Transfer is a versatile app designed to simplify the process of wirelessly transferring files from your iPhone to your PC. This user-friendly tool addresses the common frustration of needing cables or iTunes for file transfers, offering a seamless wireless solution. With Air Transfer, users can easily move a wide range of file types, including photos, videos, music, and documents, all through a simple Wi-Fi connection.
While each method has its merits, Tenorshare iCareFone is the top choice for wireless file transfers from iPhone to PC. Unlike other methods with limitations on file types, speeds, or ease of use, iCareFone is likely more comprehensive and user-friendly. It supports a wide range of file types, offers faster transfer speeds, and provides extra features for managing iOS data. As the best tool, iCareFone addresses common file transfer issues, making it an efficient and reliable option for users.
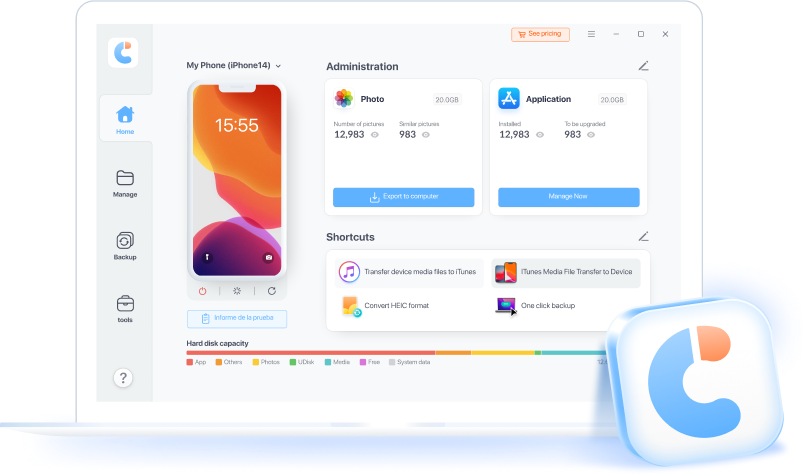

Tenorshare iCareFone - Best iOS Backup Tool and File Manager
then write your review
Leave a Comment
Create your review for Tenorshare articles
By Anna Sherry
2025-04-22 / iOS File Transfer
Rate now!