4uKey for Android - No.1 Android Unlocker & FRP Tool
Unlock Android Screen Lock & Remove FRP without Password
Android Unlocker & FRP Tool
Unlock Android Screen Lock & Remove FRP
Vivo is another well-known Android OS based smartphone brand in the world. It is known for offering high-end phones with remarkable features at affordable prices.
FRP or Factory Reset Protection, is a built-in security feature on Android devices running Android OS version 5.1 (Lollipop) and above. FRP automatically gets enabled on an Android device the moment a Google account gets registered on it. The purpose of FRP is to prevent unauthorized access of any Android device on which Factory Data Reset operation has been performed in any manner other than through the phone’s Settings menu.In this article we discuss how to perform Vivo Y16 FRP bypass.
Here is a quick step-by-step tutorial to guide you on how to perform Vivo Y16 FRP bypass without PC.
Note that this method doesn’t involve using a PC for performing Vivo Y16 bypass Google account. And since this is going to be a lengthy process, ensure following each step the way it is mentioned below.
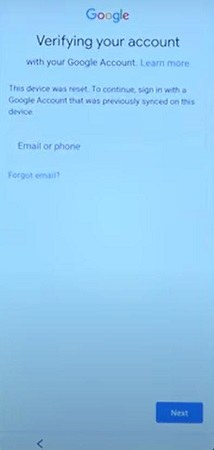
Once you have factory reset your Vivo Y16 in an untraditional method, your phone will ask you to verify your account with Google account credentials originally used on this device. Hit the back arrow here at screen bottom-left corner.
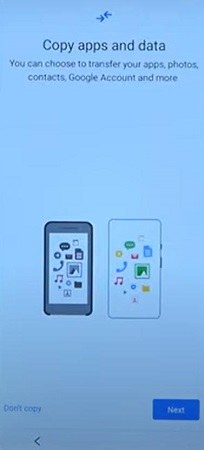
On the second screen shown below, hit “Don’t Copy”.
When prompted with the following screen (left), press back arrow button twice or more times until you return to “Connect to Wi-Fi” screen (right).
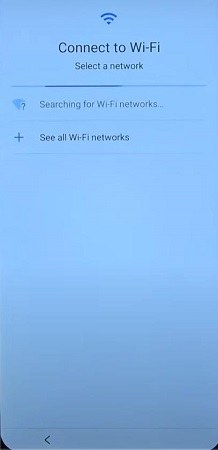
Once the Wi-Fi is connected, hit the back arrow several times until you return to the following screen. Tap to open “Accessibility Settings”.
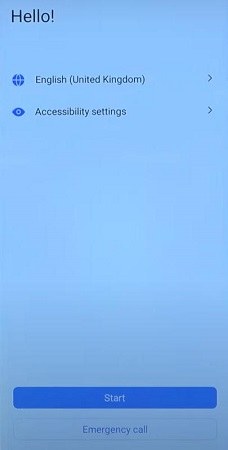
Now tap to open “TalkBack” (left) and toggle it on (right).
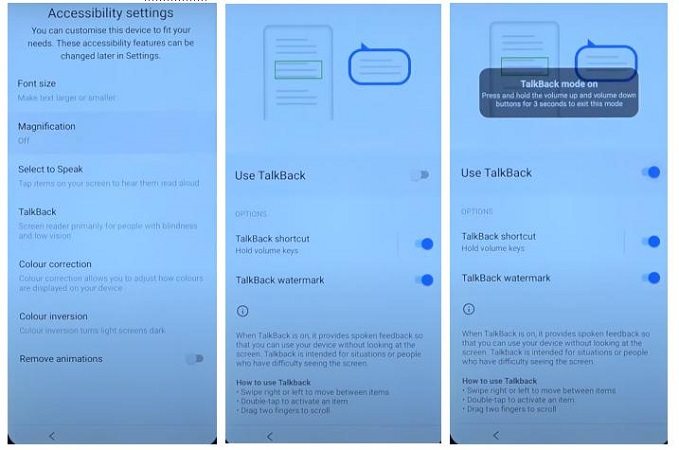
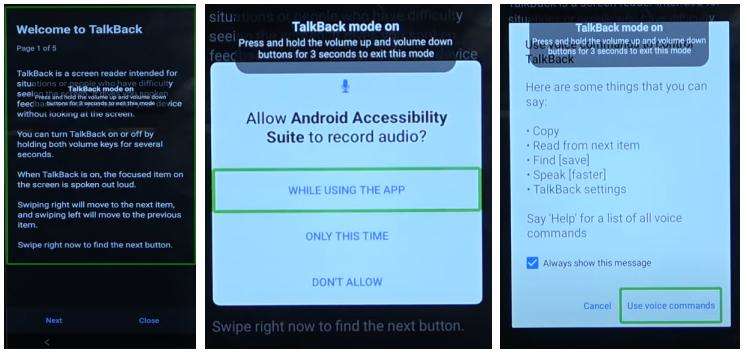
When the below shown (left) black screen appears, keep swiping left-to-right until the dialogue box appears (center). Tap first option “WHILE USING THE APP” and then “Use voice commands”
Now a bit loudly say “Open Google Assistant” for activating it. Once it appears, say “Open YouTube”.
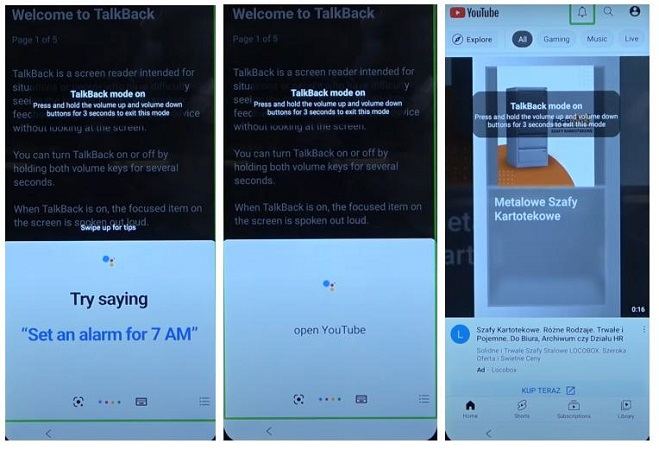
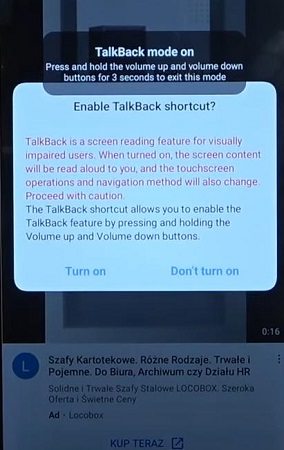
Once the YouTube is open, press and hold the volume up and down keys together for 3 seconds for the following message to appear. Select “Turn On”. Now press and hold the volume keys again to turn off the TalkBack shortcut. Notice that the black box in the center-top of the screen
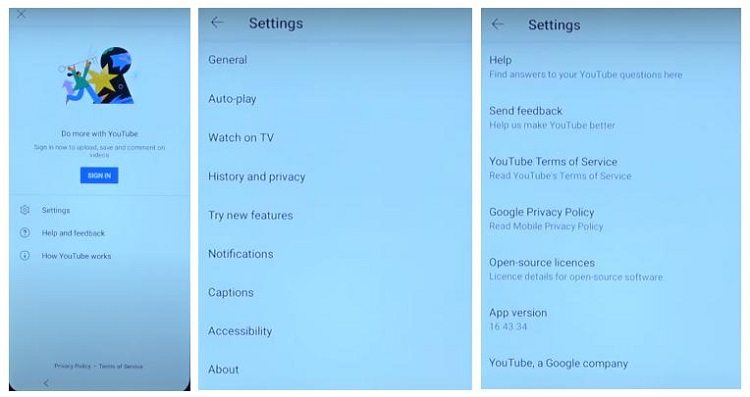
Now tap on the user icon on YouTube top-right corner. Select “Settings”, then “About”, and then “Google Privacy Policy” to open Google Chrome.
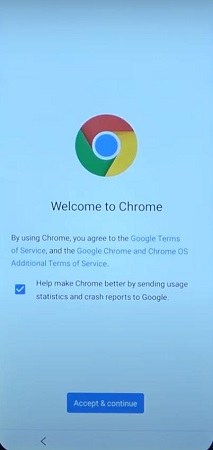
Tap on “Accept & continue” (left) and then “No thanks” when asked to Turn on sync? (right).
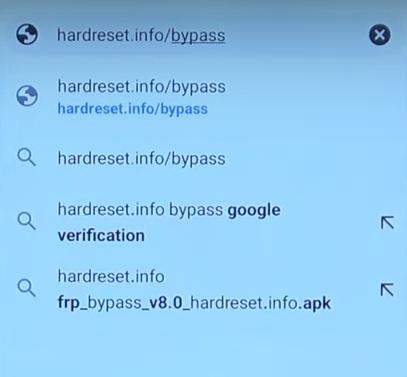
Type “hardreset.info/bypass” into the address bar now and hit enter.
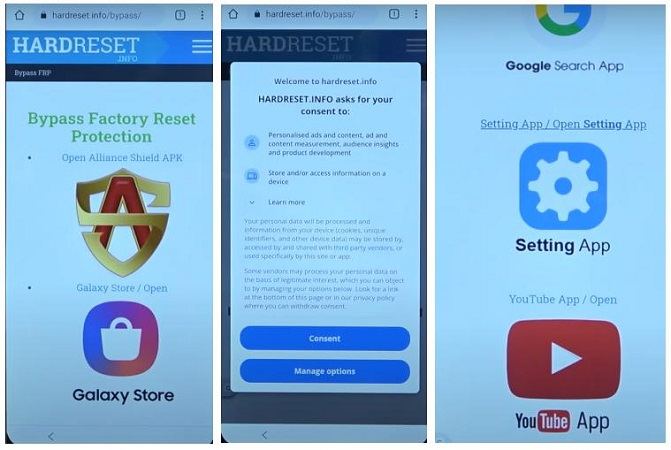
On the website that opens (left), hit consent (center) and then scroll-down to reach and open “Setting App”.
Now scroll-down till the bottom of the “Settings” menu, then “System”, then “Reset options”, then “Reset all settings”, again “Reset all settings” on next screen, and then your phone will restart. Wait for some time now until your phone starts again after resetting all settings.
Now when the phone restarts, connect it to Wi-Fi again to continue with the remaining steps of Vivo Y16 FRP bypass. On the first screen that appears after your phone restarts, tap “Start”, then “Next” after selecting your location, then again “Next” on the following screen to reach to the
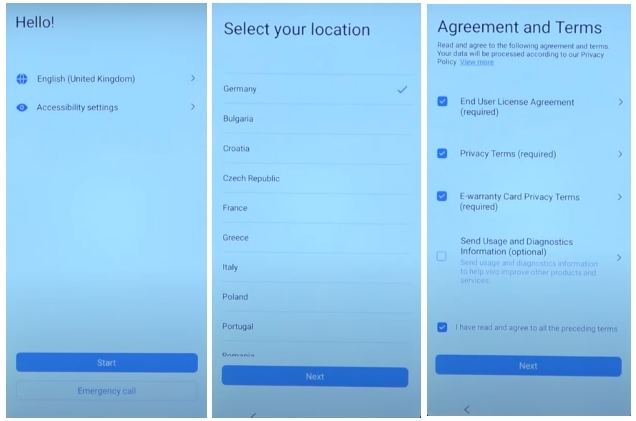
Now again repeat all the steps from 5 till 13 above except tapping on the “Setting App” this time. Instead scroll further down and tap on “Screen Lock Set Menu” this time. Remember that this won’t download any Vivo Y16 FRP file. Rather, it will simply take you to setting a PIN on your

Now tap “PIN” to set a PIN on your Vivo Y16. We recommend setting a simple PIN now such as 1234 or 0000. Remember that you are only performing Vivo Y16 FRP bypass latest version now hence an easy-to-remember PIN should do. You can use a stronger PIN after you are successfully done with Vivo Y16 FRP bypass. Re-Enter the PIN again, tap “Confirm” and then “Skip” on the
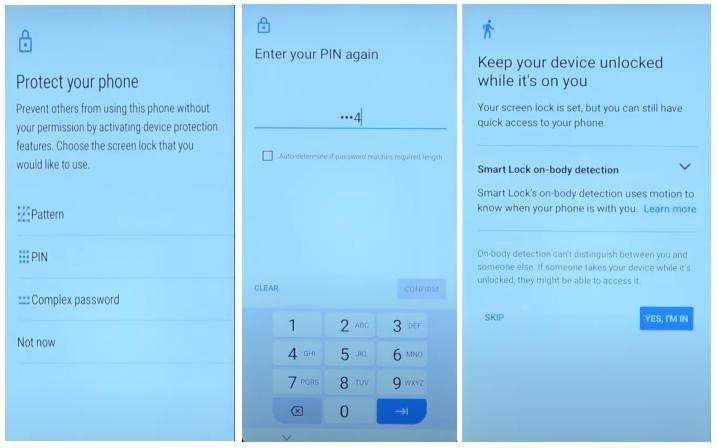
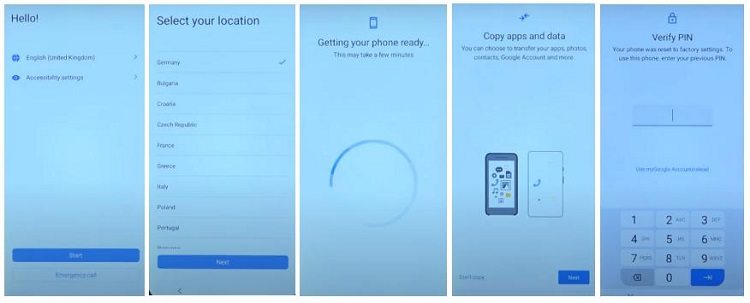
Now keep tapping the back button of your phone until you return to the phone setup screen again. This time tap “Start”, then “Next” after selecting your location, wait for a few seconds, then tap “Don’t copy”, wait again and then enter the PIN you just set on “Verify PIN” screen and then wait again.
Now on the Google account “Sign in” screen, tap “Skip”, then again “Skip”, then “More”, and then “Accept”.
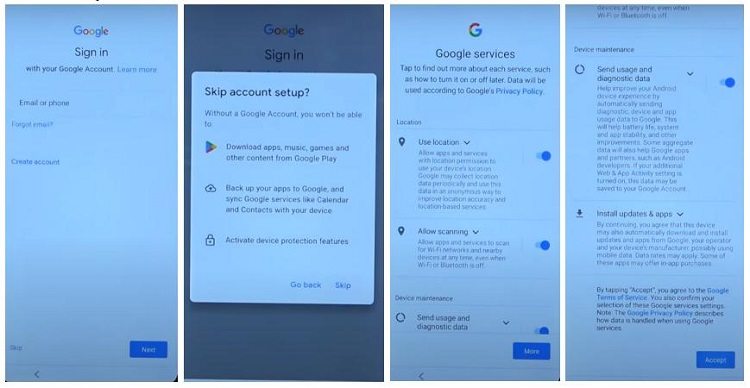
Now select “Google” as your search engine, tap “Next”, then “Next” again, then “Ok”, wait for a few seconds, then again “Next”, then “Next” again, and you have now completed setting up your phone again with Vivo Y16 FRP bypass. Finally tap “Use now”.
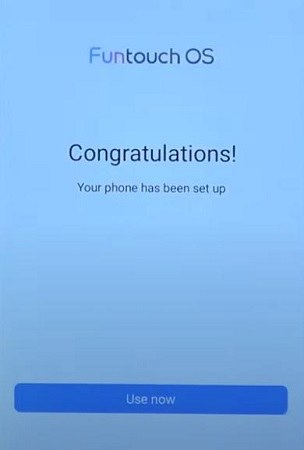
While the above method for performing Vivo Y16 FRP bypass without PC is effective, you can see that it is way too lengthy. Especially, if it’s your first time performing Vivo Y16 FRP bypass latest version on your own, this entire method could be difficult as well.
Hence, we here have a simple and easy-to-use method that only requires a few clicks from beginning to end.
Tenorshare 4uKey for Android is an excellent tool packed with everything you need to perform untethered Android lock screen removal and Vivo Y16 FRP bypass solution.
Using 4uKey for Android is easy and will only require a few simple steps from beginning to end. Here is a step-by-step guide on how to use 4uKey for Android for Vivo Y16 FRP bypass. You can further read about it here.
Download, install, and run the Tenorshare 4uKey for Android first on your PC. When done, connect your Vivo device to your PC and select “Remove Google Lock (FRP)” (right-side).
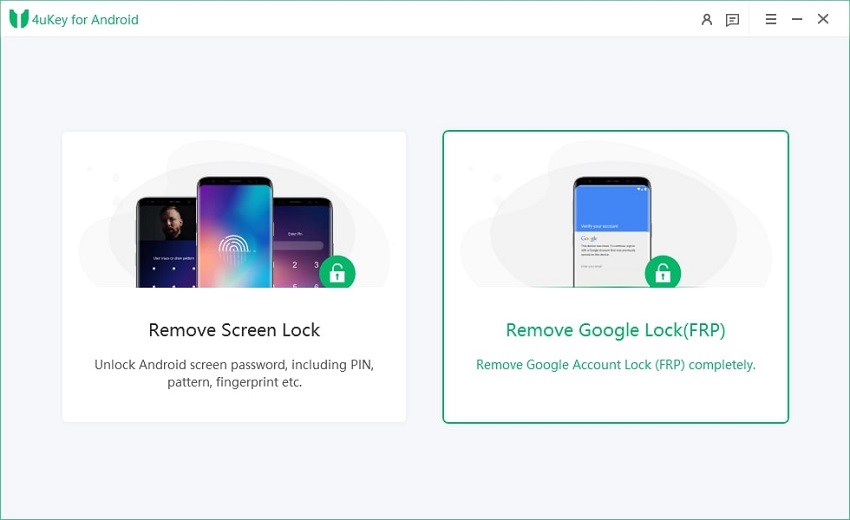
Now let 4uKey for Android automatically detect your device brand. If it doesn’t, then select it manually as shown in the next image.
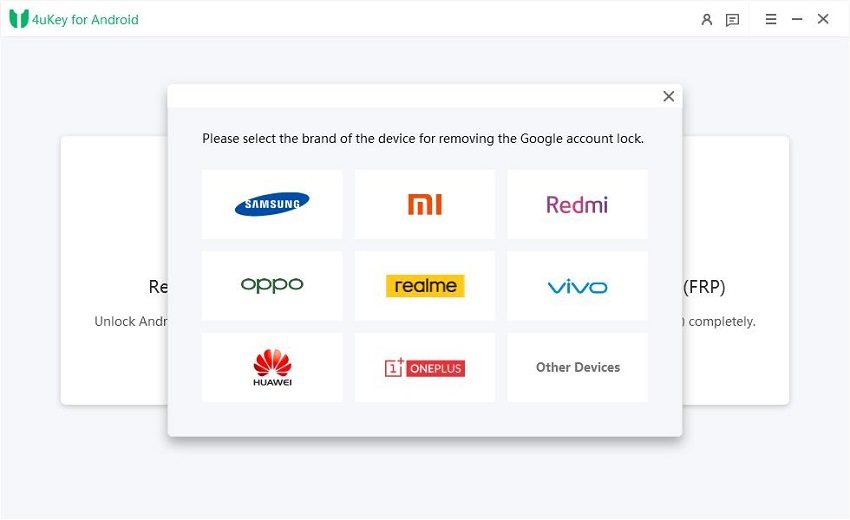
On the next screen after device selection or automatic detection, click “Remove Now”.

Now you will receive a notification on your device screen. Next, follow the 9 instructions precisely as shown below to continue with Vivo Y16 FRP bypass with PC.

Finally, after the last step, 4uKey for Android will start removing the Google lock. Wait and avoid causing any interference while 4uKey for Android performs Vivo Y16 FRP bypass.
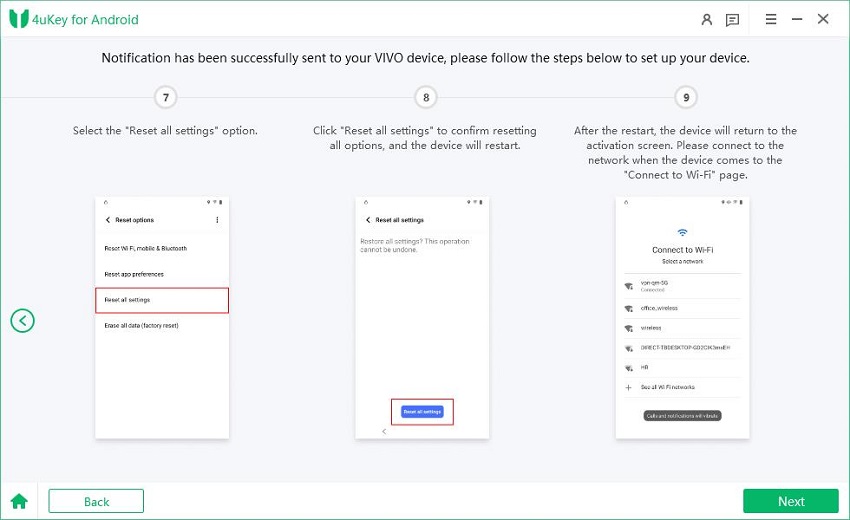
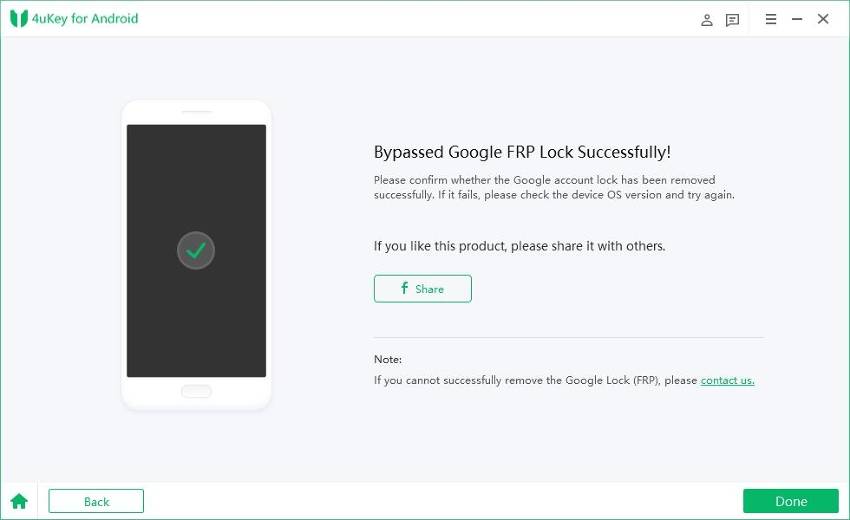
Once done, the following screen will appear. Congratulations, you have successfully completed Vivo Y16 FRP bypass latest version.
Performing Vivo Y16 FRP bypass without a PC isn’t for everyone. It requires patience and following each step in the correct manner and time.
However, Tenorshare 4uKey for Android from detecting your Vivo device to guiding you on how to exactly perform its 9 simple steps is an excellent tool with Vivo Y16 bypass Google account solution. Download it now for free and experience its amazing features now.


Top Easy FRP Bypass Tool for Samsung/Android
then write your review
Leave a Comment
Create your review for Tenorshare articles
By Jenefey Aaron
2025-12-19 / Unlock Android